ReactJS is one of the most popular JavaScript libraries today. In this article, we take a look at how to hide a ReactJS component. There are a couple of ways to achieve this. We will look at each method and walk through its implementation in this article.
For the example that we will build, I have used the following stack of tools and libraries. Some are optional and can be replaced with your favorites like the IDE yet others are mandatory.
Visual Studio Code IDE is my personal preference when working with, specifically, the front-end of an application. You are free to use another editor of your own choice. The create react app package let’s quickly scaffold the structure of a starting point. It sets up things that would otherwise involve efforts and divert us from the task at hand.
Let us create a skeletal ReactJS application using create-react-app. We achieve the same using the following command:
> npx create-react-app my-app .
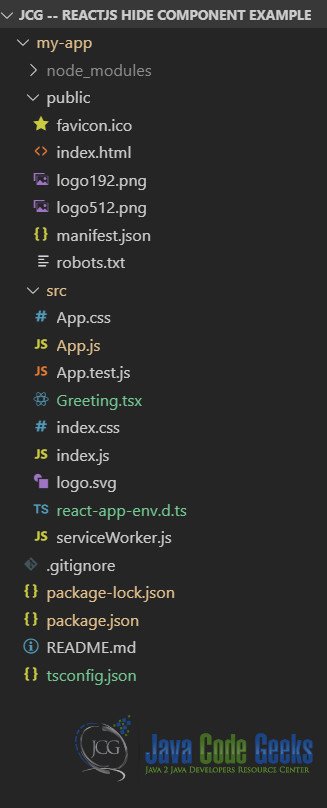
The npx command downloads the create-react-app package and runs it using the arguments provided. Once done it disposes of the package. This prevents polluting our global namespace with rarely used packages. The newly created project has a structure similar to the following screenshot.
There are two ways to go about achieving our aim in this article. One is to not render the component itself and the other is to hide it using CSS. Let us look at both approaches one at a time.
1. Conditional Rendering
In this approach, we apply logic in the render method of the component to conditionally render or not the component in question. Let us say we create a component that displays a greeting message to the user. Additionally, we render a checkbox which when checked displays the greeting and hides it when unchecked. To achieve this behavior we store the state of the checkbox in the state of the component.
When the render method is called we use the following expression in the return value of the render method.
...
this.state.show && <Greeting />;
...
This expression returns the second value if the first value is true and false otherwise. Used in the render method this ensures that the component is not rendered when the value of the show state variable is false. The implementation code looks like below:
Greeting.tsx
import React from 'react';
type myprops = {};
type mystate = { greeting: string, show: boolean};
class Greeting extends React.Component {
    constructor(props: any) {
        super(props);
        this.state = {
            greeting: 'Hello from JavaCodeGeeks',
            show: true
        };
    }
    render = () => {

        return  (<div><input type="checkbox" checked={this.state.show} onChange={this.onChange} /><span>Show Greeting</span>
            {this.state.show && <h3>{this.state.greeting}</h3>}
        </div>);
    }
    onChange = (e: any) => {
        this.setState({show: e.target.checked});
    }
}
export default Greeting;
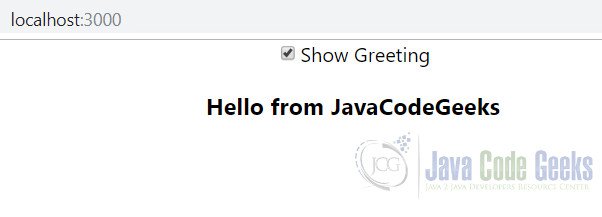
When we run this code using the command npm start and navigate to the URL http://localhost:3000 in the browser. We see the below output:
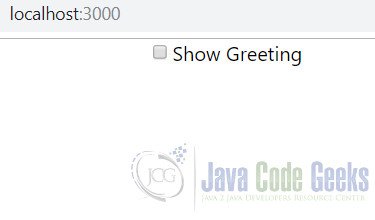
On unchecking the checkbox the greeting text disappears completely like below:
Now we take a look at the other approach I mentioned above to achieve the same functionality.
2. CSS Rules
We can show/hide a component using the CSS rule display, by setting it to none or block. To formulate an approach to show/hide our component we create a CSS style class which when applied to the component hides it. The component is visible otherwise. Our code revolves around setting the className property on the component. The code snippet for which looks like below:
<Greeting className={this.state.show ? '': 'hide'} />
This CSS hide class looks like below:
.hide {
    display: none;
}
So now we set the show property to false when the checkbox is unchecked and the hide class is applied to our component. Which hides it from view completely. The complete implementation code looks like below with both approaches included:
Greeting.tsx
import React from 'react';
type myprops = {};
type mystate = { greeting: string, show: boolean};
class Greeting extends React.Component {
    constructor(props: any) {
        super(props);
        this.state = {
            greeting: 'Hello from JavaCodeGeeks',
            show: true
        };
    }
    render = () => {
        return  (<div><input type="checkbox" checked={this.state.show} onChange={this.onChange} /><span>Show Greeting</span>
            {this.state.show && <h3>{this.state.greeting}</h3>}
            <h3 className={this.state.show ? '':'hide'}>{this.state.greeting}</h3>
        </div>);
    }
    onChange = (e: any) => {
        this.setState({show: e.target.checked});
    }
}
export default Greeting;
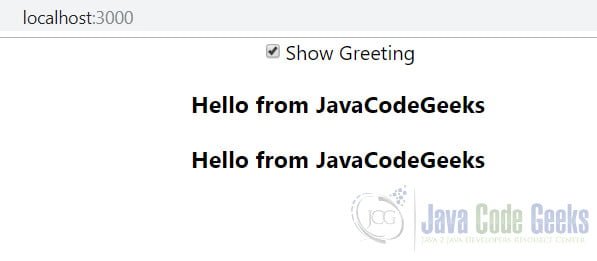
Now when we run the code and navigate to it in the browser we see the below output.
This wraps up our look at ReactJS Hiding Component feature example.
3. Download the Source Code
You can download the full source code of this example here: ReactJS Hide Component Example
