Hello Friends,
In this tutorial,we will see how we can dockerize our Spring Boot Application.By dockerizing ,we mean that we are going to run our application as docker container.

Following are the steps involved :
1. Create a Spring Boot Application
2. Install Docker on your machine
3. Create a Docker file in your project
4. Docker build using docker file
5. Docker run
Let us see these steps one by one.
Step 1. Create a Spring Boot Application
Please follow my tutorial How to Create Spring Boot Project With Spring Initializer for steps needed to create a Spring Boot project using Spring Boot Initiailizer.
So once you complete this,you should be ready with springBootApp project in your workspace.
Step 2. Install Docker on your machine(Example here is for Windows10)
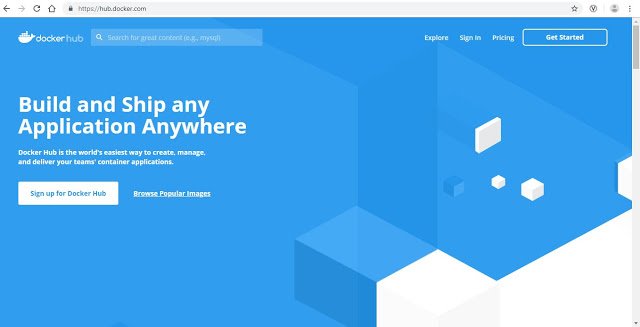
2.1 Go to Docker Hub
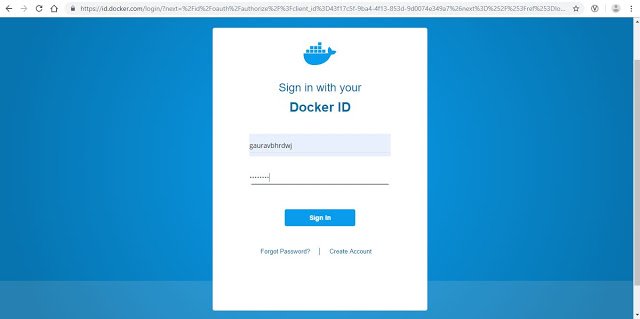
2.2 Sign in to the Docker Hub.If you don’t have account,create a new account by clicking on Create Account.
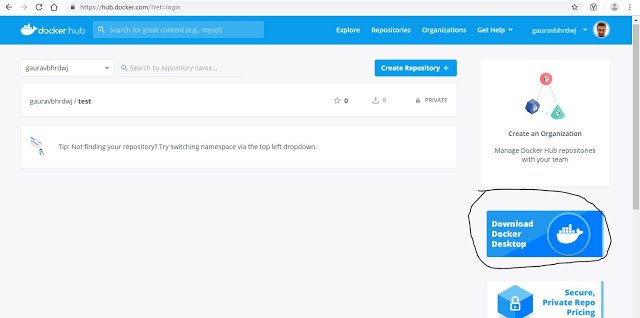
2.3 Click on Download Docker Desktop on the below screen
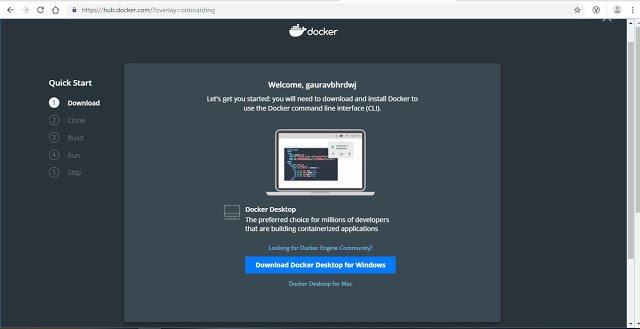
2.4 Click on the “Download Docker Desktop for Windows” to download Installer for Windows.
For downloading installer for Mac,click on “Docker Desktop for Mac”.
2.5 Follow the steps mentioned here to install Docker from Installer and your Docker should be up and running.
From Docker Docs
– What the Docker Desktop for Windows install includes: The installation provides Docker Engine, Docker CLI client,Docker Compose,Docker Machine
, and Kitematic.
– Containers and images created with Docker Desktop for Windows are shared between all user accounts on machines where it is installed. This is because all Windows accounts use the same VM to build and run containers.
– Nested virtualization scenarios, such as running Docker Desktop for Windows on a VMWare or Parallels instance might work, but there are no guarantees.
3. Create a Docker file in your project
Before we create a docker file,let us understand what is docker file and why it is required.
3.1 What is Docker File ?
Docker file is text file which has set of instructions or commands which will be executed by Docker demon to create a docker image.
Example of Docker file :
FROM openjdk:8 u212-b04-jdk- stretch
COPY target/springBootApp-0.0.1-SNAPSHOT.jar springBootApp-0.0.1-SNAPSHOT.jar
EXPOSE 8080
ENTRYPOINT [“java”, “-jar”, “springBootApp-0.0.1-SNAPSHOT.jar”]
3.2 Why Docker File is required
By executing the docker file basically we are creating a docker image.This image has all the details required to run the application viz. application code,system libraries,tools.Now we can run this image on any machine which has docker installed and it will get same execution environment.Say I have multiple environments to which my application code will go through before moving to production like ST,ET.Now if I execute this docker image on any of these(ST,ET,Prod) machine,it will make sure that application has same execution environment.
Also it is worth mentioning that once we run our docker image ,it becomes container and we can see container by executing following command:
docker container ls
4. Docker build using docker file
To execute commands or instructions in docker file,we need to execute docker build command on the command prompt as below :
docker build -t <tag name> .
docker build command builds the docker images from a dockerfile and a “context”.A build’s context is a set of files located in the specified PATH or URL.The build process can refer to any of the file in the context.For example,our build can use a COPY instruction to reference a file in the context.
4.1 PATH
In the below example,PATH is current directory(dot),so the context will be built by using files and folders in the project folder(from where we are executing this command)
docker build -t <tag name> .
In the below example,
docker build -t “springbootapp” .
docker build command needs to be executed from the root of your project where you have placed your docker file and name of the file has to be dockerfile(case insensitive).When we execute docker build,all the instructions in the docker file are executed one by one and a docker Image is created with name given in “tag name”.
We can check the newly created docker image by executing following command:
docker image ls
4.2 URL
With the URL parameter,we can mention the url of the Github or bitbucket repository.Docker build will then recursively pull the directories ,subdirectories,files from that repository and will use it as build context and send it to the Docker daemon.
docker build -t <tag name> <Repository Url>
In this case,docker will clone the remote repository and will use cloned repository as build context.
5. Docker run
Docker run command runs the docker image. Runtime instance of docker image is called docker container.
docker run -p 8080:8080 <image name>
By default container does not publish any port.Here we are mapping port 8080 of the container to the port 8080 of the host machine.
So basically,after docker run,your application will be up and running as container.
Summary
By dockerizing our Java application,we make sure that our application gets same kind of execution environment across DEV,ST,ET,PR to make sure that application behaviour does not change due to change in application environment(DEV,ST etc.).
References :
Published on Java Code Geeks with permission by Gaurav Bhardwaj, partner at our JCG program. See the original article here: Dockerizing a Spring Boot Application Opinions expressed by Java Code Geeks contributors are their own. |
