MQTT protocol is a Machine to Machine (M2M) protocol widely used in Internet of things. It is a message based protocol. It is extremely light-weight and for this reason, it is adopted in IoT ecosystem. Almost all IoT cloud platforms support MQTT protocol to send and receive data from smart objects. There are several implementations for different IoT boards like Arduino, Raspberry and so on.
There are other IoT protocols used to implement IoT projects but MQTT is one of the most efficient.
MQTT Protocol Overview
MQTT was developed around 1999. The main goal of this protocol was to create a protocol very efficient from bandwidth point of view. Moreover, it is very power-saving protocol. For all these reasons, it is suitable for IoT.
This protocol used publish-subscriber paradigm in contrast to HTTP based on request/response paradigm. It uses binary messages to exchange information with a low overhead. It is very simple to implement and it is open. All these aspects contribute to its large adoption in IoT. Another interesting aspect is the fact that MQTT uses TCP stack as transmission substrate.
MQTT Message pattern
As said before, MQTT protocol implements publish-subscriber paradigm. This paradigm decouples a client that publishes a message (“publisher”) to other clients that receive the message (“subscribers”). Moreover, MQTT is asynchronous protocol, that means that it does not block the client while it waits for the message. In contrast to HTTP protocol, that is mainly a synchronous protocol. Another interesting property of MQTT protocol is that it does not require that the client (“subscriber”) and the publisher are connected at the same time.
MQTT Publisher-subscriber pattern
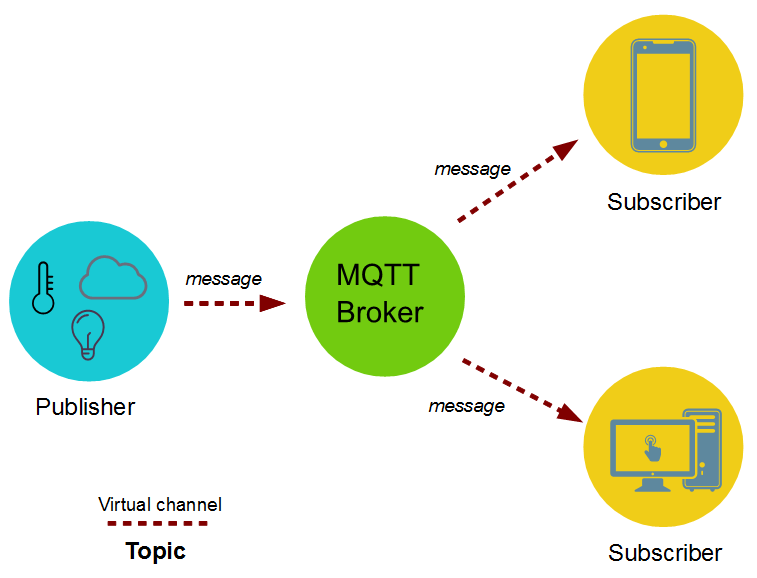
As described above MQTT is a message based protocol that uses publisher-subscriber pattern. The key component in MQTT is the MQTT broker. The main task of MQTT broker is dispatching messages to the clients (“subscribers”). In other words, it receives messages from publisher and dispatches these messages to the subscribers. While it dispatches messages, the MQTT broker uses the topic to filter the clients that will receive the message. The topic is a string and it is possible to combine the topics creating topic levels.
A topic is like a virtual channel that connects a publisher to its subscribers. This topic is managed by the MQTT broker. Through this virtual channel, the publisher is decoupled from the subscribers and the clients (publishers or subscribers) does not have to know each other. This makes this protocol highly scalable without a direct dependency from the message producer (“publisher”) and the message consumer (“subscriber”).
The schema below describes the MQTT architecture:
How to use MQTT protocol
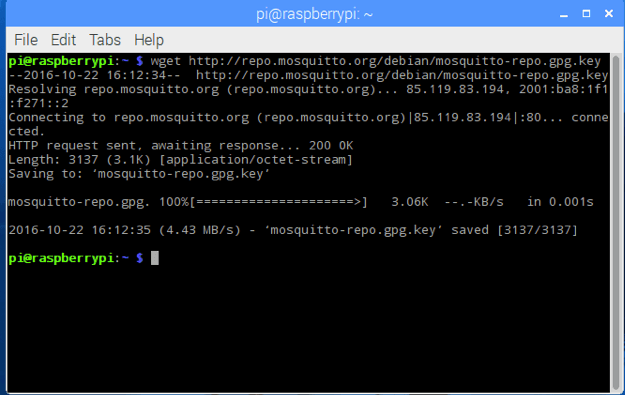
Now we have an overview about MQTT, it is time to know how to use it with a real example. There are several implementations of MQTT, in this example, we will use Mosquitto, an implementation developed by Eclipse. The first step is installing the MQTT broker. We will install it on Raspberry PI. To install Mosquitto, we have to add the repository that holds the application, so that we can download it. Before adding the repository it is necessary to add the key to verify that the download package is valid. Let us connect to Raspberry PI using ssh or a remote desktop connection. Now in the terminal we have to write:
wget http://repo.mosquitto.org/debian/mosquitto-repo.gpg.key
Now, it is time to import the key:
sudo apt-key add mosquitto-repo.gpg.key
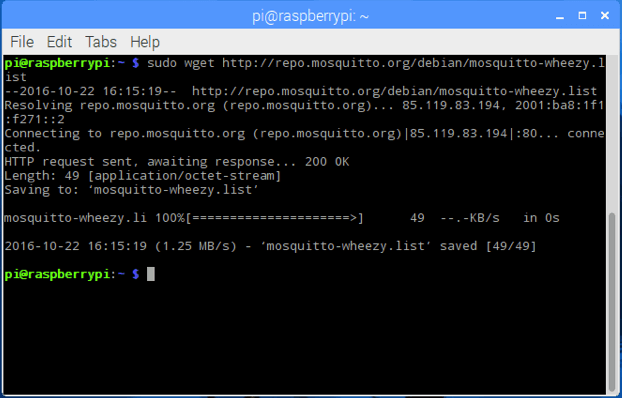
Finally, let us add the fil .list:
sudo wget http://repo.mosquitto.org/debian/mosquitto-wheezy.list
Now, that the repository link is configured properly, we can install Mosquitto on Raspberry PI.
apt-get install mosquitto
The MQTT server is installed on Raspberry PI. This server is our MQTT broker as specified above. Now we need to install the client, or in other words, the publisher and the subscriber. In this example, we will install client and server on the same Raspberry but you can install it in a different pc/server or IoT board.
apt-get install mosquitto-clients
How to send a MQTT Message
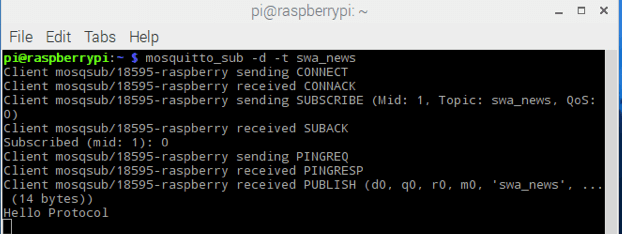
We have installed and configured the client and the server, now we can register a subscriber to a specific topic and wait for incoming message from a publisher. To register a subscriber we will use this command:
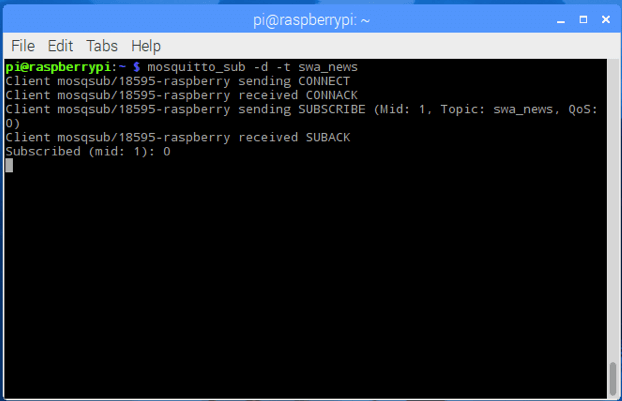
As you can notice, our subscriber is waiting for a message. In this example, we used a topic called swa_news. Now we will send a message using a MQTT publisher that uses the same topic swa_news.
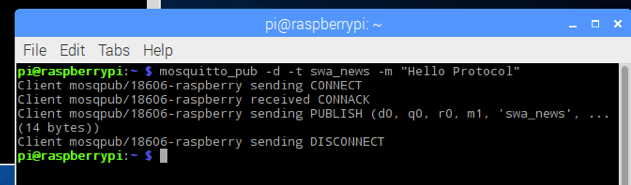
In the example, the MQTT publisher sends “Hello Protocol” message. On the subscriber side, we get the message:
How to use MQTT on Android smartphone
In this last example, we will use an Android MQTT client so that the same message we sent is received by the Android MQTT client. This video shows how to configure an Android MQTT client.
At the end of this post, you hopefully know what is MQTT protocol and how to publish message.
| Reference: | MQTT Protocol Tutorial from our JCG partner Francesco Azzola at the Surviving w/ Android blog. |
