Welcome to the final post in this three-part blog series on Unity 3D. In this series, we are creating a simple 3D game in Unity3D with rich controls. Part one covered how to set up Unity3D and part two taught you how to control Unity3D using C#.
In this final post of this series, we are going to delve into actually making that code into a simple game using Unity3D.
Let’s Get Started
Let’s build some levels and work on more game-like actions and a finishing goal.
First let’s add some world walls to stick to. To do this we are going to add a bunch of cubes, and work to scale and position them into place using the practices from before.
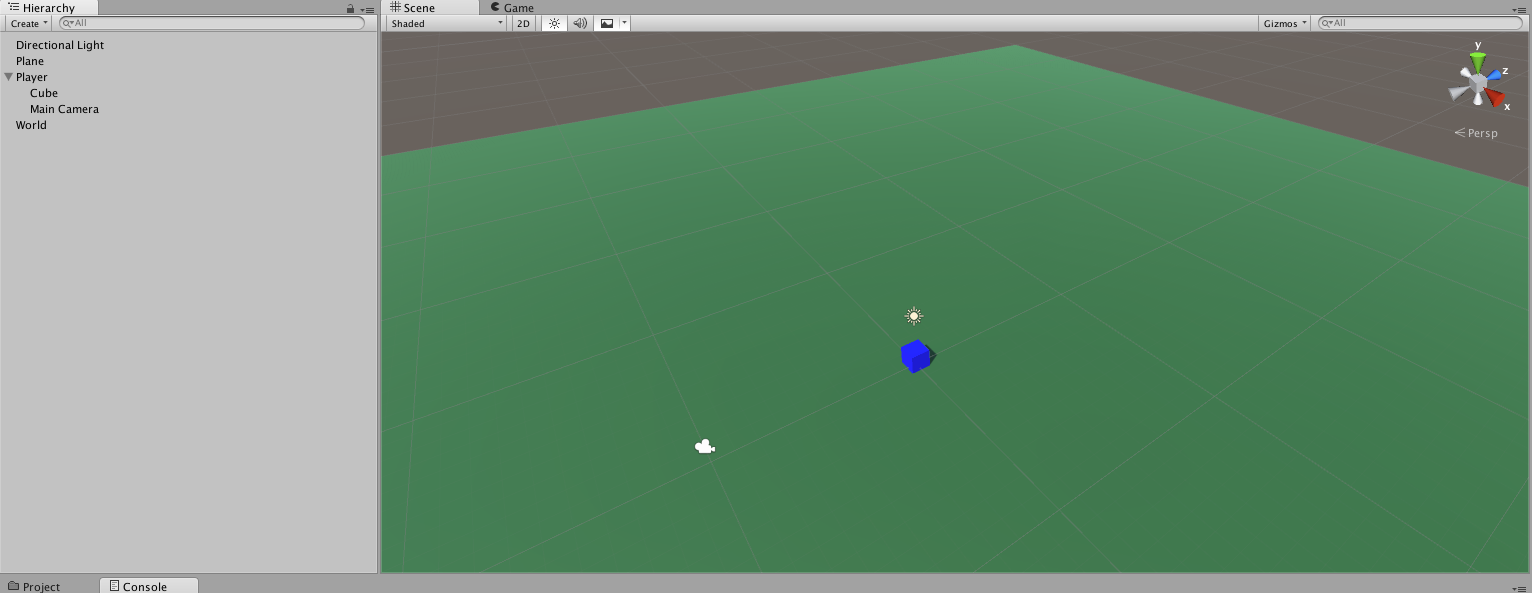
Let’s go to the Scene View in the Unity editor. Click in the Hierarchy View (with nothing selected) and create another empty object. Clear out its transform (0,0,0) and name this object “World.”

We’ll then want to clear up some old objects that we no longer need. Let’s delete the white cube and sphere we added for testing.
Now with the World Object selected, let’s add a cube. Then let’s change its position and scale values to equal Position 0, 2.5, 0 and Scale 10, 5, 1. This gives us a wall that is 10-units long, five-units tall, and one-unit wide.

Now let’s position our Scene Camera to have a top-down view. Click the green Y in the top-right corner of the Scene View.


Now rotate the wall 90 degrees and set the position to -5, 2.5, 5.

Let’s then add a duplicate of the wall. Right-click on it, duplicate, and then set its X position to 5.

Select both walls we have, and then duplicate them once again. With both selected, let’s make their Z-position value 15.

With them still selected, again duplicate, and move them to Z position 25 and X position -10.
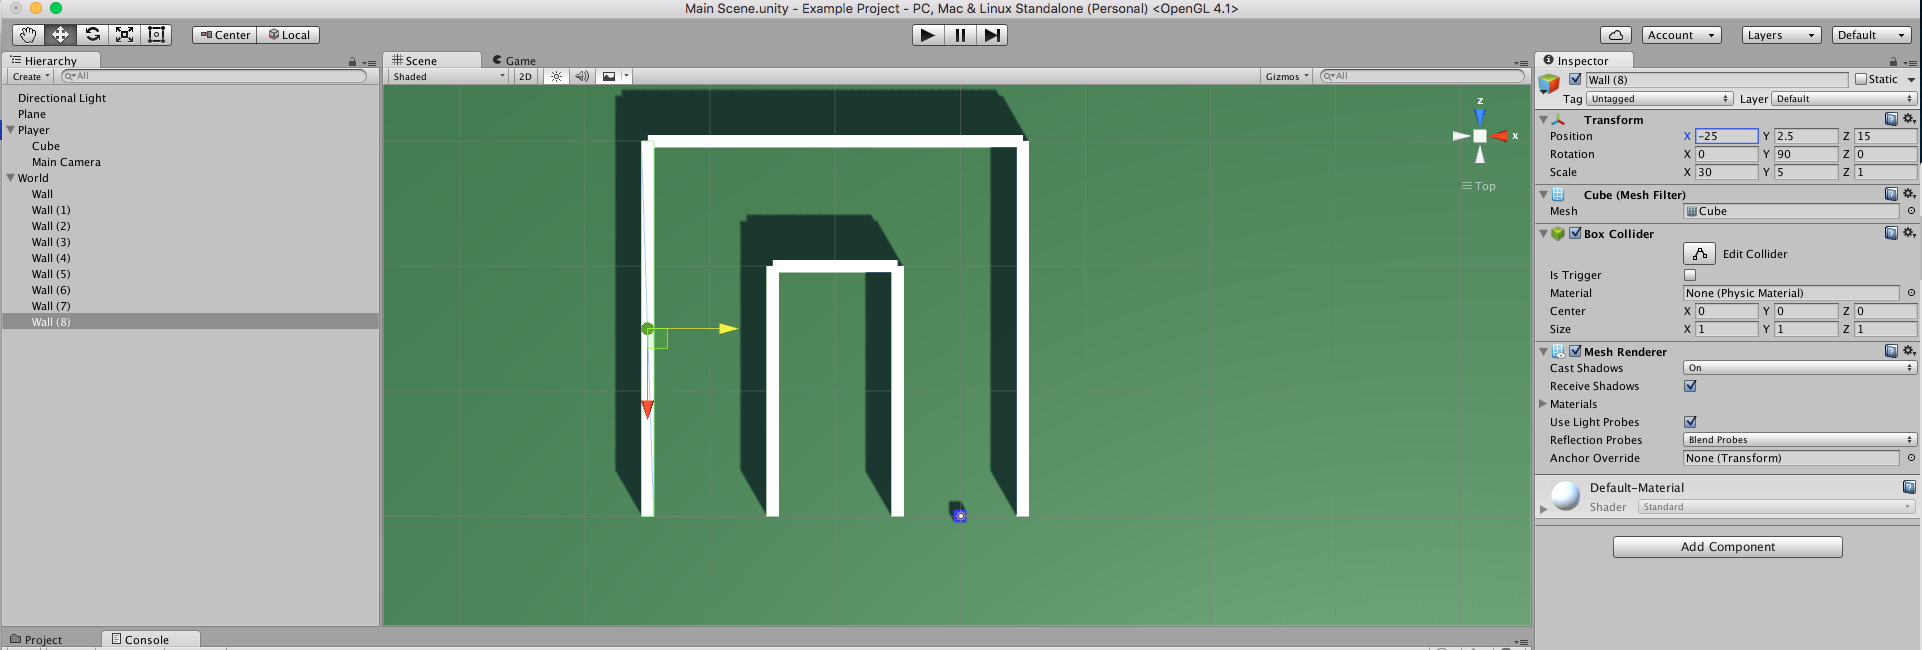
Next we are going to use a new tool which will rotate them together. In the top-right corner there is a group of 5 buttons. We are going to select the middle button and then set the Y rotation to 0.
![]()
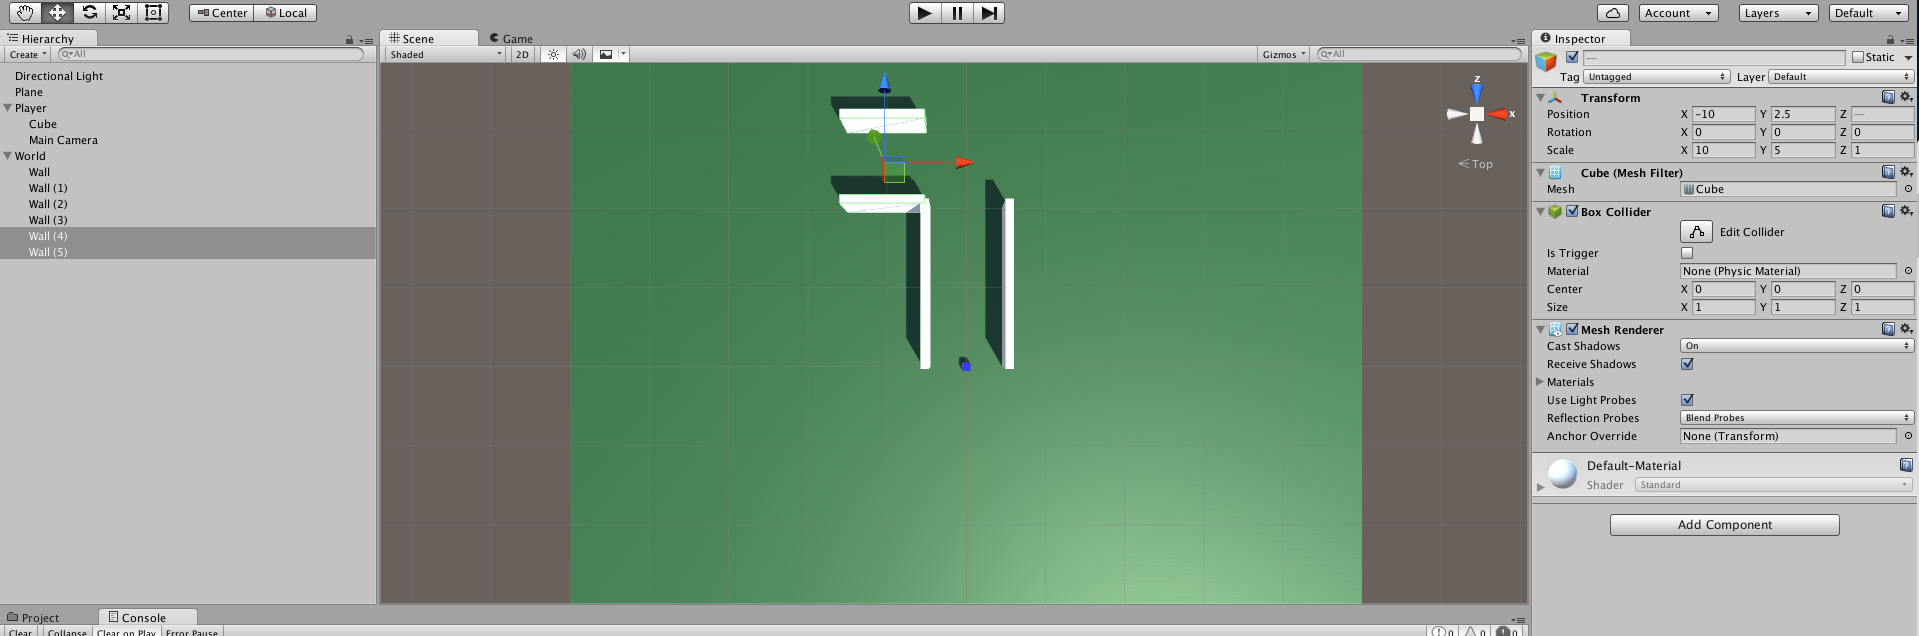
We then are going to select Wall(4) make its scale X scale 30 to make the length longer.
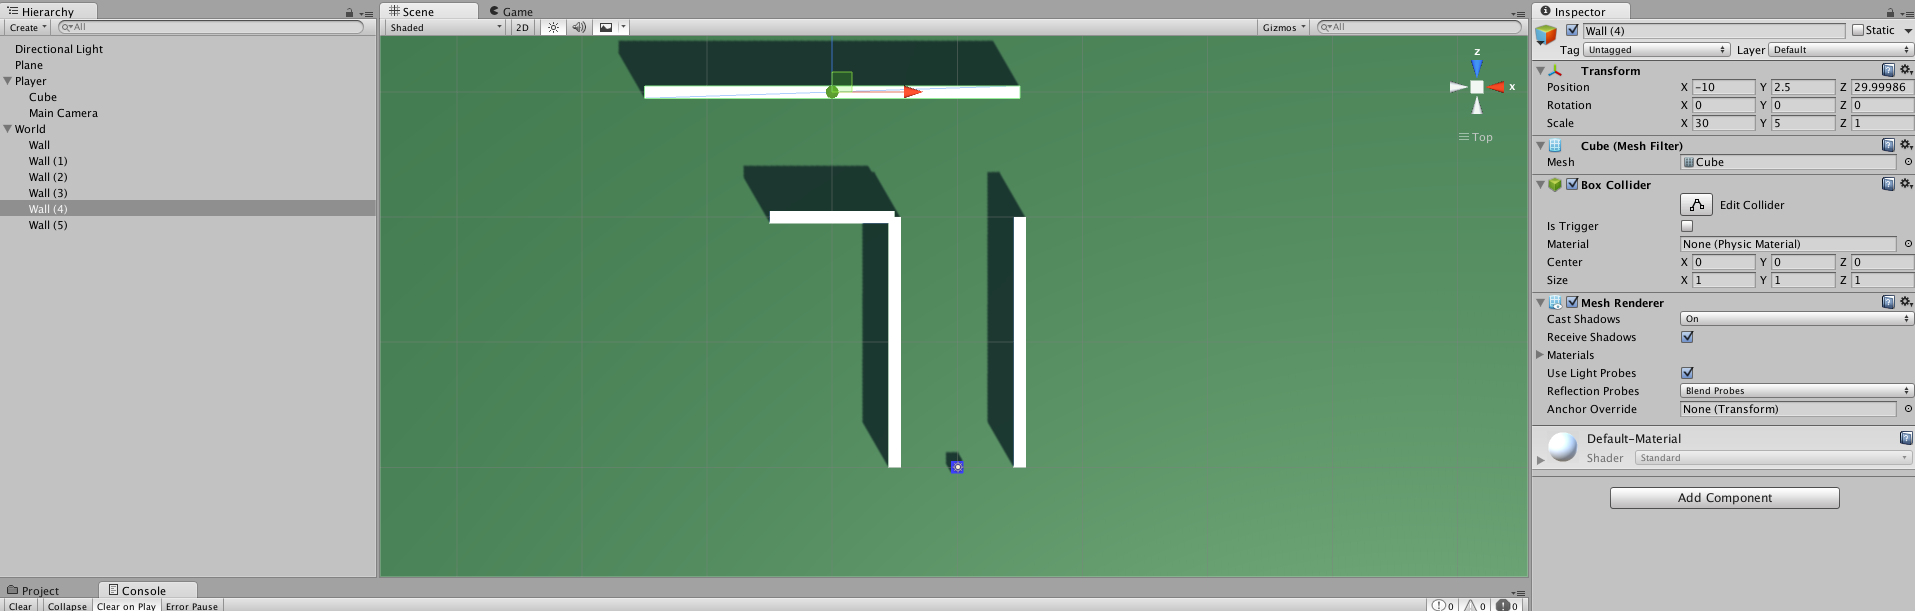
Then Select Wall(2) and set its scale X also to 30.

Then select Wall and Wall(3), duplicate them, and set the duplicates to X position -15.
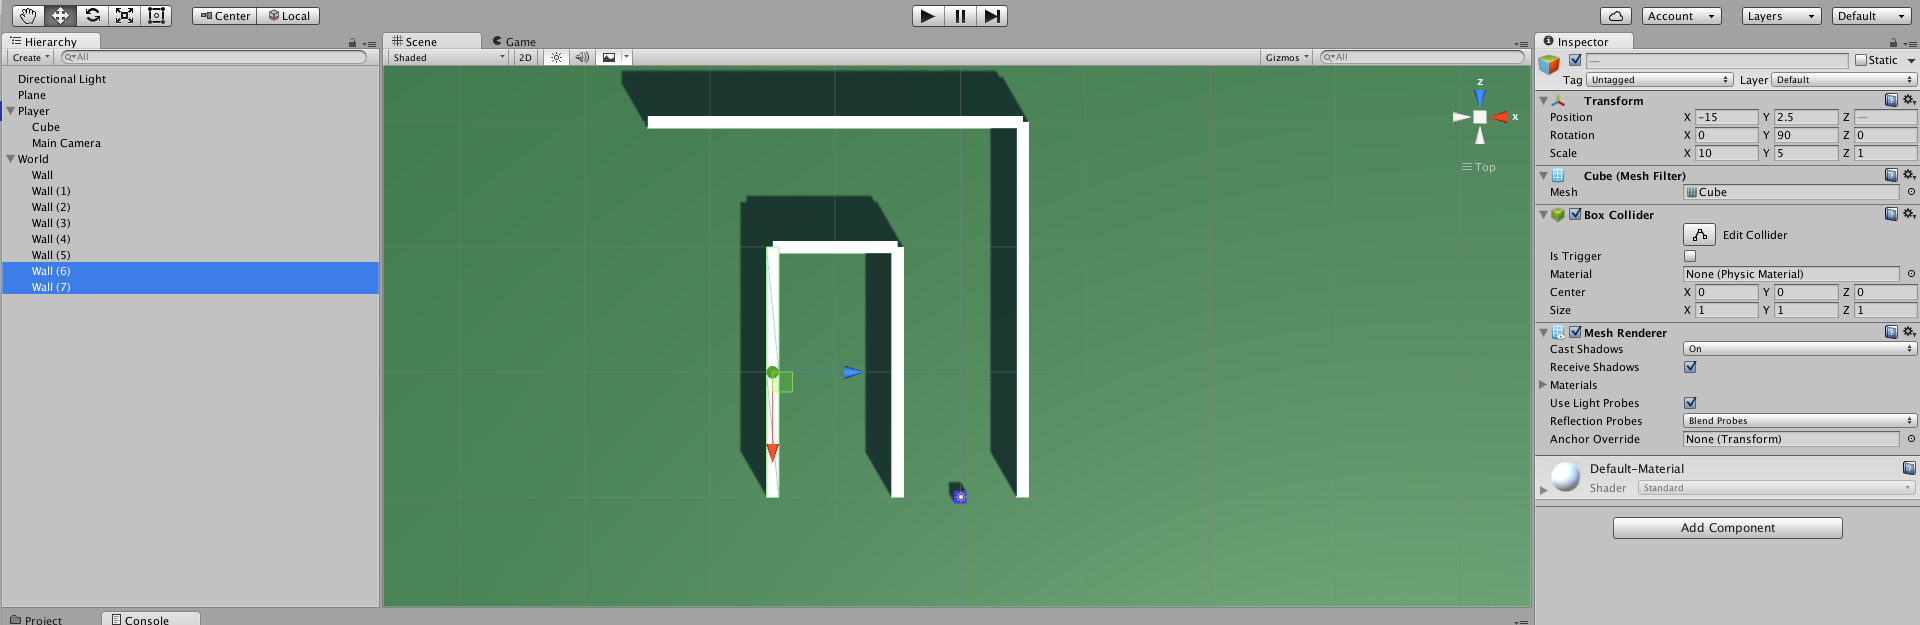
Then select Wall(2), duplicate it, and set its X position to -25.
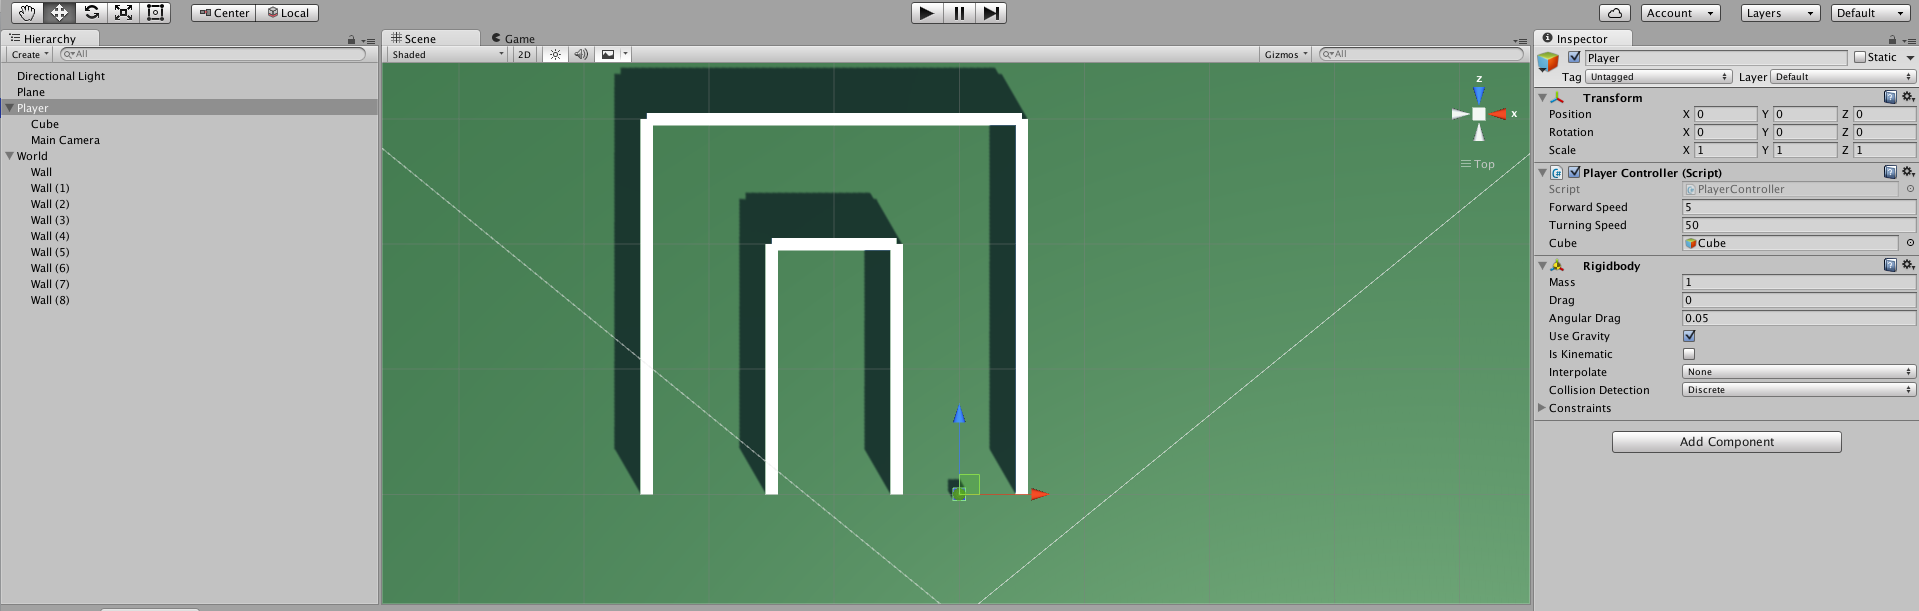
Now let’s make our speeds a little more friendly with this course.
Select the Player object in the Hierarchy View and edit the values “Forward Speed” and “Turning Speed” in the Inspector Editor. I like 5 for forward and 50 for turning.
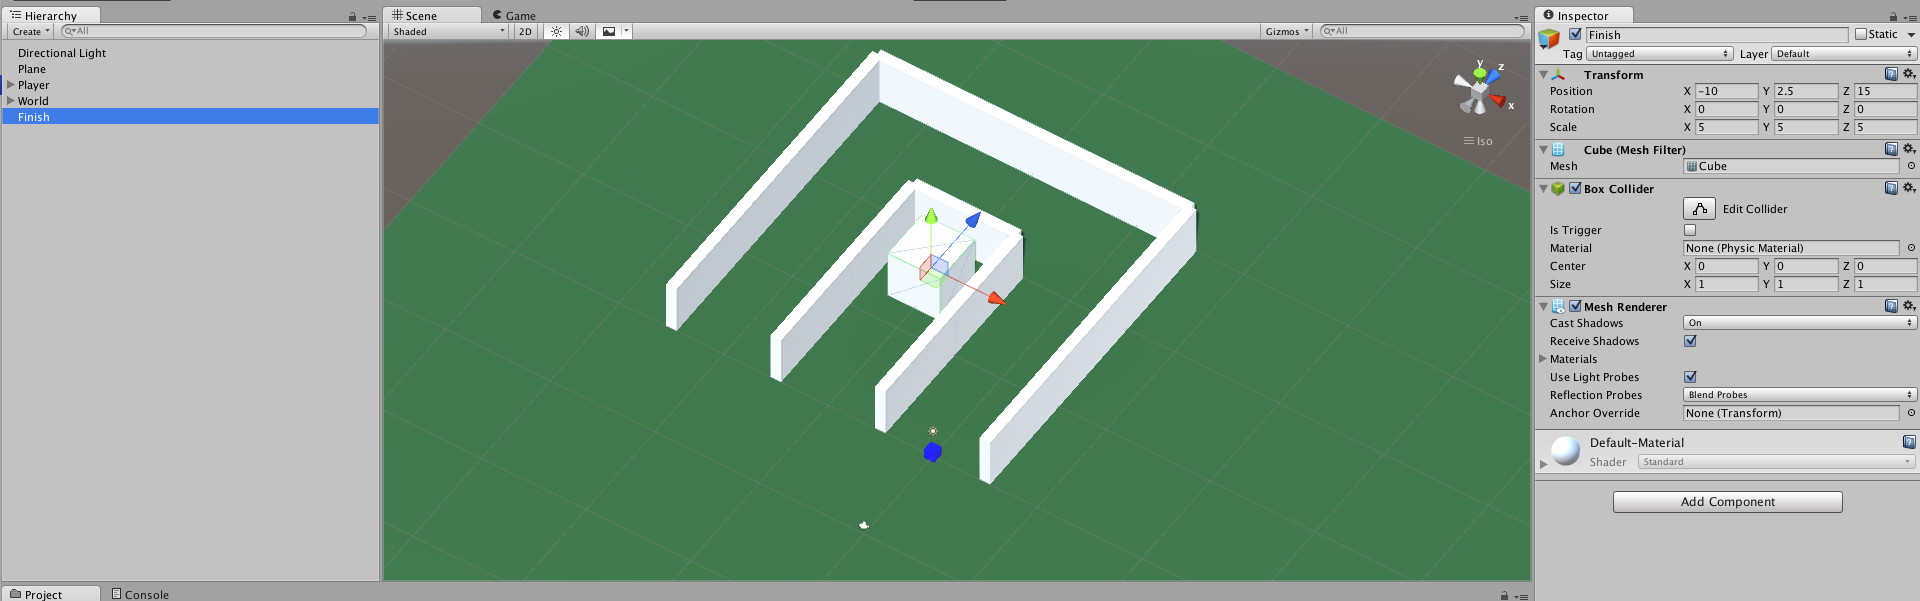
Now let’s add an objective to the game. Let’s add an area that has a collider that triggers when the finish line is crossed.
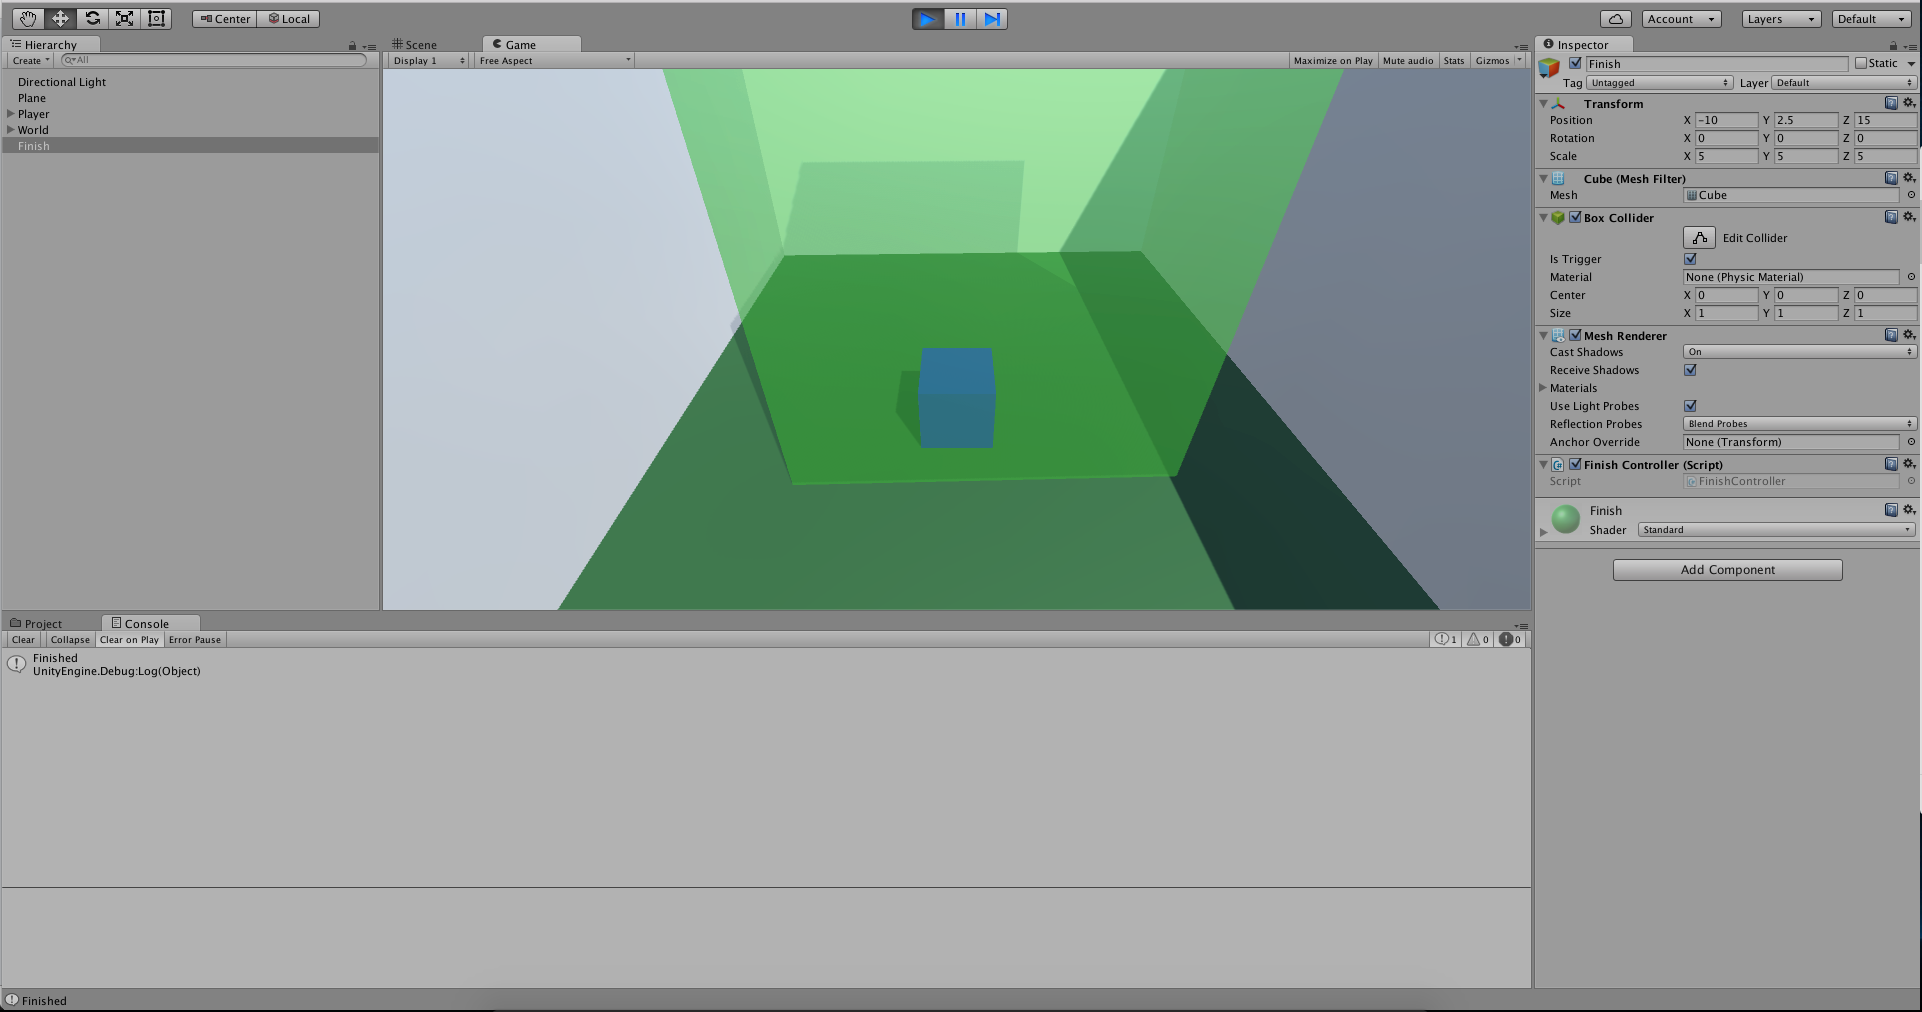
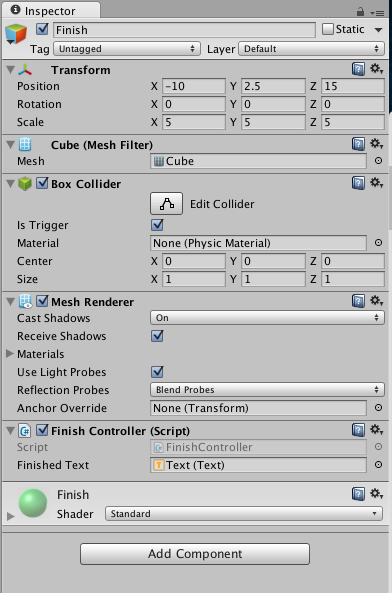
First let’s add the finish area. We will use another cube to set the boundaries. In the Hierarchy View with nothing selected, add a cube by right-clicking 3D Object -> Cube. Let’s name it Finish, set its position to -10, 2.5, 15, and set its scale to 5, 5, 5.
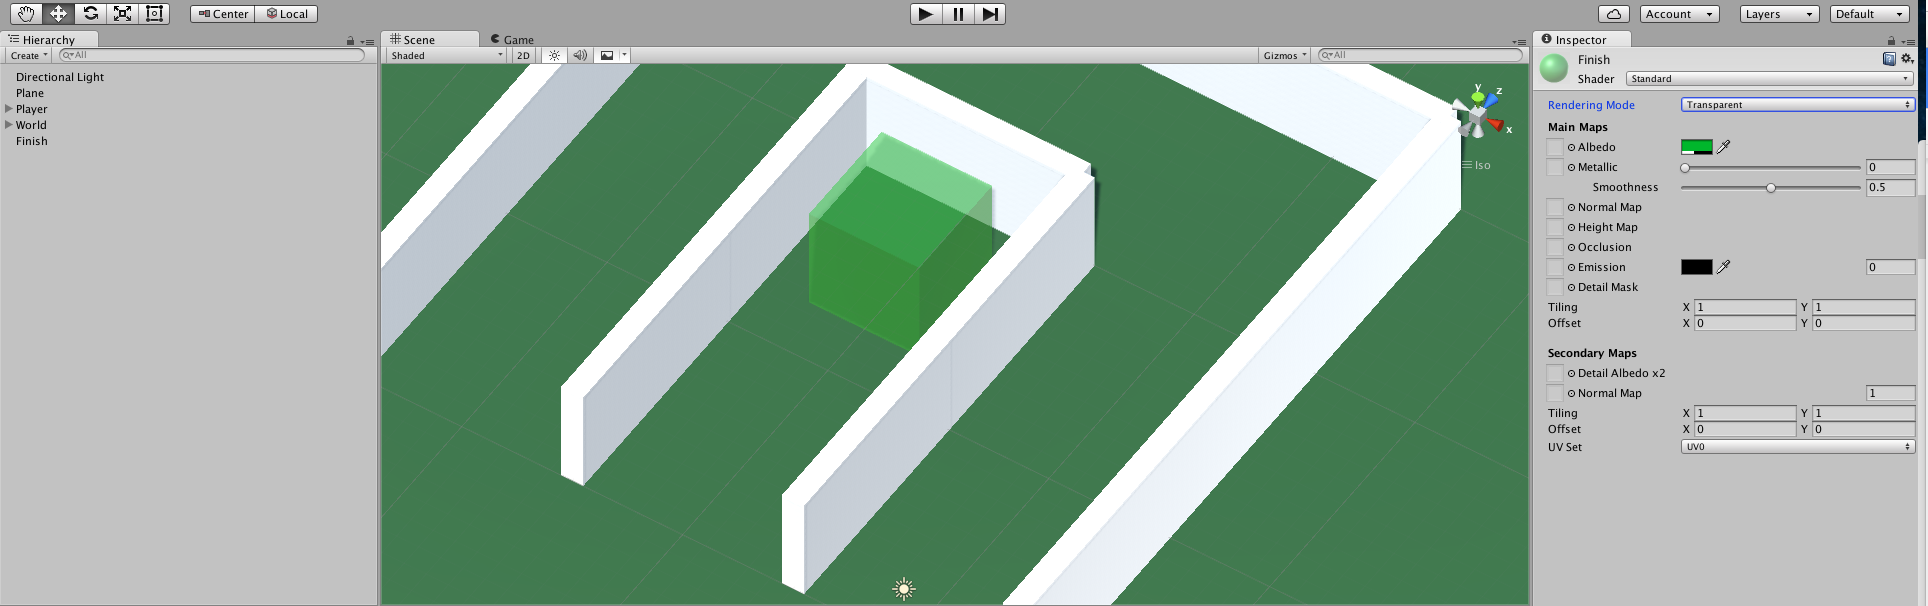
Next let’s give it a new material. Right-click in the Assets window and click Create -> Material. Let’s set its Albedo to 00B6006B and then change its Rendering Mode to “Transparent.” This makes it draw transparent.
We need to then edit the Finish Cube Collider; instead of adding to the physics, we want it to disable collisions and just trigger. We do this by selecting the Finish object, and in the Inspector under Box Collider, check “Is Trigger.” This will make the engine fire the OnTrigger methods.

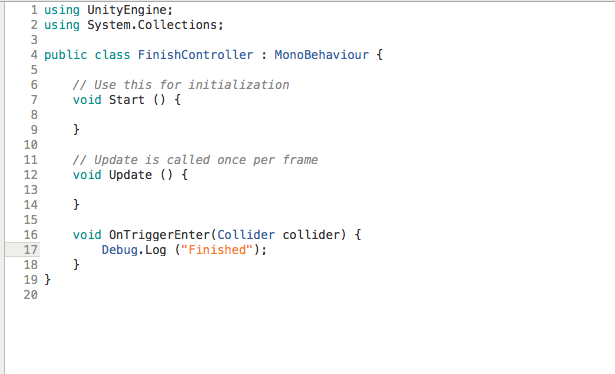
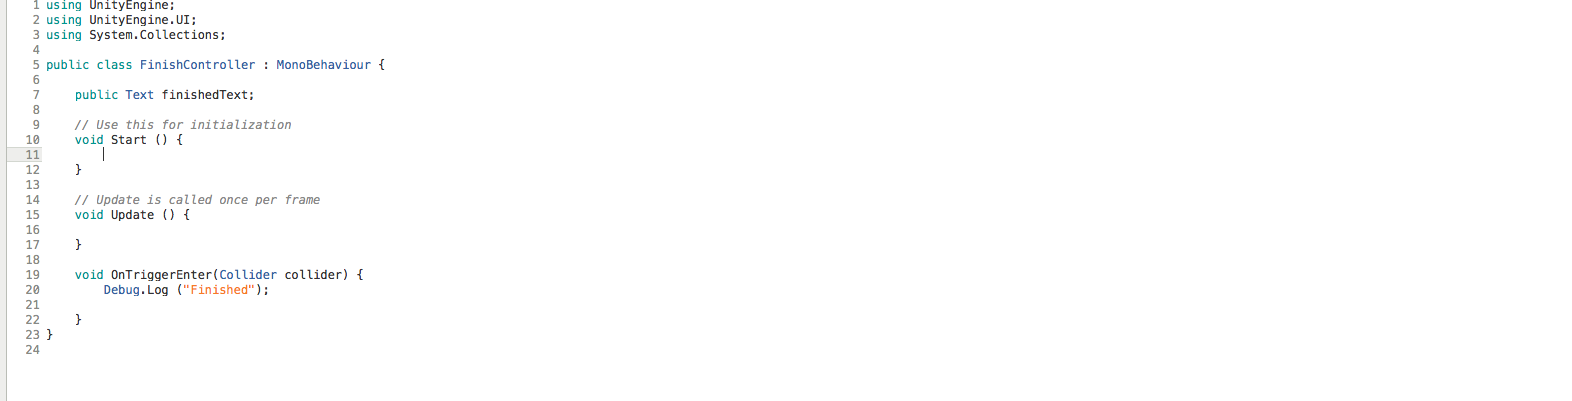
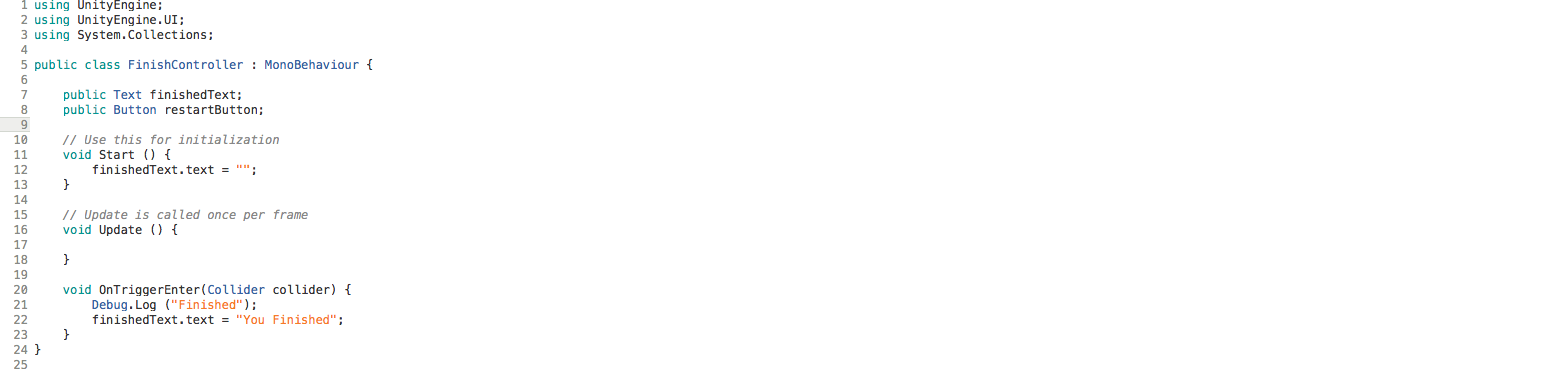
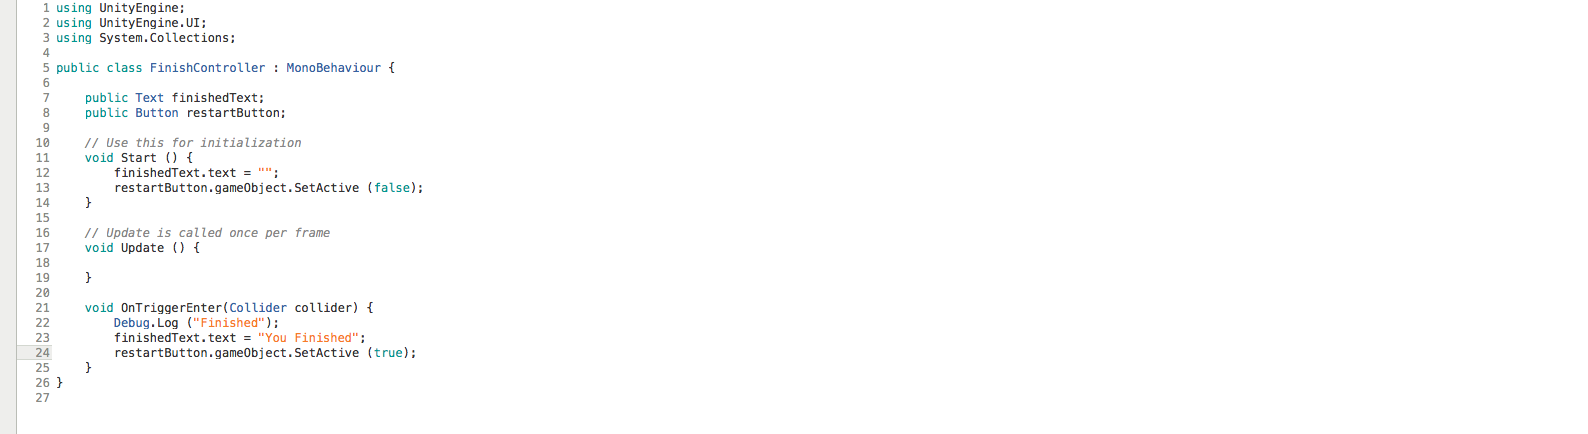
Lets then add a Script to the Finish object to control what happens when we finish. Let’s call it FinishController, and open it in MonoDevelop. Let’s then add a new function and then log when we enter the object.
void OnTriggerEnter(Collider collider){
	Debug.Log( “Finished” );
}
Now press Play. We should be able to travel around the world and find the Finish cube. Once we pass into the cube, we should be able to open the console window and see the message “Finished.”

Now instead of only logging the message, let’s set it to show a message across the display to show the user. We’ll have it say that they finished the game and then add a button to restart the game.
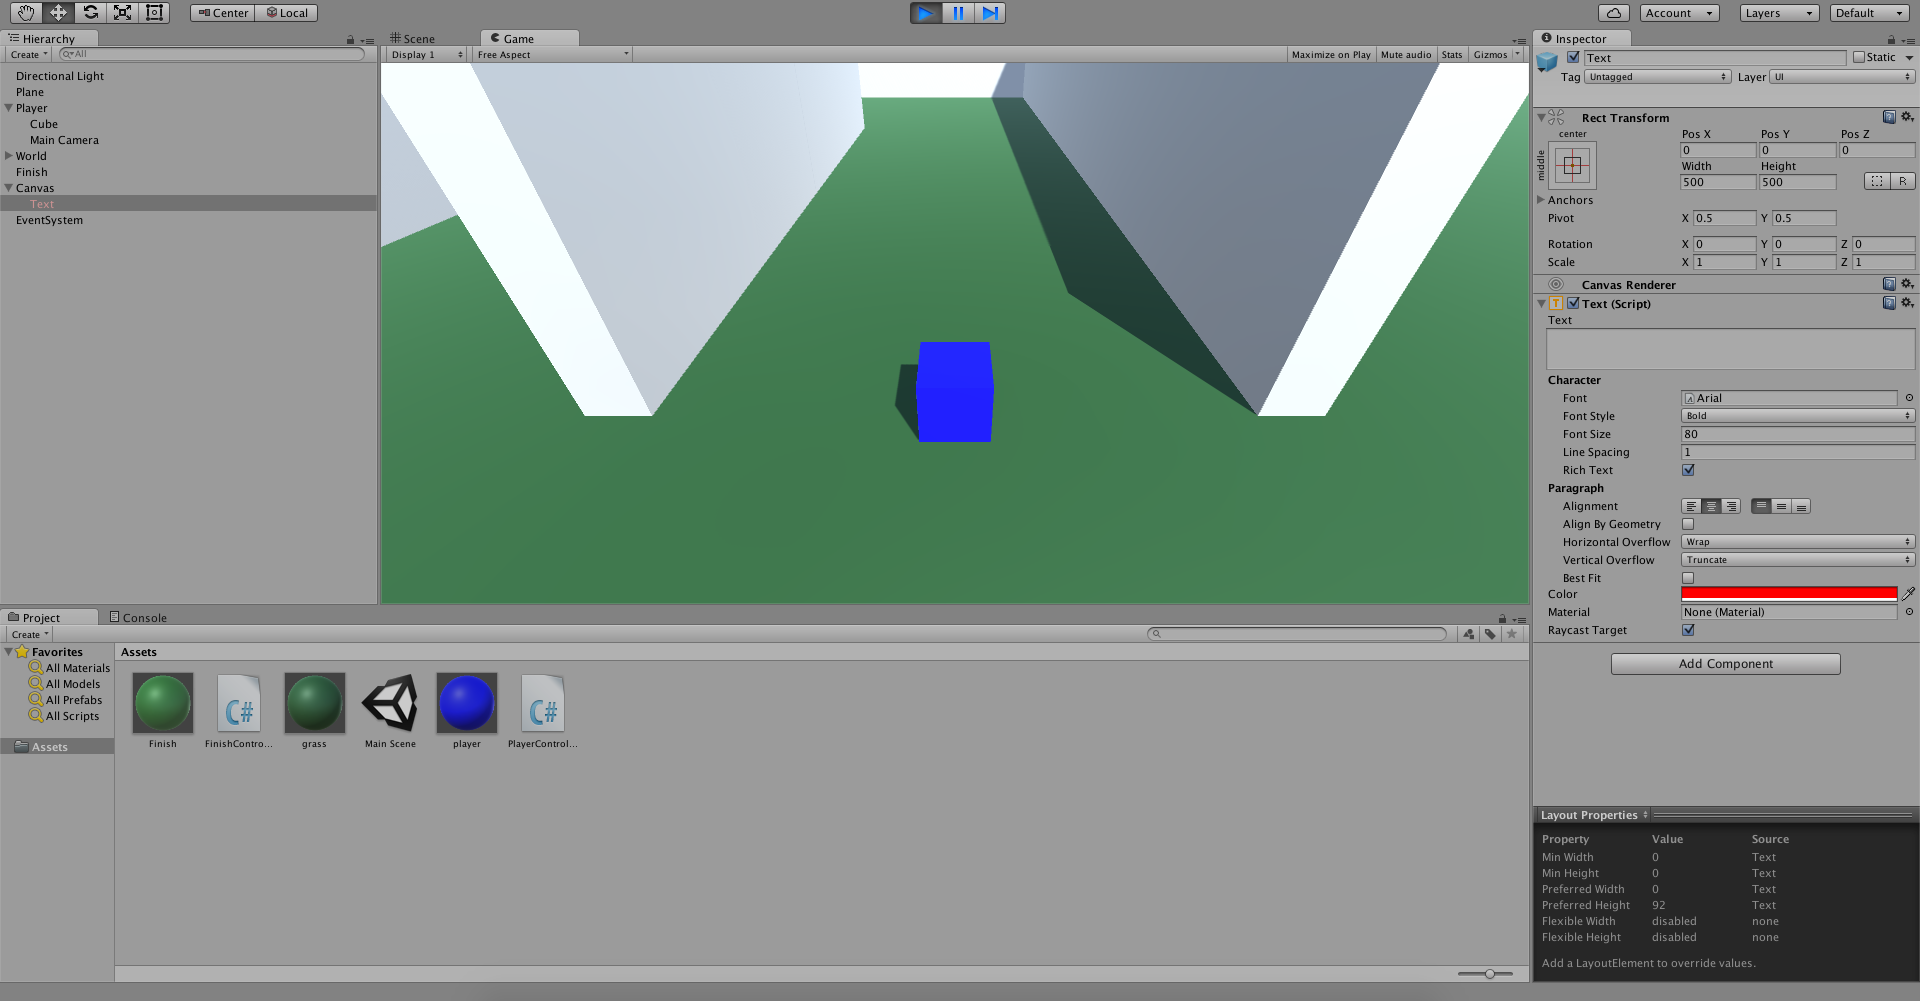
First we will need to add a Text object into our world. Go to the Hierarchy View, right-click, and click UI => Text. This will add three things to our scene: one is the text object which should in the camera view port, two is a Canvas which is the settings and hierarchy behind the GUI, and three is an EventSystem which allows events to be thrown and caught in the GUI like drag-and-drop.
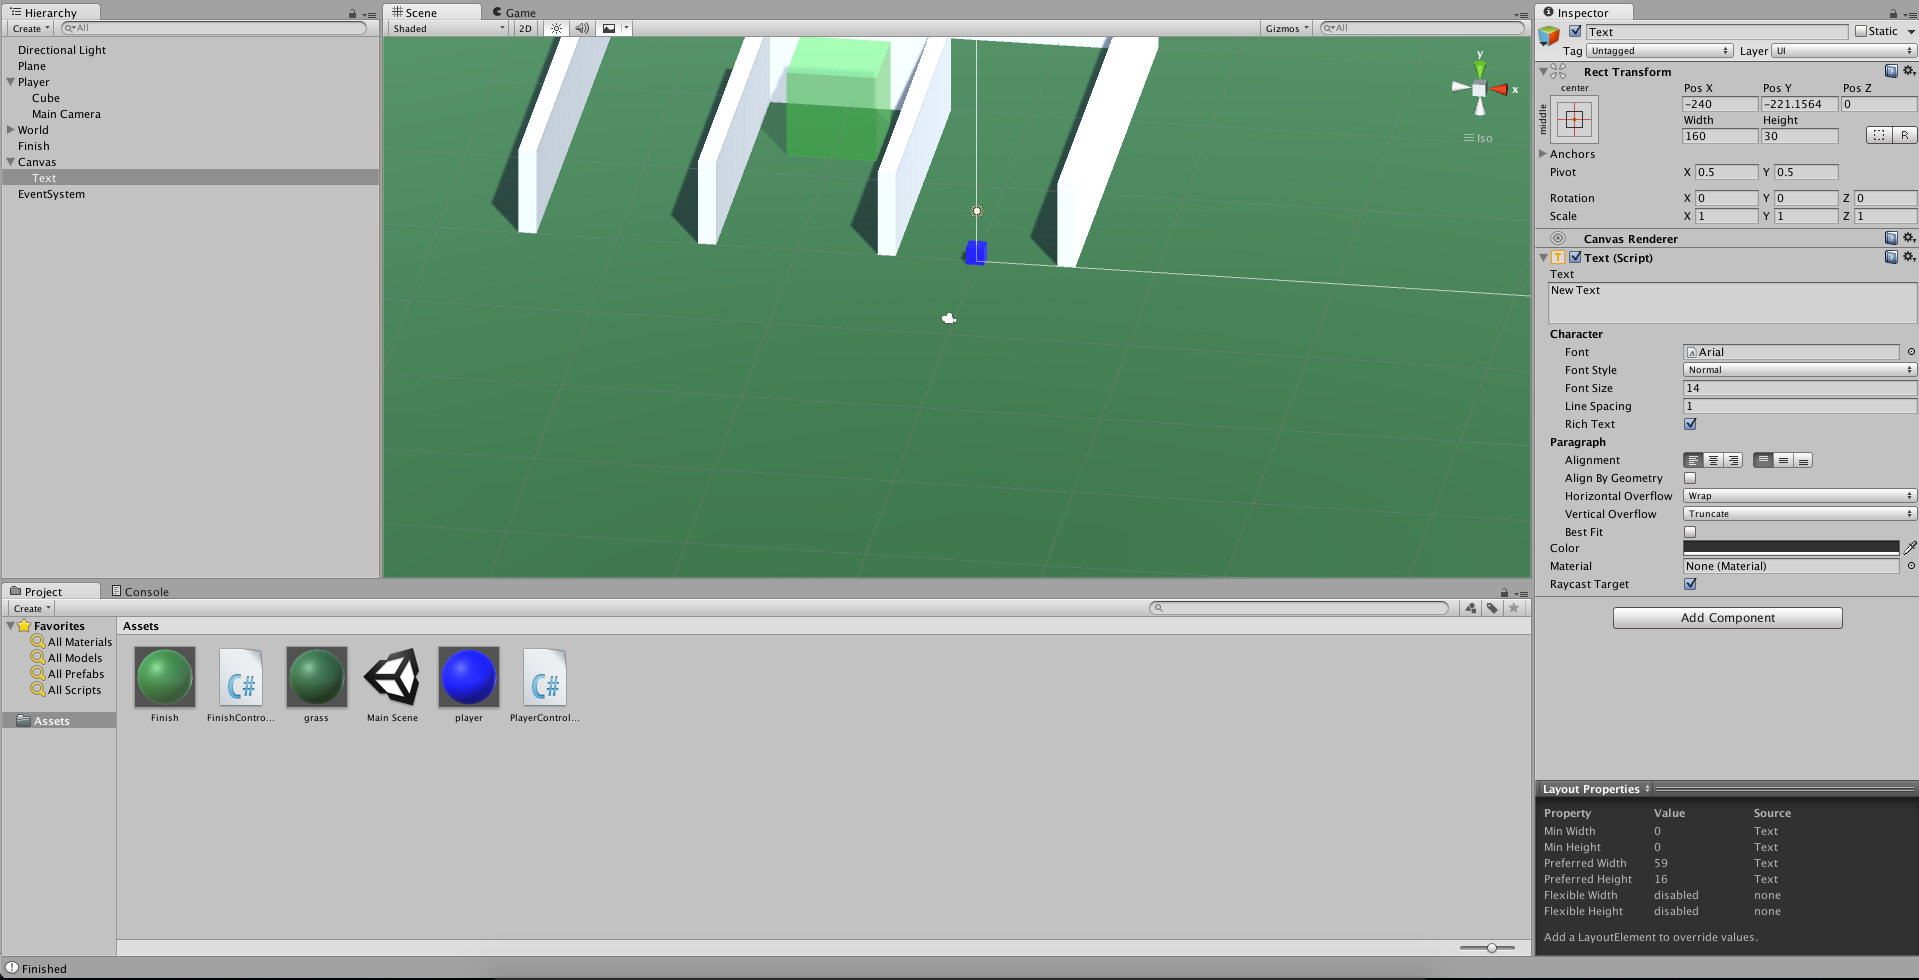
The text is difficult to work with while we are in Scene View, so let’s switch to the Game View.
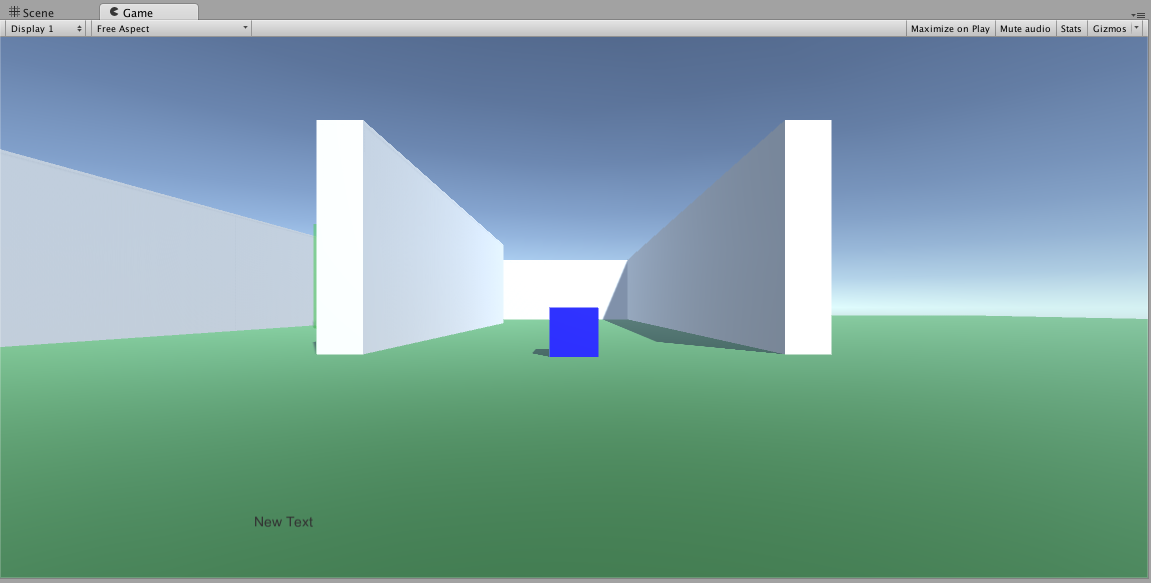
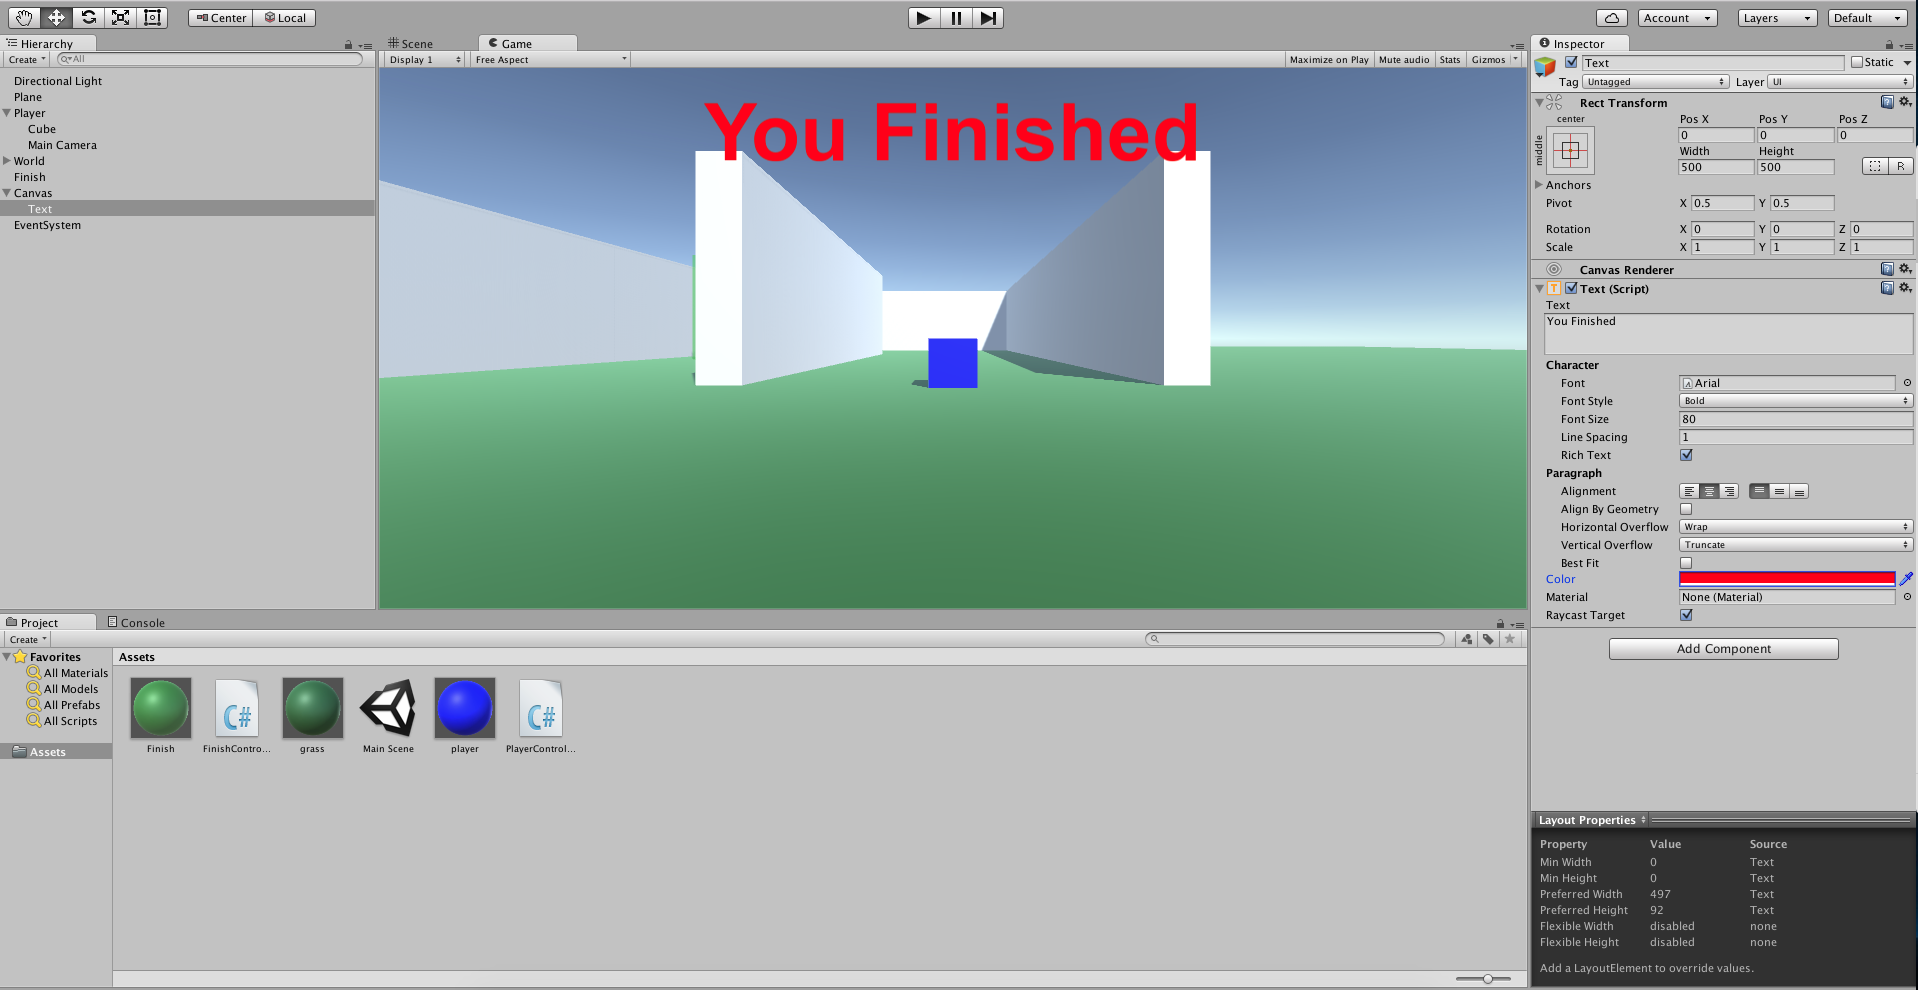
We should now be able to see in the bottom-right corner the “New Text” field. Let’s select the Text object in the hierarchy view. In the Inspector we can edit the text; set its position to 0, 0, 0, width to 500, and height to 500. Set the Text to “You Finished,” format to bold, with a font size of 80, and color of red.
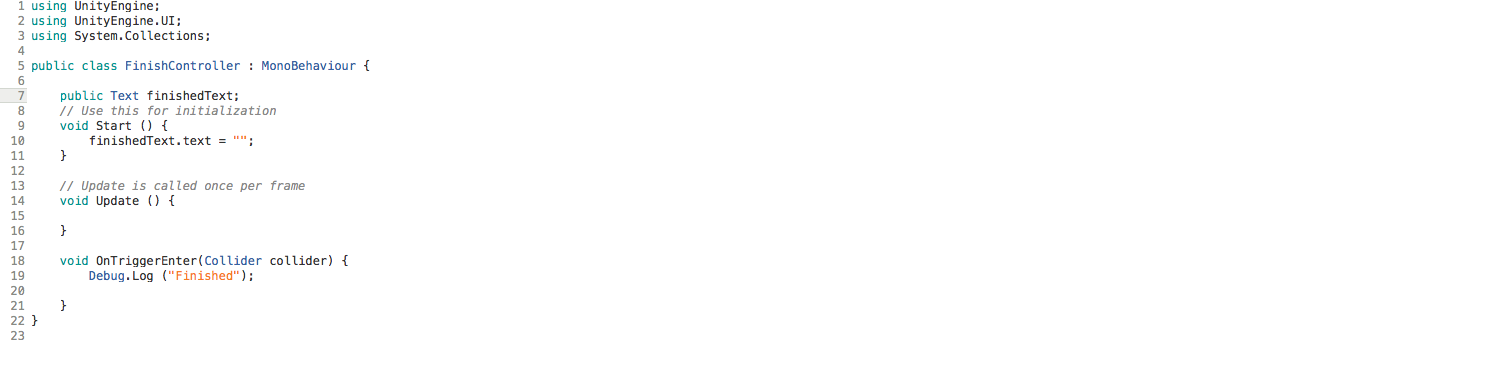
Let’s now open our FinishedController Script and add some code. We first need to be able to access the UI Library. So at the top of our script, we need to add using UnityEngine.UI, then let’s add a public Text finishedText so we can access our text element.
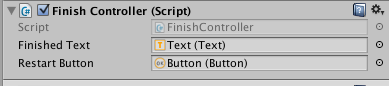
Now back to the Editor. Let’s click on the “Finished” cube object and drag our “Text” object into the script’s “Finished Text” field.
We now have access to the text element. To set up our text let’s write in our FinishedController -> Start function finishedText.text = “”; this will in a sense hide our text by making it blank when we run our game.
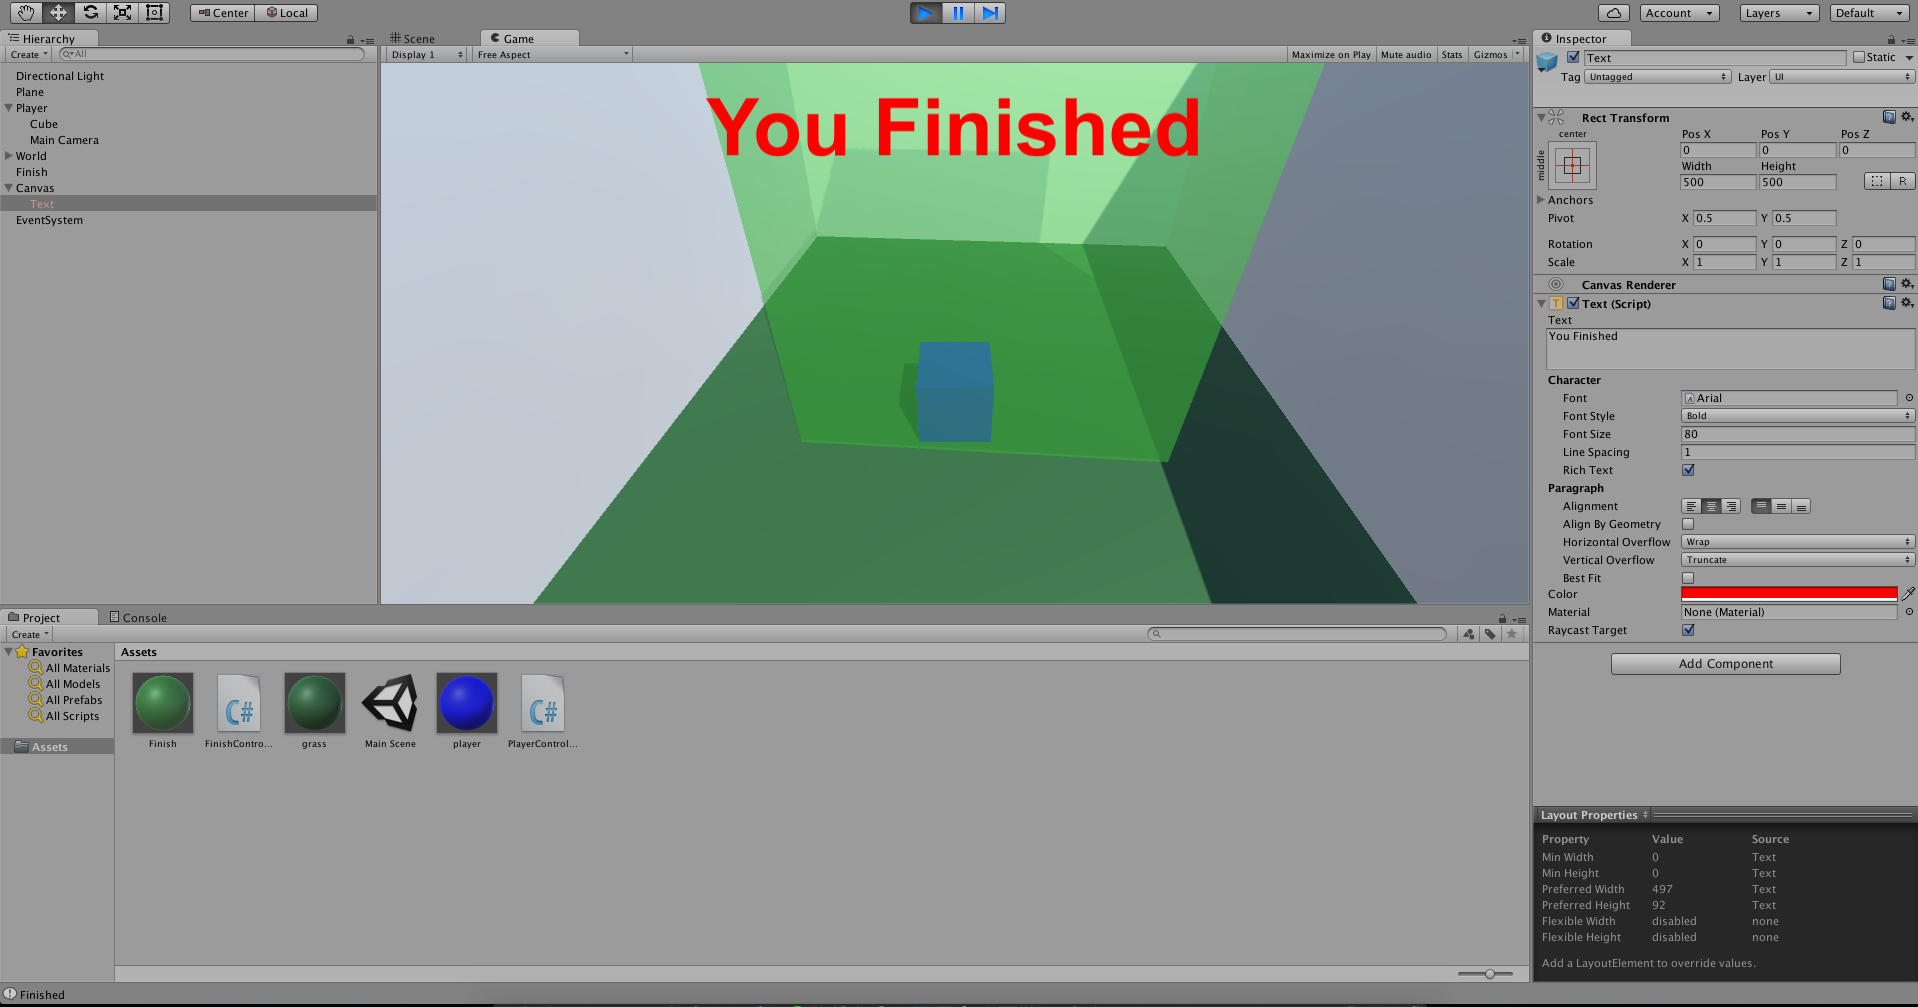
Now let’s move to our OnTriggerEnter function and add code to write “You Finished” in the text.

Now press Play. We should see the text disappear just as the game starts. Once you find the finish and cross into the cube, it should give you the finished text.
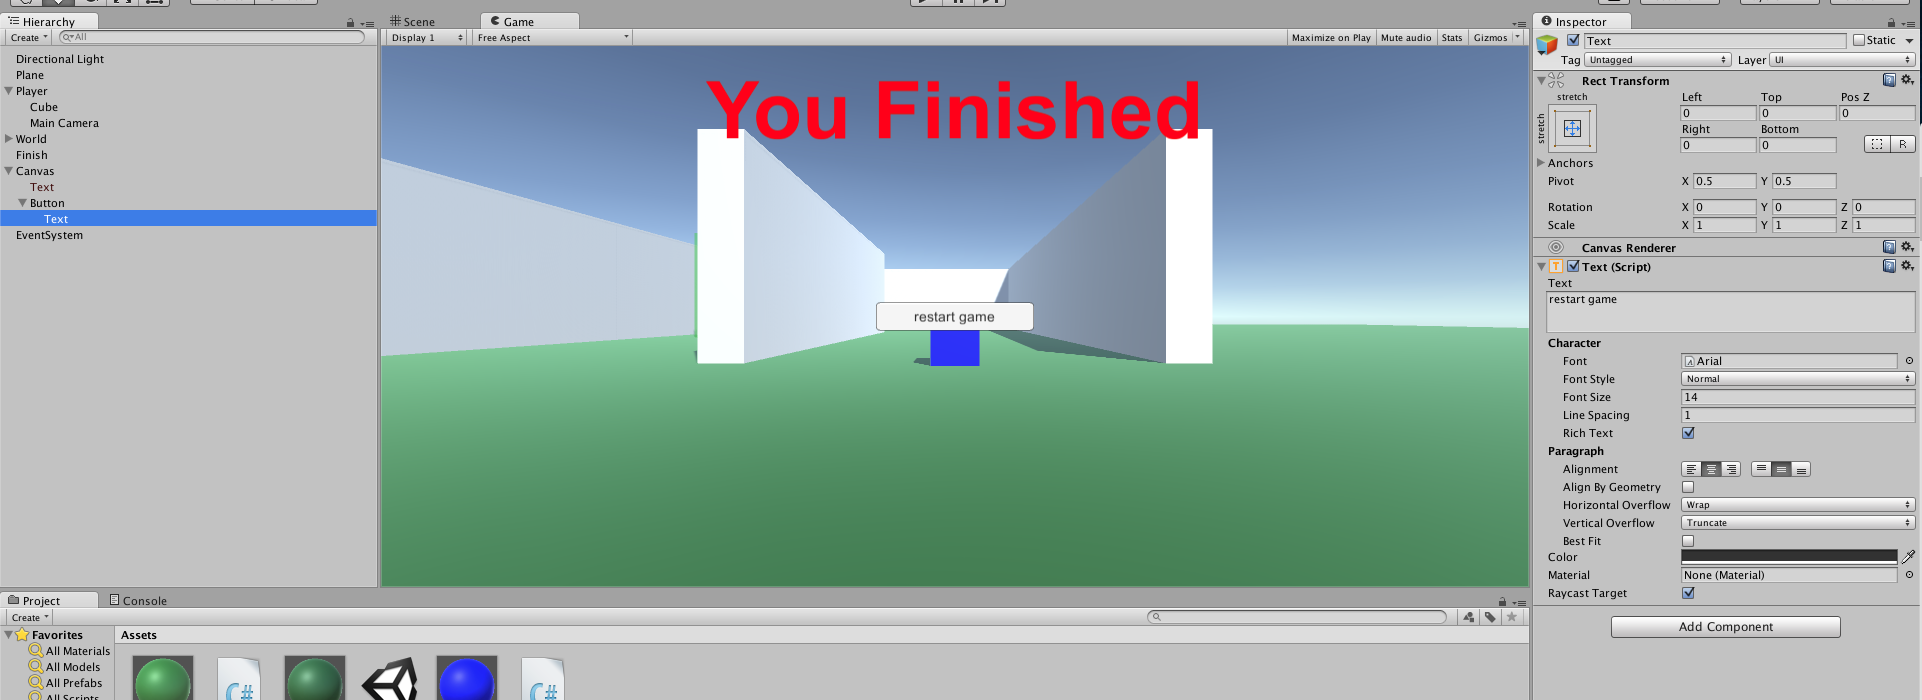
Now let’s do the same as the text, but add a button this time. Select the button and in the Inspector, change the text to restart game. Let’s leave it in the default position.
Now let’s go to the FinishController and add another public UI element public button restartButton.
And back to the Inspector for the “Finish” object. Let’s drag our button over to restartbutton.
Let’s add some code in start function. We’ll want to hide code to allow us to not see it the whole time and also some code to reset. First the hide which we can add restartButton.gameObject.SetActive(false), this will hide the game object. Then in the OnTriggerEnter we need to reverse that with restartButton.gameObject.SetActive(true);.
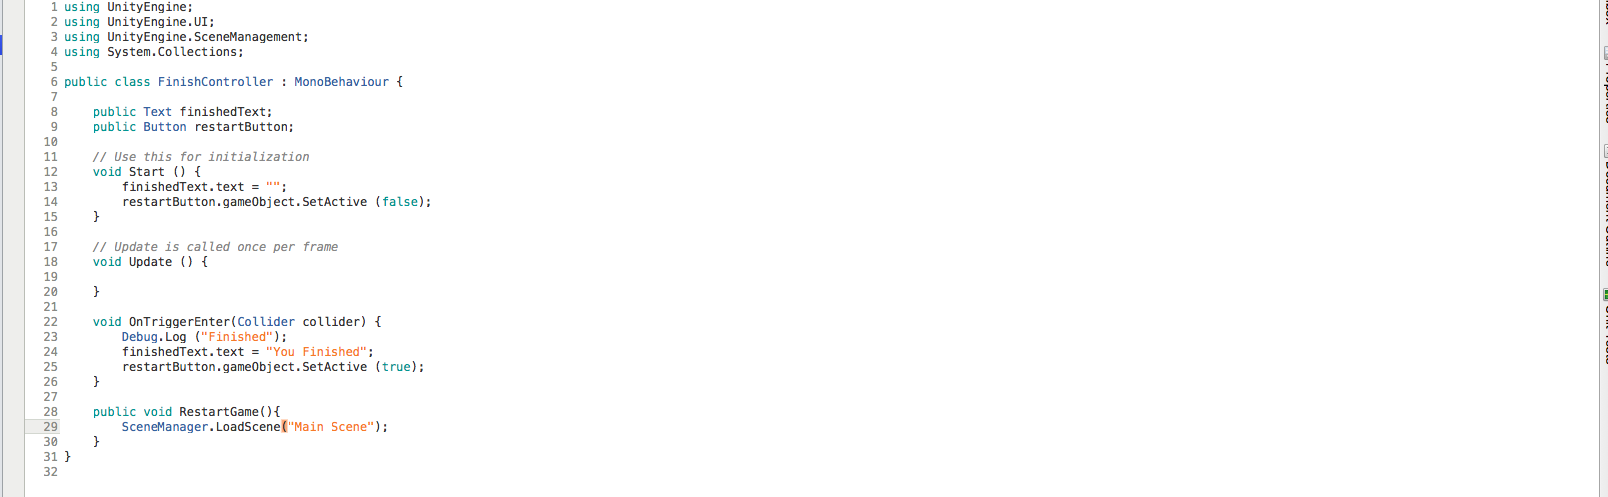
Then in the FinishController, let’s add a public void function called RestartGame(). This will be the function we call in the on click controller for the button. Also in the function, let’s add the code to reload our scene when it is pressed, add another using statement to the top of the file using UnityEngine.SceneManagement;. Then let’s add the code to RestartGame Function SceneManager.LoadScene(“Main Scene”);. It must be what you called your scene in the string, otherwise it will change your scene instead of reloading it (Main.Scene).
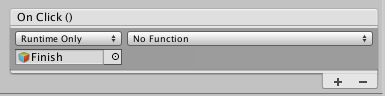
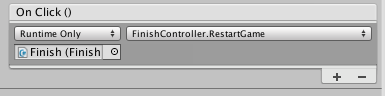
Now we can go to the Hierarchy View and select the Button object. In the inspector there is an On Click Controller at the bottom. We want to click the + sign and add a new runtime only. Then we’ll drag the Finish Game Object over to the drop-down, click on the no function, and select FinishController => RestartGame.
Now let’s play.
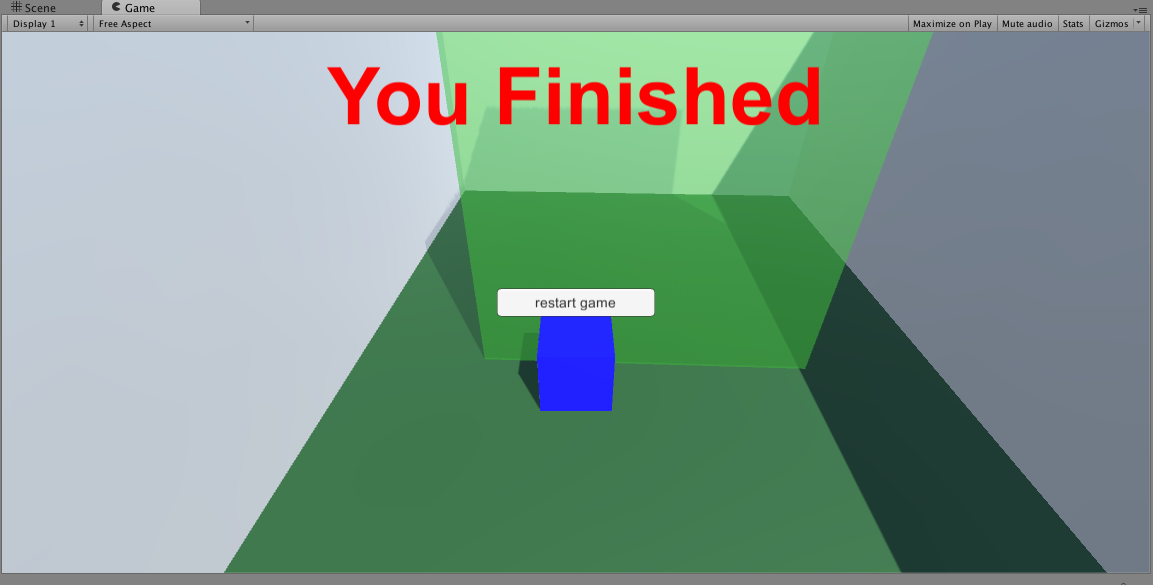
You should now be able to play through to the end of the game. Once the finish is triggered, you should get the message that says “You Finished” and the “Restart Game” button. If you click the “Restart Game” button, it should allow you to play through again.
Wrap Up
The End!
You should now be able to create a simple 3D game or application in Unity3D with rich controls. Please leave any comments or questions that you have. Thanks for reading!
| Reference: | Building 3D Simulations In Unity3D from our JCG partner Greg Yotz at the Keyhole Software blog. |
