Now, that the arm is assembled it is time to take it to the next level. It is time to unleash the beast and gain full control of the whole robot arm. By the end of this post you should have an idea of how to program this robot arm to do what you want it to do. To see how I got here please visit my previous article describing the assembly process – Build your own robot arm – assembly.
What you need
Once again, you will need to get some extra hardware to facilitate the parallel control of servos and a solder to assemble the shield.
- Servo shield (like the one I used Adafruit 16 channel pwm slash servo shield – roughly 16 €)
- Soldering machine
- An Arduino IDE
Servo shield
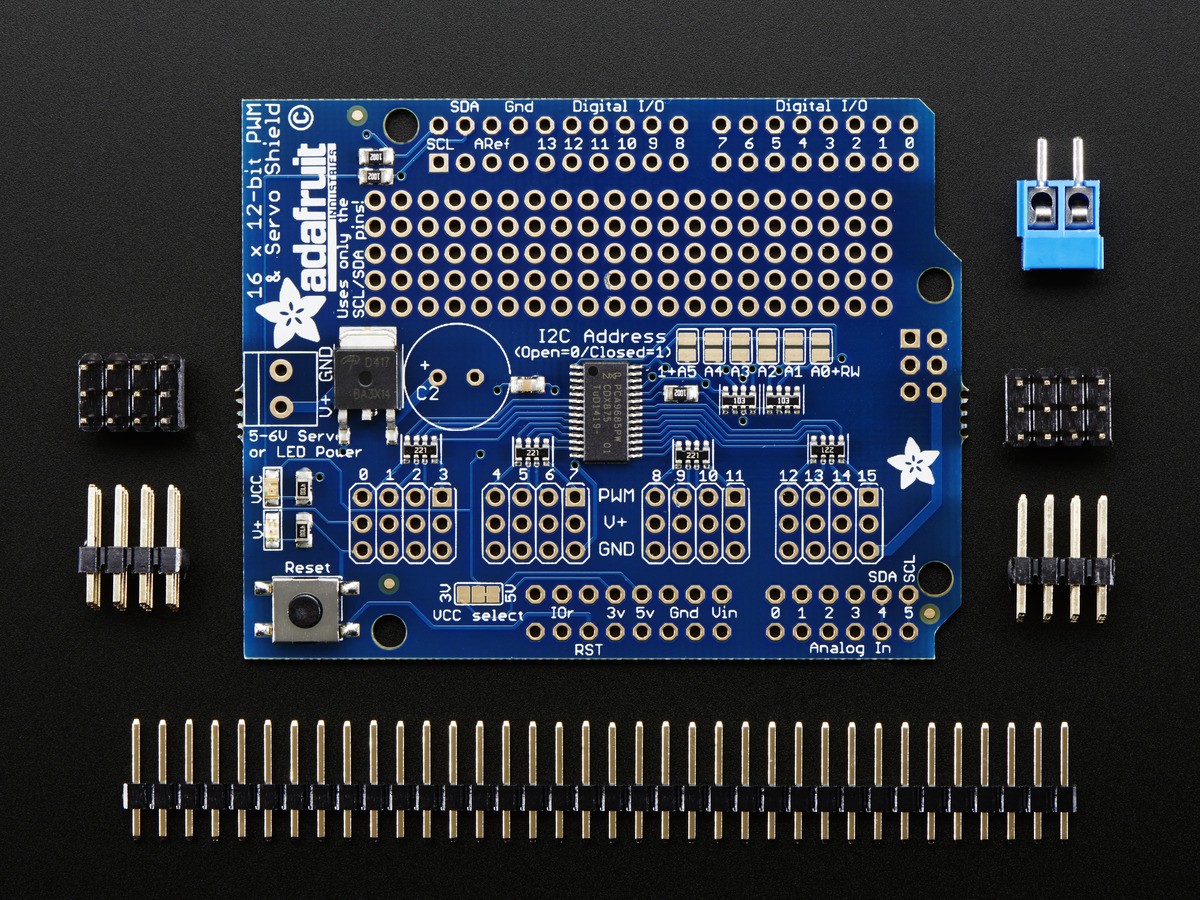
Lets start with the first step – preparing the servo shield. If you buy servo shield that is ready to go than feel free to skip this part. Main objective here is to end up with assembled servo shield like the one depicted below.
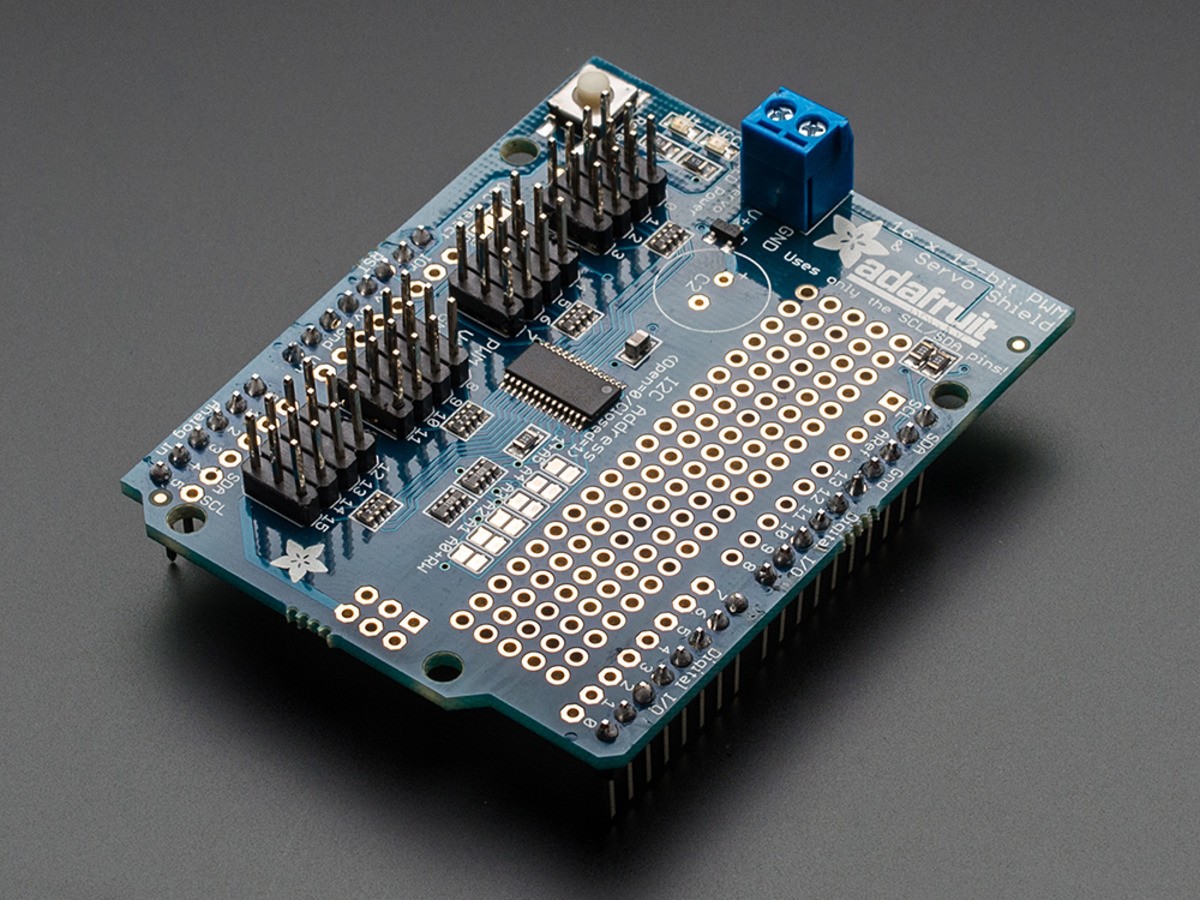
When you order the Adafruit shield, it will arrive like this and you will have to solder it together yourself. If you have previous experience with soldering this should be a piece of cake. If this is your first soldering project, I suggest to watch a few YouTube videos to see, how to go about soldering and assembling Arduino shields. When you feel ready check Adafruits tutorial on how to assemble the shield.
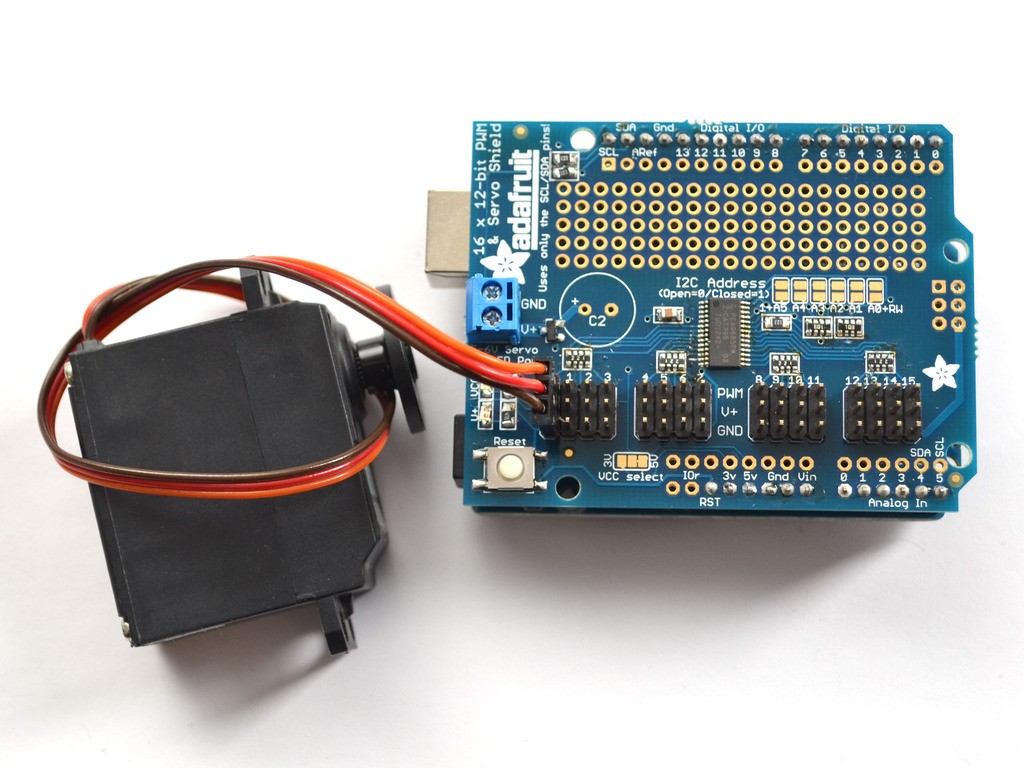
Once you have your shield ready, try connecting one of the servos to it. Keep in mind that you need to match PWM, V+ and GND pins to the wires coming out of your servo.
Programming
To make any use of this shield we need to be able to address it programatically. Adafruit released a library to facilitate this available here. I also suggest to browse through library GitHub repo and also see the examples of usage.
Research & development
At this point some research is required. Aim is to find either the edge position of each servo or middle one so you can use them later as a reference point. You need to try out several values to find the sweet spot that suits your build. Based on servo spec the frequency these servos operate at is 50 Hz. When it comes to servo movement the spectrum you need to examine ranges from 0 to 4 096. Values you will arrive at are based on the way you assembled your arm so they may vary from mine.
At this point you may want to utilize following method that simplifies the control of the servo:
Servo write method
float SERVOFREQ = 50;
float pulseconstant;

void setup() {
    pulseconstant = (1000000/SERVOFREQ)/4096;
}

void servoWrite(uint8_t n, float pulse) {
    float pulsetick = pulse/pulseconstant;
    pwm.setPWM(n, 0, pulsetick);
}
Values that work for me are as follows:
- Base servo
- turns the arm to the right and left
- middle position at 1 440
- Height servo
- changes the height of the gripper
- middle position at 1 675
- Length servo
- changes the reach of the arm
- middle position at 1 440
- Grip servo
- opens and closes the gripper
- closed position at 2 115
Servo movement is just a matter of changing the value based on the direction you want to move the servo.
Final code
Putting all the pieces together results in a simple sketch like this one. The whole purpose of this sketch is to set the arm into its initial position.
Initial position sketch
#include <Adafruit_PWMServoDriver.h>

Adafruit_PWMServoDriver pwm = Adafruit_PWMServoDriver();

#define BASE 0
#define HEIGHT 1
#define LENGTH 2
#define GRIP 3

float base_init = 1440;
float height_init = 1675;
float length_init = 1440;
float grip_init = 2155;

float SERVOFREQ = 50;
float pulseconstant;

void setup() {
    pulseconstant = (1000000/SERVOFREQ)/4096;

    pwm.begin();
    pwm.setPWMFreq(SERVOFREQ);

    servoWrite(BASE, base_init);
    servoWrite(HEIGHT, height_init);
    servoWrite(LENGTH, length_init);
    servoWrite(GRIP, grip_init);
}

void loop() {
}

void servoWrite(uint8_t n, float pulse) {
    float pulsetick = pulse/pulseconstant;
    pwm.setPWM(n, 0, pulsetick);
}
What is next?
At this point you should have your robot arm up and operational. Given your programming abilities you can program it to do what you like. But this is not enough (at least for me). This setup is cool and all, but it lacks the element of interactivity. So in my next and final post titled Build your own robot arm – remote control I will explore the options of interactive control of the arm. There are several options to go with like desktop application or mobile app but since I own PlayStation 4, I decided to use my PS4 wireless controller to control the arm. And yes, it is a lot of fun :)
Pictures used throughout this post were taken from adafruit.com. Feel free to check them out.
| Reference: | Build your own robot arm – programming from our JCG partner Jakub Stas at the Jakub Stas blog. |

How if i want to using stepper motor ?