Build Binaries Only Once is a very important principle of Continuous Deployment (CD). However that blog guides you to build and deploy binaries to Nexus from your development machine. This is fine as a starting step where everything is locally contained on your laptop and you are just testing setup to figure out how things work. But everybody in the team having a local Nexus repository defies the purpose of a “shared repository”. This is also against Continuous Integration (CI) where the source code committed by different team members checked out and build on a CI server. And CI is a fundamental requirement for Continuous Deployment. How do you set this up then?
You use a CI server to push binaries to Nexus.
There are a varety of CI servers in both open source and commercial range. Jenkins, Travis, CruiseControl and Go are some of the popular ones in the open source land. They all have a commercial edition as well. Bamboo and AnthillPro are a couple of popular commercial-only offerings. This blog will use the simplest, most popular, and easiest to use Jenkins CI server.
The overall flow is shown in the diagram and explained after that.

The flow is:
- Developers push code from inside firewall to GitHub
- Jenkins is polling GitHub for code updates
- Build the binaries and push the artifacts to Nexus (inside firewall)
This tech tip will show how to get started with Jenkins and push binaries to Nexus by polling the GitHub workspace. While polling is inefficient, it may be the only, and probably a simplified, choice.
In this setup, Jenkins and Nexus are both setup inside your firewall. This is a more common scenario as at least Nexus would be typically inside firewall. However Jenkins may be configured outside firewall in which case it will be able to archive artifacts but not directly push to Nexus. A proxy needs to be configured for Jenkins and Nexus to communicate in this case.
Lets get started!
Download and Start Jenkins Server
All information about Jenkins can be found at jenkins-ci.org.
- Download the latest WAR file:
tools> curl -O -L http://mirrors.jenkins-ci.org/war/latest/jenkins.war
  % Total    % Received % Xferd  Average Speed   Time    Time     Time  Current
                                 Dload  Upload   Total   Spent    Left  Speed
  0   328    0     0    0     0      0      0 --:--:-- --:--:-- --:--:--     0
100 65.3M  100 65.3M    0     0   298k      0  0:03:44  0:03:44 --:--:--  534k
The total time to download will differ based upon your network speed.
- Start Jenkins as
java -jar jenkins.war
Starting and Accessing Jenkins provide more details about starting Jenkins and different configuration options.
- Once Jenkins is started, it can be accessed at localhost:8080 and shown as:


Install Git Plugin
By default, Jenkins does not have the ability to handle Git workspace. Hopefully this will be fixed in a subsequent release because of INFRA-253. In the meanwhile, lets install Git plugin.
- Click on “Manage Jenkins”, “Manage Plugins”
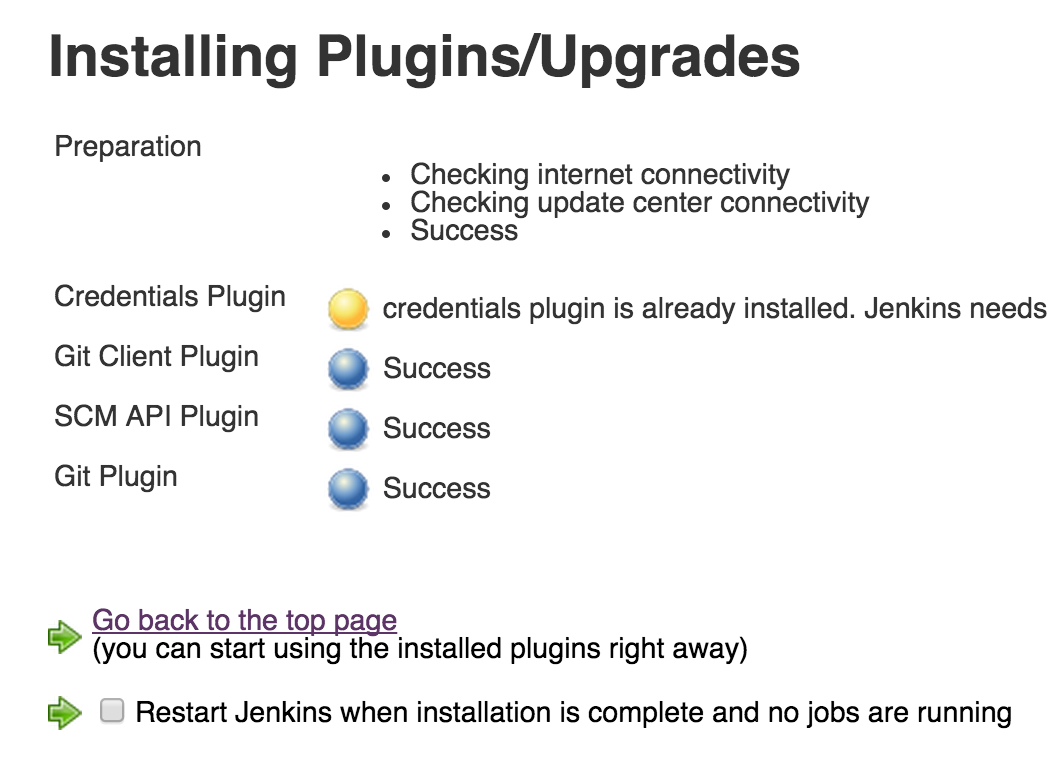
- Click on “Available” tab, select “GIT Plugin” and click on “Install without restart”

- Click on “Restart Jenkins …” to restart Jenkins.
Create a Jenkins Job
- Configure Maven at Configure System as explained here
- Create a new Jenkins job by going to localhost:8080/newJob
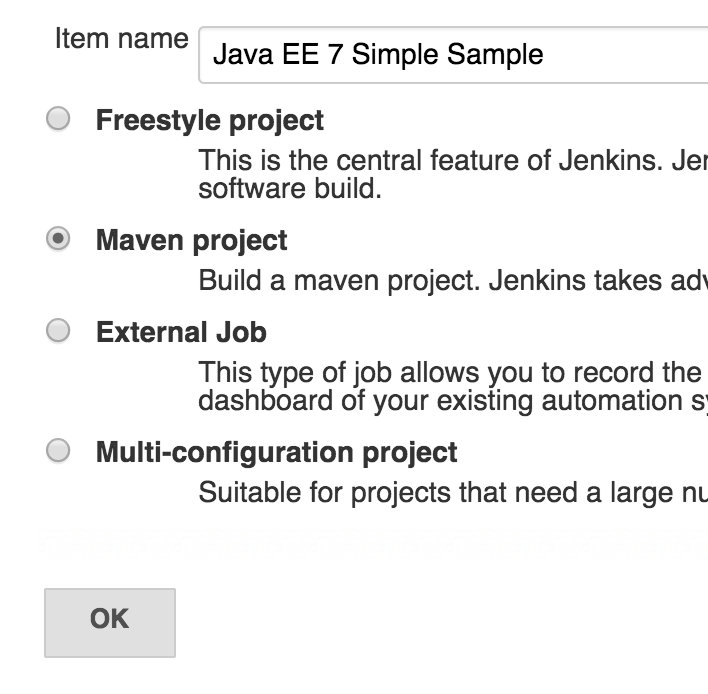
- Choose “Maven project” and give the name as shown:

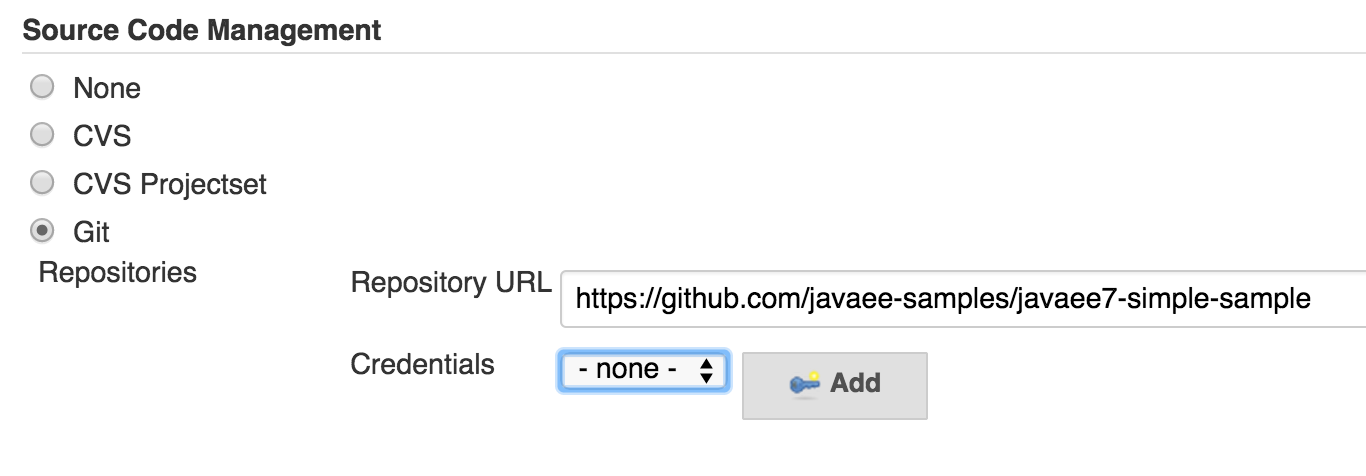
Click on “OK”. - In “Source Code Management”, choose “Git” and specify the repository “https://github.com/javaee-samples/javaee7-simple-sample” as shown:

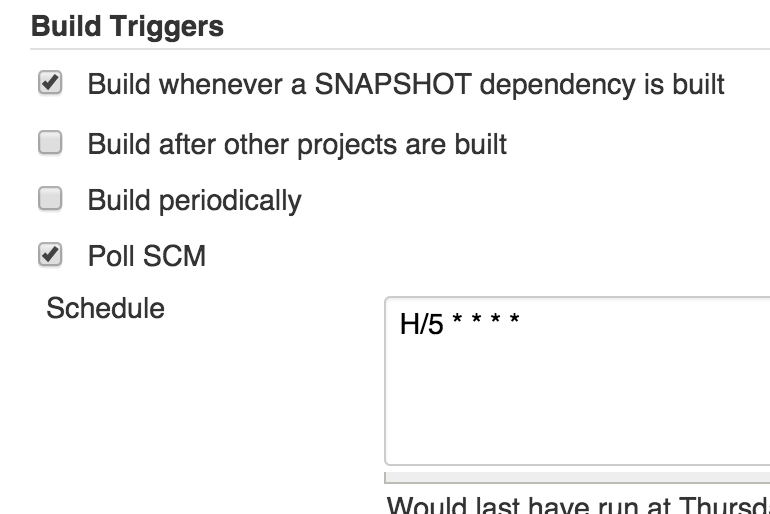
- In “Build Triggers”, choose “Poll SCM” and specify the schedule to poll the repo every 5 minutes as “H/5 * * * *”:

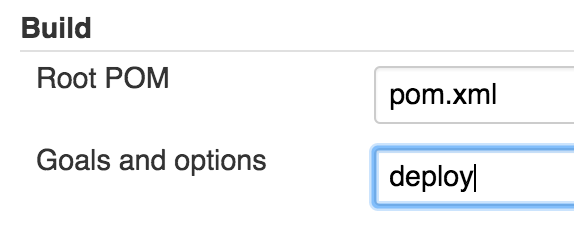
- In “Build”, specify “deploy” target as shown:

Deploy SNAPSHOT to Nexus
Once the setup is done, deploying to Nexus is just a click or a poll away.
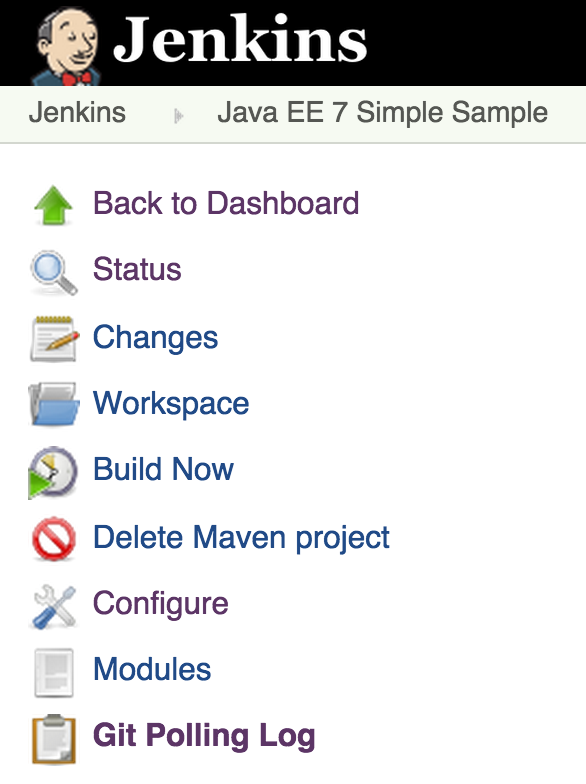
- Click on Build Now to build the job

- Console output for the first job will show something like:
[JENKINS] Archiving /Users/arungupta/.jenkins/jobs/Java EE 7 Simple Sample/workspace/pom.xml to org.javaee7.sample/javaee7-simple-sample/1.10-SNAPSHOT/javaee7-simple-sample-1.10-SNAPSHOT.pom
[JENKINS] Archiving /Users/arungupta/.jenkins/jobs/Java EE 7 Simple Sample/workspace/target/javaee7-simple-sample-1.10-SNAPSHOT.war to org.javaee7.sample/javaee7-simple-sample/1.10-20150305.202625-8/javaee7-simple-sample-1.10-20150305.202625-8.war
channel stopped
Finished: SUCCESS
- Git Polling Log will show the last poll to your workspace repo. If there are any commits to the workspace after last job then a new job will be started.
This blog showed how to push binaries from Jenkins to Nexus using Git Polling.
Enjoy!
| Reference: | Jenkins to Nexus with Git Polling from our JCG partner Arun Gupta at the Miles to go 2.0 … blog. |
