Want to add Java 8 support to Kepler?
Java 8 has not yet landed in our standard download packages. But you can add it to your existing Eclipse Kepler package. I’ve got three different Eclipse installations running Java 8:
- A brand new Kepler SR2 installation of the Eclipse IDE for Java Developers;
- A slightly used Kepler SR1 installation of the Eclipse for RCP/RAP Developers (with lots of other features already added); and
- A nightly build (dated March 24/2014) of Eclipse 4.4 SDK.
The JDT team recommends that you start from Kepler SR2, the second and final service release for Kepler (but using the exact same steps, I’ve installed it into Kepler SR1 and SR2 packages). There are some detailed instructions for adding Java 8 support by installing a feature patch in the Eclipsepedia wiki.
The short version is this:
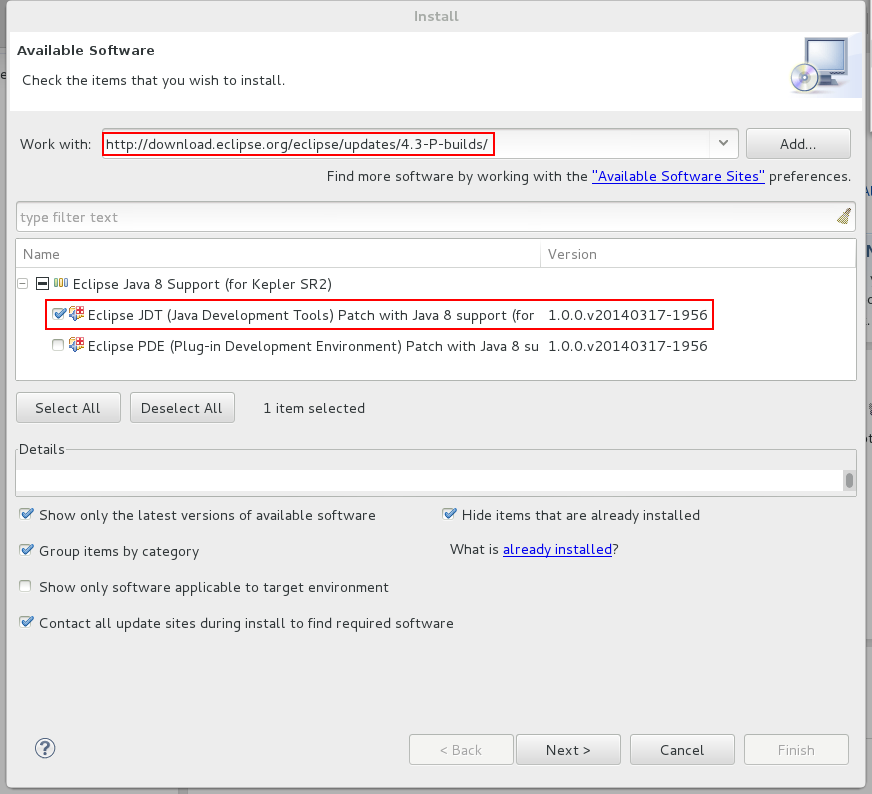
- From Kepler SR2, use the “Help > Install New Software…” menu option to open the “Available Software” dialog;
- Enter
http://download.eclipse.org/eclipse/updates/4.3-P-builds/into the “Work with” field (highlighted below); - Put a checkbox next to “Eclipse Java 8 Support (for Kepler SR2)” (highlighted below);
- Click “Next”, click “Next”, read and accept the license, and click “Finish”
- Watch the pretty progress bar move relatively quickly across the bottom of the window; and
- Restart Eclipse when prompted.
Voila! Support for Java 8 is installed.
If you’ve already got the Java 8 JDK installed and the corresponding JRE is the default on your system, you’re done.
If you’re not quite ready to make the leap to a Java 8 JRE, there’s still hope (my system is still configured with Java 7 as the default).
- Install the Java 8 JDK;
- Open the Eclipse preferences, and navigate to “Java > Installed JREs”;
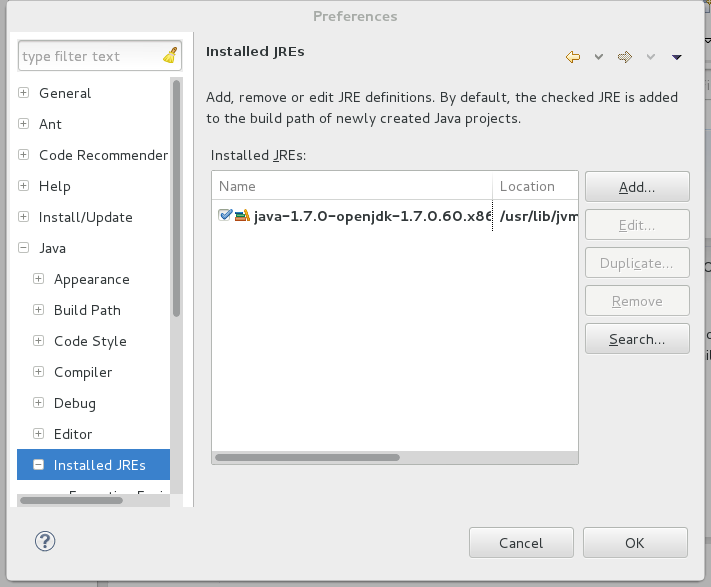
- Click “Add…”;
- Select “Standard VM”, click “Next”;
- Enter the path to the Java 8 JRE (note that this varies depending on platform, and how you obtain and install the bits);
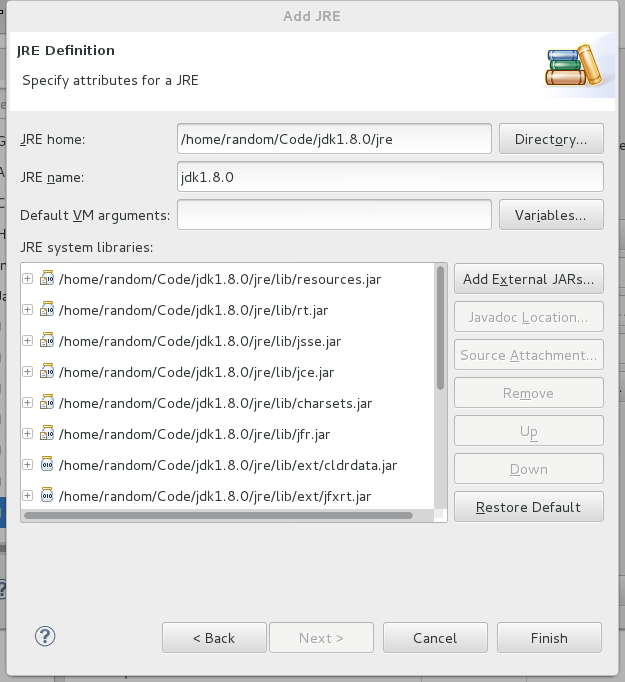
- Click “Finish”.
Before closing the preferences window, you can set your workspace preference to use the newly-installed Java 8 JRE. Or, if you’re just planning to experiment with Java 8 for a while, you can configure this on a project-by-project basis.
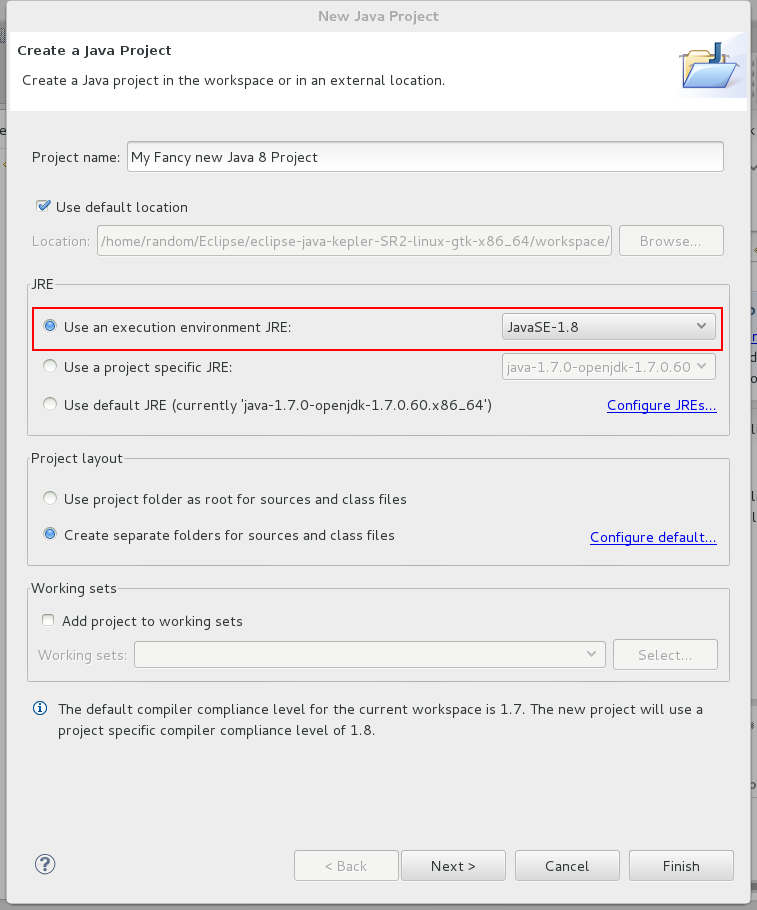
It’s probably better to do this on the project as this will become a project setting that will follow the project into your version control system.
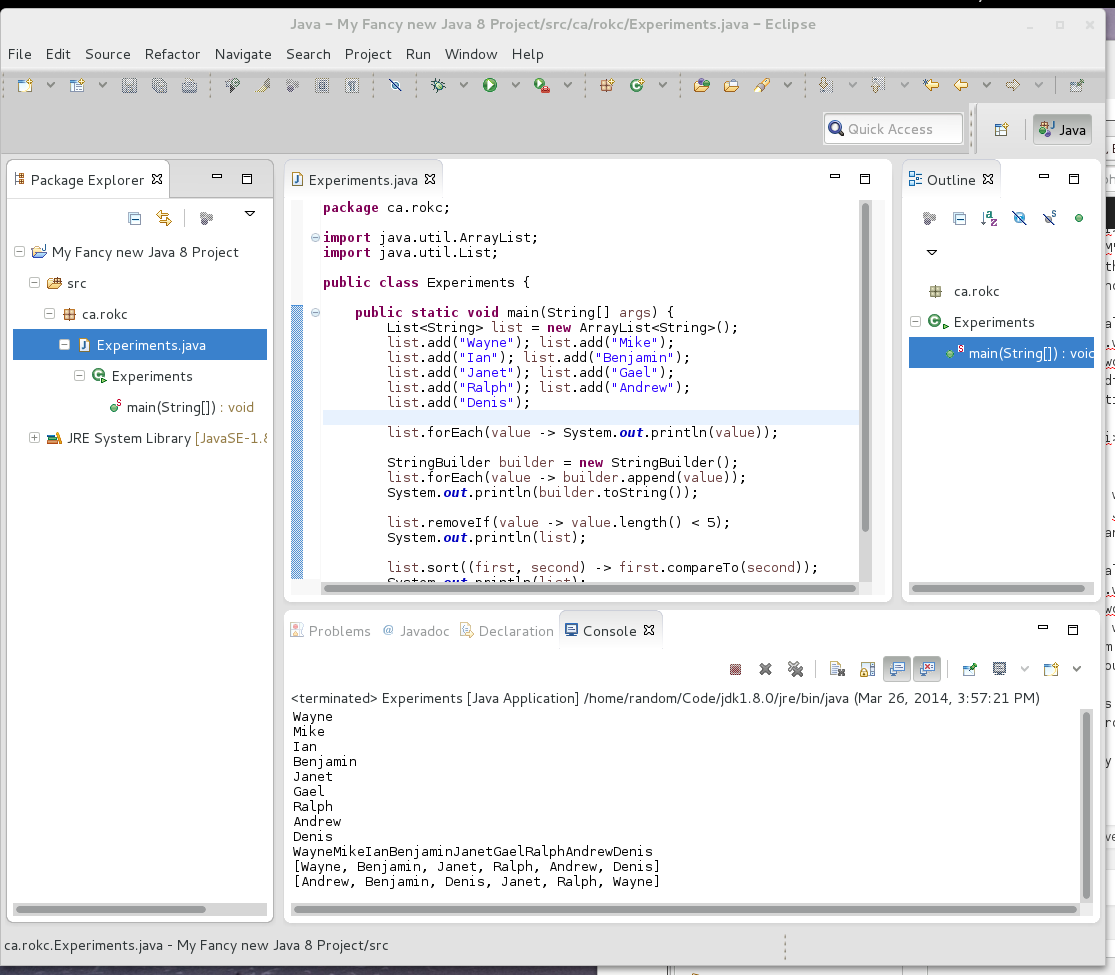
Next step… learn how wrong my initial impressions of Java 8 were (hint: it’s far better).
| Reference: | Add Java 8 support to Eclipse Kepler from our JCG partner Wayne Beaton at the Eclipse Hints, Tips, and Random Musings blog. |
