JavaServer Faces (JSF) is a web application framework that is intended to simplify development integration of web-based user interfaces. It is used for developing and building server side User Interface Components and using them in a web application. JSF technology is based on the Model-View-Controller (MVC) architecture and simplifies the construction of user interfaces (UI) for server-based applications by using reusable UI components in a page. The JSF specification defines a set of standard UI components and provides an API for developing such components. It also enables the reuse and extension of the existing standard UI components.
In this example we will configure JSF with Tomcat application server. We shall create a simple project using the JSF and we will deploy it in tomcat server.
Our preferred development environment is Eclipse. We are using Eclipse Juno (4.2) version, along with Maven Integration plugin version 3.1.0. You can download Eclipse from here and Maven Plugin for Eclipse from here. The installation of Maven plugin for Eclipse is out of the scope of this tutorial and will not be discussed. We are also using JDK 7_u_21. Tomcat 7 is the application server used.
Let’s begin,
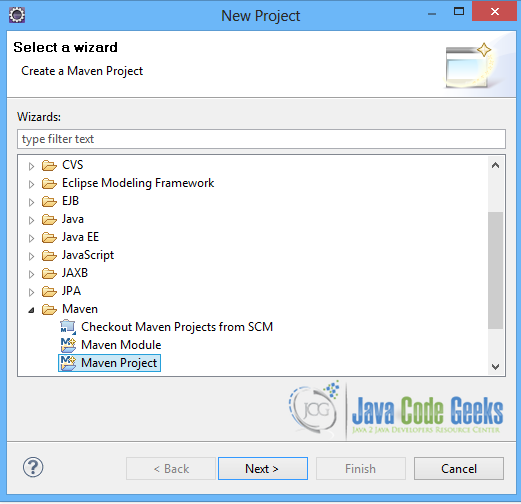
1. Create a new Maven project
Go to File -> Project ->Maven -> Maven Project.
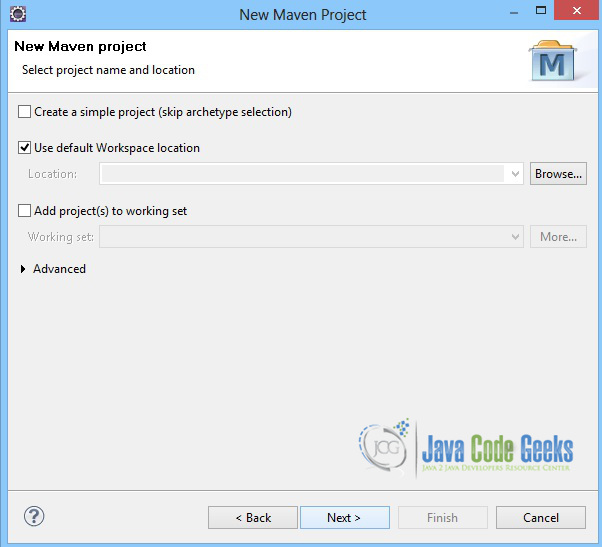
In the “Select project name and location” page of the wizard, make sure that “Create a simple project (skip archetype selection)” option is unchecked, hit “Next” to continue with default values.
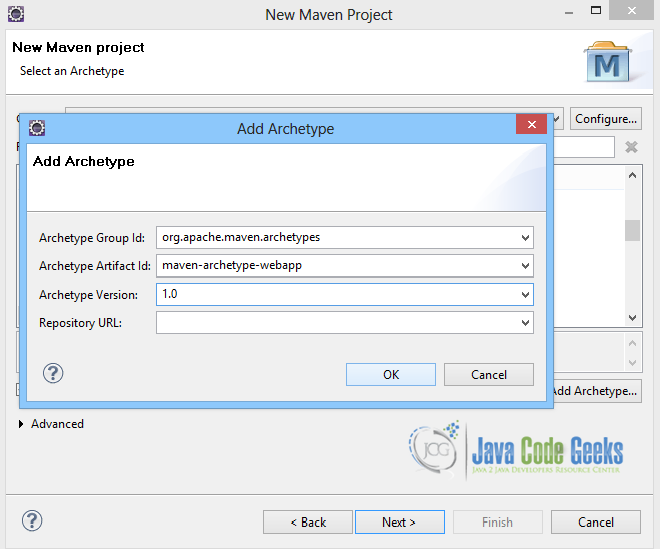
Here the maven archetype for creating a web application must be added. Click on “Add Archetype” and add the archetype. Set the “Archetype Group Id” variable to "org.apache.maven.archetypes", the “Archetype artifact Id” variable to "maven-archetype-webapp" and the “Archetype Version” to "1.0". Click on “OK” to continue.
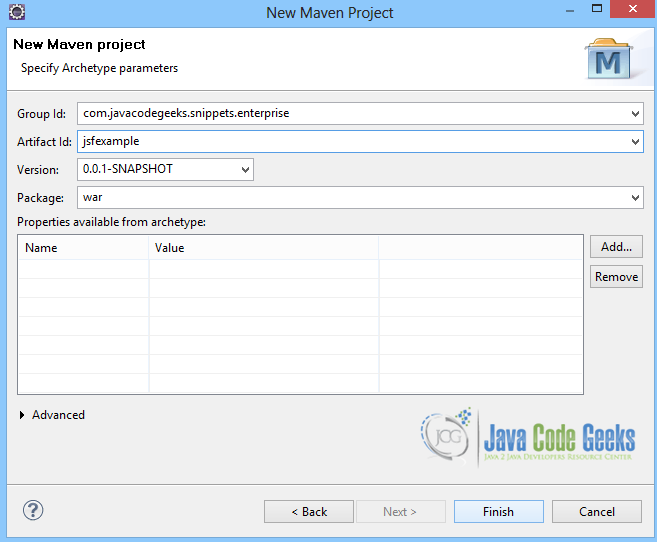
In the “Enter an artifact id” page of the wizard, you can define the name and main package of your project. Set the “Group Id” variable to "com.javacodegeeks.snippets.enterprise" and the “Artifact Id” variable to "jsfexample". The aforementioned selections compose the main project package as "com.javacodegeeks.snippets.enterprise.jsfexample" and the project name as "jsfexample". Set the “Package” variable to "war", so that a war file will be created to be deployed to tomcat server. Hit “Finish” to exit the wizard and to create your project.
The Maven project structure is shown below:
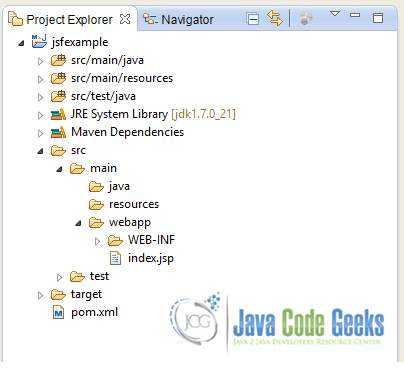
- It consists of the following folders:
- /src/main/java folder, that contains source files for the dynamic content of the application,
- /src/test/java folder contains all source files for unit tests,
- /src/main/resources folder contains configurations files,
- /target folder contains the compiled and packaged deliverables,
- /src/main/resources/webapp/WEB-INF folder contains the deployment descriptors for the Web application ,
- the pom.xml is the project object model (POM) file. The single file that contains all project related configuration.
2. Add JSF dependencies
Add the dependencies in Maven’s pom.xml file, by editing it at the “Pom.xml” page of the POM editor. The dependencies needed for JSF are the ones shown below:
pom.xml
<project xmlns="http://maven.apache.org/POM/4.0.0" xmlns:xsi="http://www.w3.org/2001/XMLSchema-instance"
	xsi:schemaLocation="http://maven.apache.org/POM/4.0.0 http://maven.apache.org/maven-v4_0_0.xsd">
	<modelVersion>4.0.0</modelVersion>
	<groupId>com.javacodegeeks.snippets.enterprise</groupId>
	<artifactId>jsfexample</artifactId>
	<packaging>war</packaging>
	<version>0.0.1-SNAPSHOT</version>
	<name>jsfexample Maven Webapp</name>
	<url>http://maven.apache.org</url>
	<build>
		<finalName>jsfexample</finalName>
	</build>
	<dependencies>
		<dependency>
			<groupId>junit</groupId>
			<artifactId>junit</artifactId>
			<version>3.8.1</version>
			<scope>test</scope>
		</dependency>
		<dependency>
			<groupId>com.sun.faces</groupId>
			<artifactId>jsf-api</artifactId>
			<version>2.1.13</version>
		</dependency>
		<dependency>
			<groupId>com.sun.faces</groupId>
			<artifactId>jsf-impl</artifactId>
			<version>2.1.13</version>
		</dependency>
		<dependency>
			<groupId>javax.servlet</groupId>
			<artifactId>javax.servlet-api</artifactId>
			<version>3.0.1</version>
		</dependency>
	</dependencies>
</project>
3. Create a Managed Bean
The basic data elements when using a JSF application are the Managed Beans. Managed beans are simple Java objects (POJO’s) which can be used in an JSF application. They contain getter and setter methods, business logic or even a backing bean. They are accessed from a JSF page. They can be easily registered using annotations.
HelloWorldBean.java class is a simple java Bean. It has a String property and getter and setter method. The @ManagedBean annotation marks it to be a managed bean with the name helloWorldBean that is specified in name attribute. The bean is also annotated as @RequestScoped. This means that it lives as long as the HTTP request-response lives. It is created upon an HTTP request and gets destroyed when the HTTP response associated with the HTTP request is finished. In the init() method of the bean we set a String value to its property.
HelloWorldBean.java
package com.javacodegeeks.snippets.enterprise.jsf.servlet;

import javax.annotation.PostConstruct;
import javax.faces.bean.ManagedBean;
import javax.faces.bean.RequestScoped;

@ManagedBean(name="helloWorldBean")
@RequestScoped
public class HelloWorldBean {
	private String msg;

	public String getMsg() {
		return msg;
	}
	public void setMsg(String msg) {
		this.msg = msg;
	}
	@PostConstruct
	private void init() {

		msg = "Hello World!! JFS example.. ";
	}

}
4. Create a view file
The index.xhtml file is placed under /webapp folder. It contains the View part of the JSF application. In order to access the values of the managed bean via value binding, JSF allows us to use EL expressions. We do not need to use the get() or set() method to get/set a variable’s value, but just the variable name. JSF EL expressions are of the type #{...}. Here, we are using such an expression to get the value of the managed bean’s property. It is set in a h:outputText tag, that renders the value as HTML text.
index.xhtml
<!DOCTYPE html>
<html xmlns="http://www.w3.org/1999/xhtml"
	xmlns:f="http://java.sun.com/jsf/core"
	xmlns:h="http://java.sun.com/jsf/html">

<h:head>
	<title>JavaCodeGeeks</title>
</h:head>
<h:body>
	<h:outputText value="#{helloWorldBean.msg}" />
</h:body>
</html>
5. Configure web.xml
In a web application the web.xml file is the file that defines everything about the application that a server needs to know. Servlets and other components like filters or listeners, initialization parameters, container-managed security constraints, resources, welcome pages, etc are set here. In a JFS application we need to define in web.xml file the javax.faces.webapp.FacesServlet, that is the class responsible for handling JSF applications. FacesServlet is the central controller for the JSF application. It receives all requests for the JSF application and initializes the JSF components before the JSP is displayed. So, web.xml file has an entry that defines the FacesServlet. It is the servlet entry. It also has a servlet-mapping entry in order to map all requests whose URL ends with .xhtml to be handled by the servlet.
web.xml
<?xml version="1.0" encoding="UTF-8"?>
<web-app xmlns:xsi="http://www.w3.org/2001/XMLSchema-instance"
	xmlns="http://java.sun.com/xml/ns/javaee" xmlns:web="http://java.sun.com/xml/ns/javaee/web-app_2_5.xsd"
	xsi:schemaLocation="http://java.sun.com/xml/ns/javaee
	http://java.sun.com/xml/ns/javaee/web-app_3_0.xsd"
	id="WebApp_ID" version="3.0">
	<display-name>jsfexample</display-name>
	<servlet>
		<servlet-name>faces</servlet-name>
		<servlet-class>javax.faces.webapp.FacesServlet</servlet-class>
		<load-on-startup>1</load-on-startup>
	</servlet>
	<servlet-mapping>
		<servlet-name>faces</servlet-name>
		<url-pattern>*.xhtml</url-pattern>
	</servlet-mapping>

</web-app>
6. Run the application
In order to run the application we need to build the project with Maven. The war file produced must be placed in webapps folder of tomcat. Then, we can hit on :
localhost:8080/jsfexample/index.xhtml
on a browser, and the result is the one shown below:
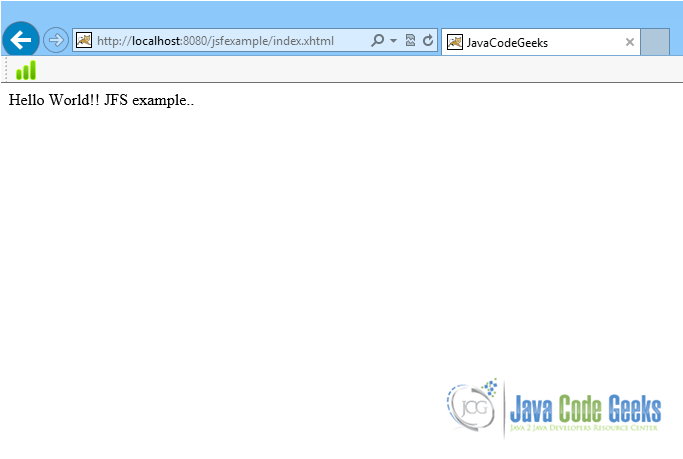
This was an example of how to configure JSF in tomcat application server.
Download the Eclipse project of this tutorial : JSFTomcatExample.zip

I think the servlet-api Dependency should be scope provided.
I would also suggest to you use a current Version of JSF (2.2.4 or 2.1.26, if you want to stick with 2.1.x). 2.1.13 is more then a year old – and if you follow JSF Development there were serious fixes since then.
The better dependency for JSF is:
org.glassfish
javax.faces
2.2.x
This includes JSF-Api and Impl.
I thought this would be a post telling me how to optimize tomcat parameters for JSF apps :-(
Hey,
When I imported your project I had a maven error that told me that project uses 1.5 version of JDK.
Adding following code to pom.xml solved my error:
UTF-8
1.7
1.7
Thanks for your tutorial :)
My $.02 worth would be to add a welcome file in web.xml.
index.xhtml
Thanks, this was helpful.