Before trying this out make sure you have installed GlassFish in your machine. Installation is just easy as downloading the zip archive from here and unzipping it to a desired location.
Creating a new domain
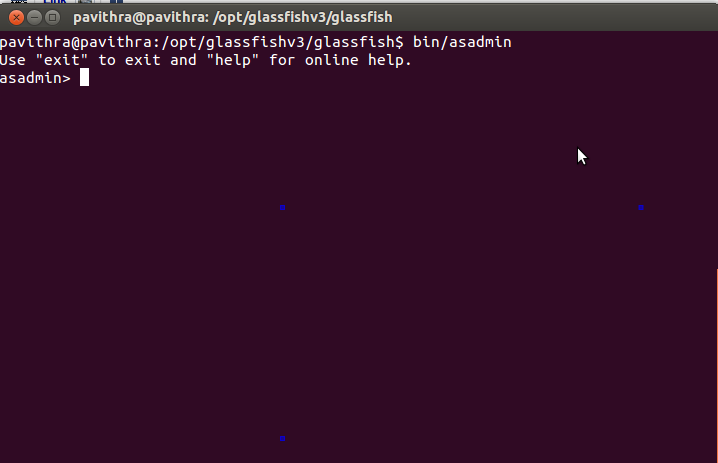
Open up a terminal, change directory to the GlassFish installation directory and run following.
bin/asadmin
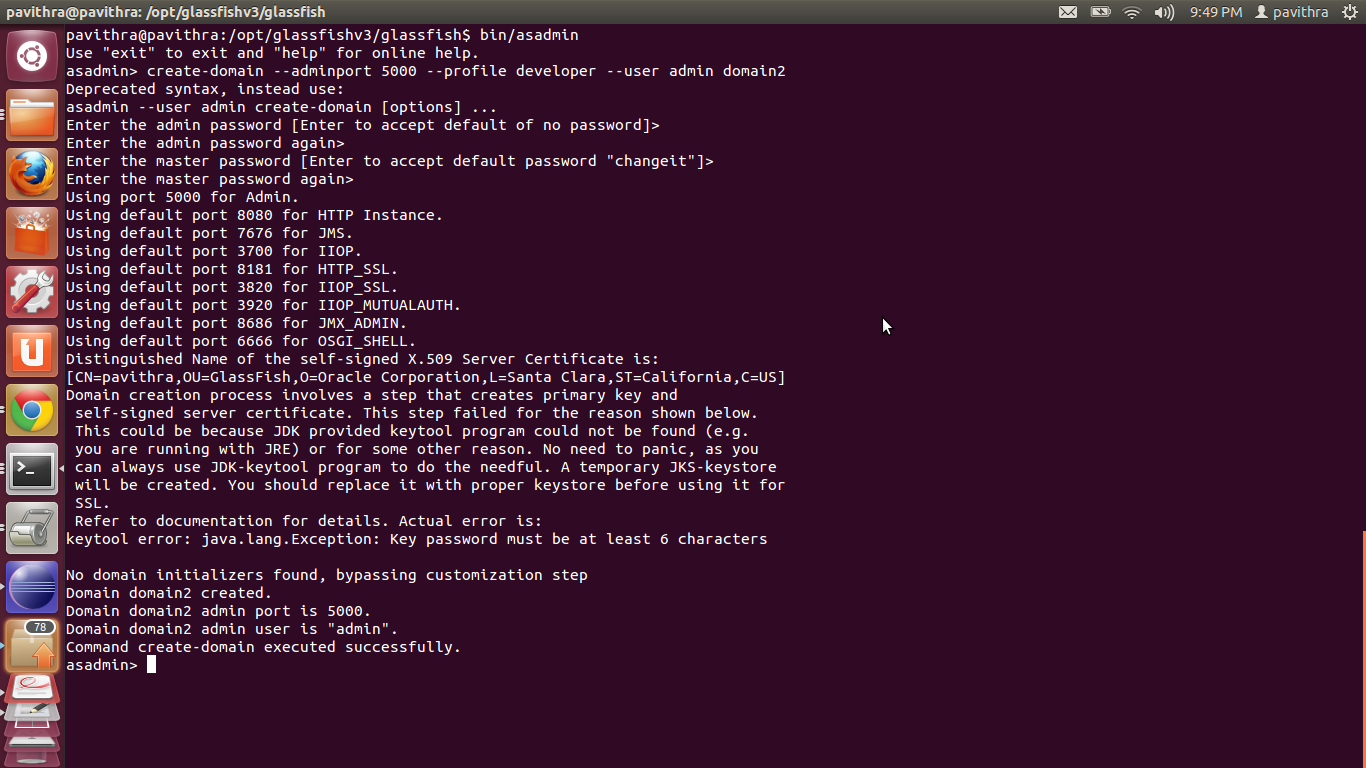
This will enable you to use asadmin tool. Now execute the following command to create a new domain. after running this command you will probably have to give admin password and master password.
create-domain --adminport 5000 --profile developer --user admin domain2
Now open up another terminal and change directory to [glassfish-installation]/domains/ and you will see the newly created domain2 has appeared there.

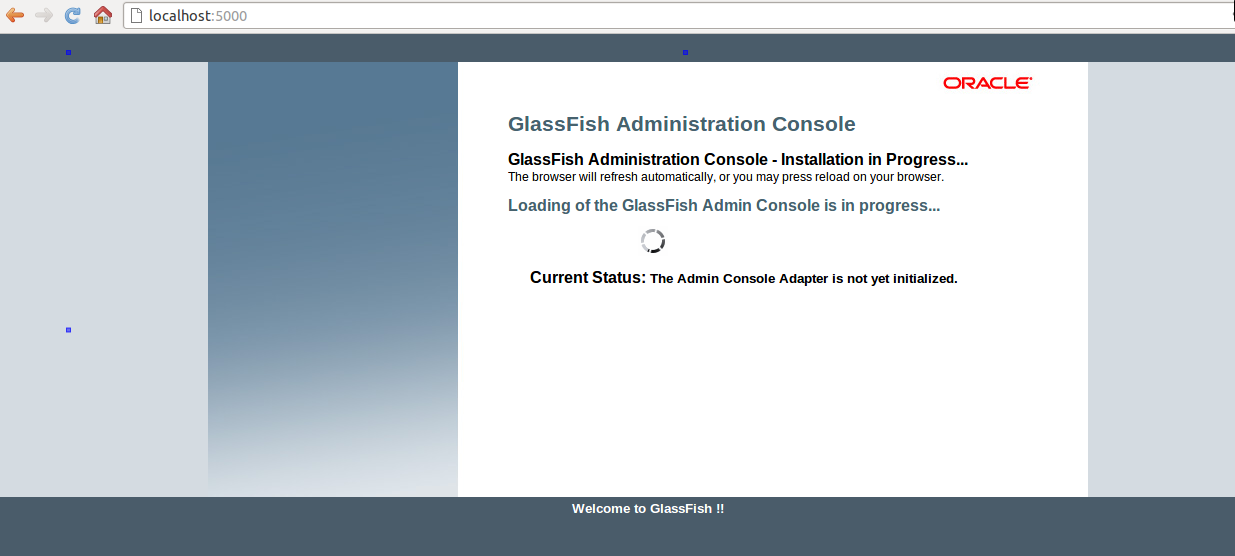
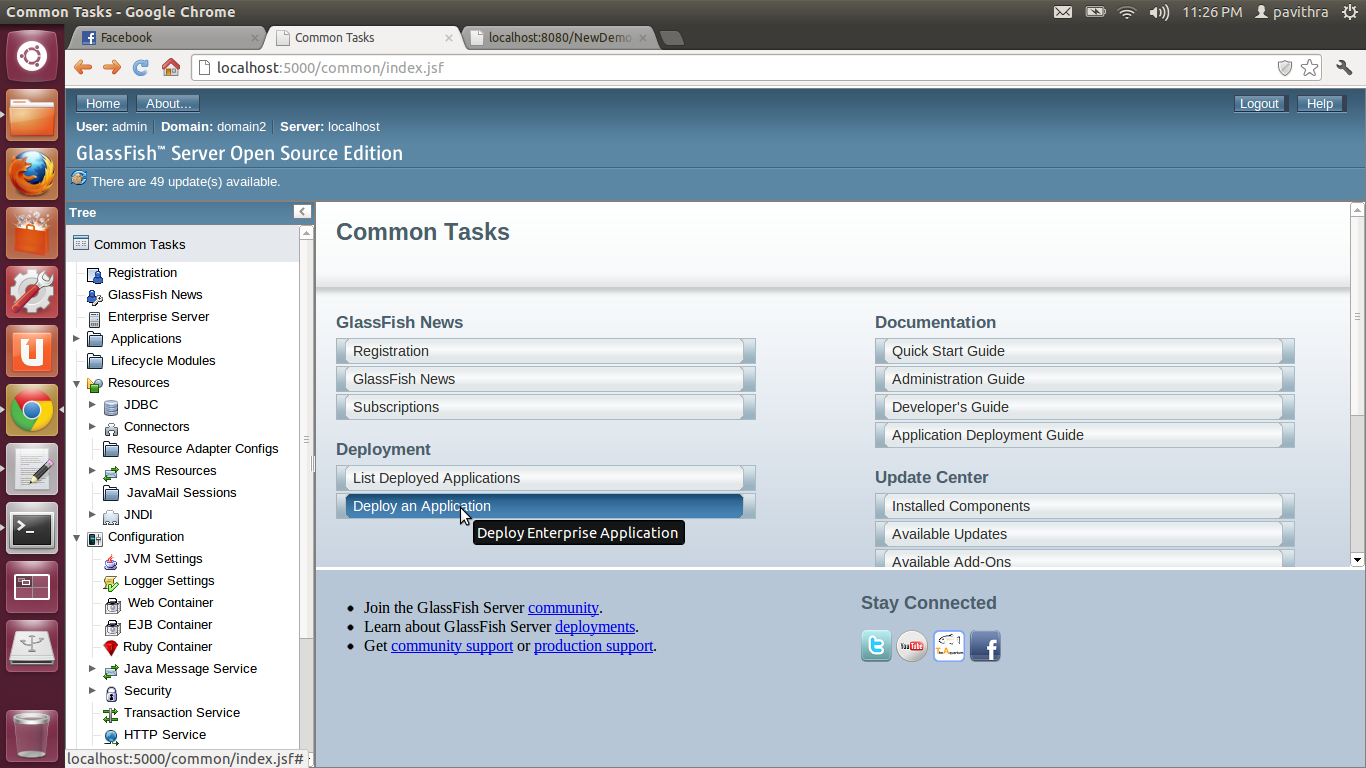
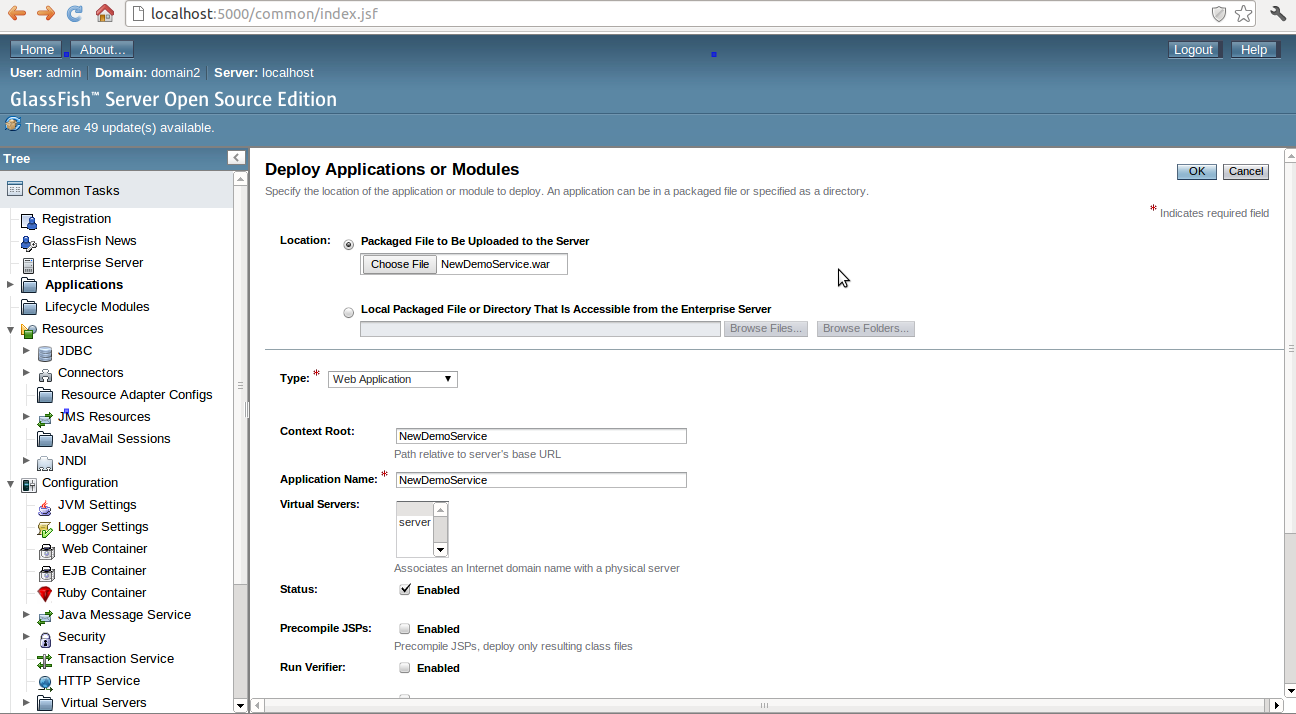
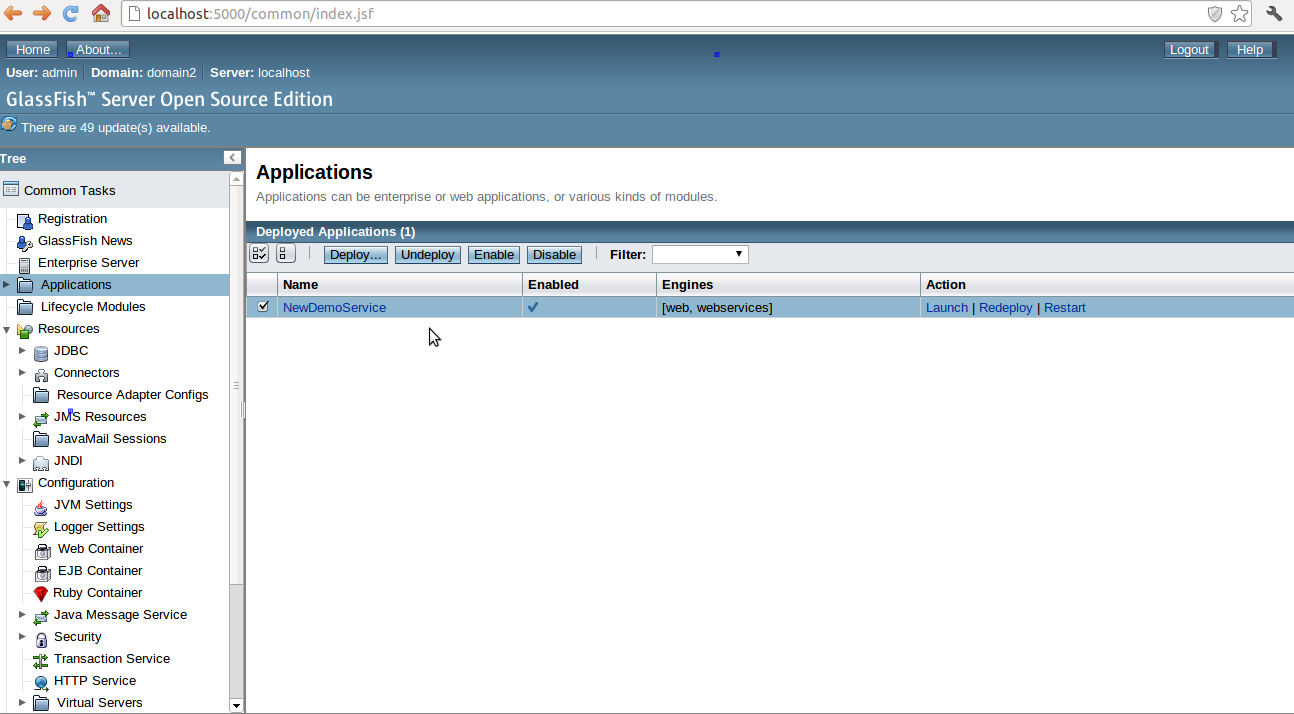
Open up a browser and go to http://localhost:5000/. This will bring you the GlassFish GUI admin console. This is one place you can deploy your war file. But in this post I’m not much focusing on it, instead I will show you how to do this using the command line. But GUI lovers, for any consolation I have put some screenshots which you can follow if you prefer the GUI way.

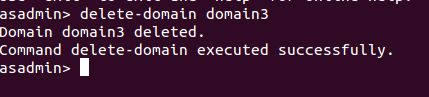
In case you want to delete a domain use the following command.
delete-domain domain2
Starting the domain
To start domain2 run following command.
start-domain domain2

Deploying a war file
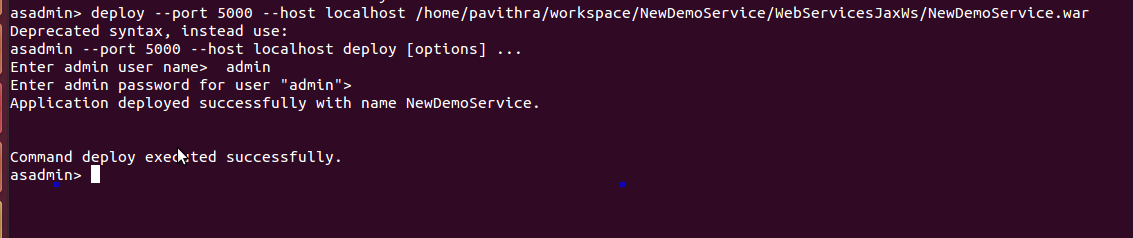
Use the following command to deploy your war file.
deploy --port 5000 --host localhost /home/pavithra/workspace/NewDemoService/WebServicesJaxWs/NewDemoService.war
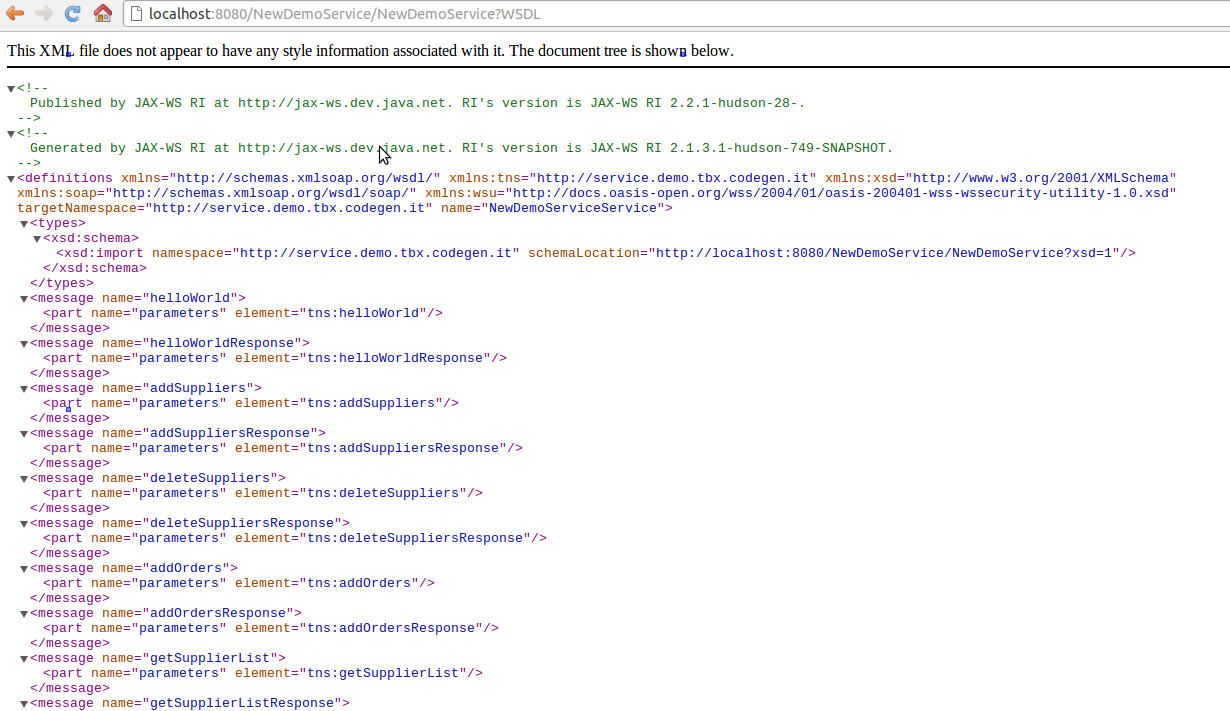
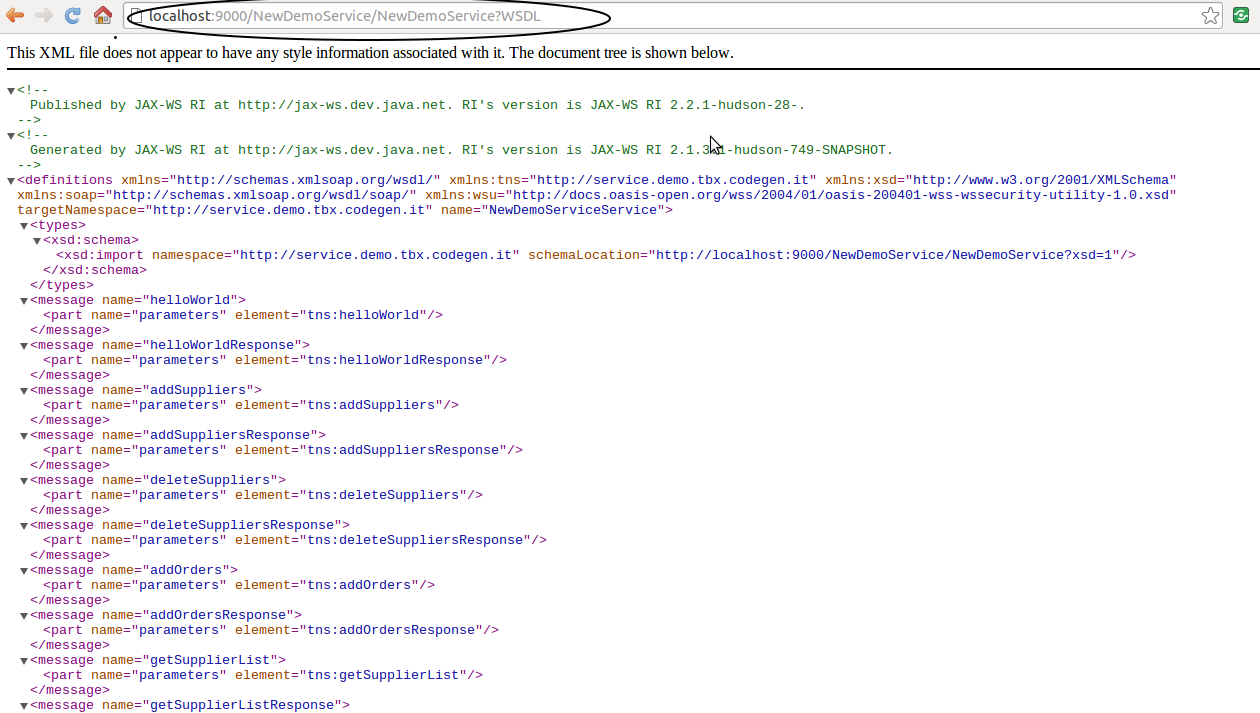
After deploying the war file I can access the WSDL file I want to access using the URL http://localhost:8080/NewDemoService/NewDemoService?WSDL
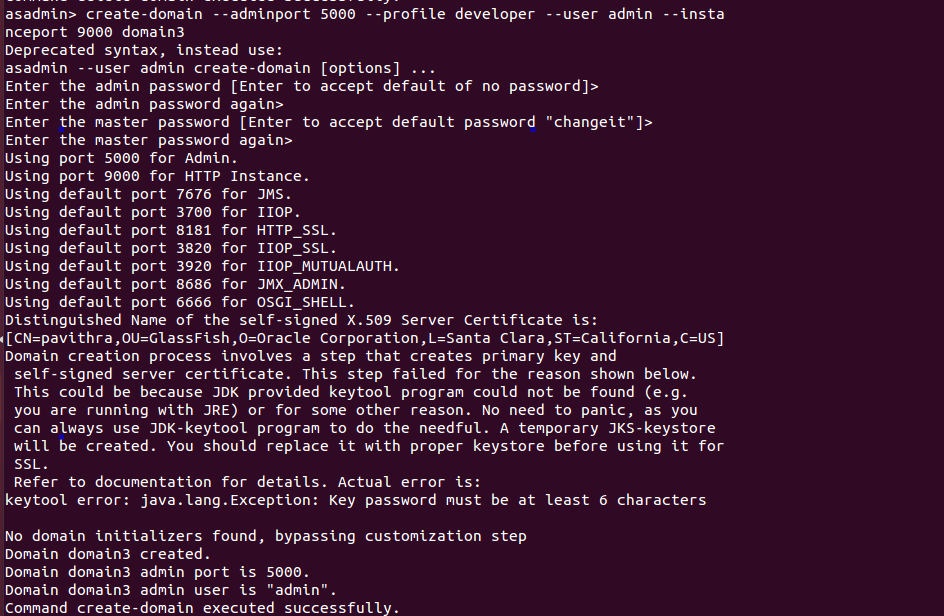
To change default 8080 (HTTP) port which specifies where the web application context roots are available for a Web browser to connect to, you can use the –instanceport parameter when creating the domain. See the following command.
create-domain --adminport 5000 --profile developer --user admin --instanceport 9000 domain2
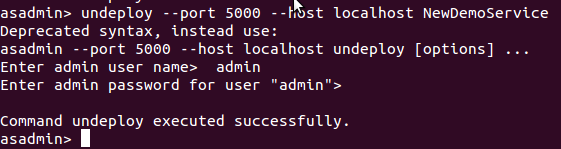
Undeploying a war file
To undeploy NewDemoService.war file you need to use the following command. Note that here you don’t have to use the full name but literal “NewDemoService”.
undeploy --port 5000 --host localhost NewDemoService
Stopping a domain
To stop the domain “domain2” use the following command.
stop-domain domain2

After this if you try to deploy to this particular domain, it will complain.
Auto Deploy
To perform auto deploy, copy NewDemoService.war file in to [glassfish-installation-directory]/domains/domain2/autodeploy directory. If autodeploy succeeds, you will see NewDemoService.war_deployed has created. This will deploy your war file automatically.
![]()
![]()
Reference: How to deploy a war file using GlassFish from our JCG partner Pavithra Siriwardena at the EVIAC blog.

