Messaging plays an important role in building scalable, loosely coupled distributed systems. Instead of tightly coupling services via synchronous HTTP calls, messaging enables applications to communicate asynchronously via a broker. In the Java ecosystem, this is typically implemented using Java Message Service (JMS) APIs and messaging providers such as Eclipse OpenMQ, ActiveMQ, Artemis, or IBM MQ.
This article provides a guide to using JmsClient in Spring Boot.
1. Understanding JMS and JmsClient
Java Message Service (JMS) is a standard Java API that allows applications to create, send, receive, and process messages through messaging brokers. The specification originally belonged to the Java EE platform but has since moved to the Jakarta EE ecosystem. As a result, Java Message Service (JMS) is now known as Jakarta Messaging, and its package namespace has changed from javax.jms to jakarta.jms.
Messaging systems using JMS typically support two communication models:
- Point-to-Point (Queues): each message is consumed by one consumer
- Publish-Subscribe (Topics): messages are broadcast to multiple subscribers
For many years, Spring applications interacted with JMS brokers using JmsTemplate, which provided helper methods for sending and receiving messages. The Spring Framework now includes JmsClient, a modern API designed as an alternative to JmsTemplate.
JmsClient provides several improvements:
- A fluent API that improves readability
- Less boilerplate code when sending messages
- Simpler message creation and handling
Instead of calling methods like convertAndSend() used in JmsTemplate, JmsClient uses a fluent builder-style API where we specify the destination and message type before sending the message.
2. Project Dependencies
Add the required dependencies to the project to enable JMS messaging and allow Spring Boot to integrate with a provider such as ActiveMQ.
		<dependency>
			<groupId>org.springframework.boot</groupId>
			<artifactId>spring-boot-starter-activemq</artifactId>
		</dependency>
Once this dependency is included, Spring Boot automatically creates a
JmsClient bean and registers it in the application context.Running ActiveMQ Locally with Docker Compose
To run ActiveMQ locally for development, we can use a Docker Compose YAML (docker-compose.yaml) file.
services:
  activemq:
    image: apache/activemq-classic:latest
    ports:
      - "61616:61616"
      - "8161:8161"
    healthcheck:
      test: ["CMD", "curl", "-f", "http://localhost:8161/admin/"]
      interval: 30s
      timeout: 10s
      retries: 3
      start_period: 60s
    environment:
      - ACTIVEMQ_CONNECTION_USER=admin
      - ACTIVEMQ_CONNECTION_PASSWORD=admin
This configuration starts an ActiveMQ container exposing two ports:
- 61616 – JMS transport port used by applications
- 8161 – ActiveMQ web console
The environment variables configure the administrator login credentials. After starting the container with docker compose up d, the ActiveMQ broker becomes available locally, and the web console can be accessed at:
http://localhost:8161
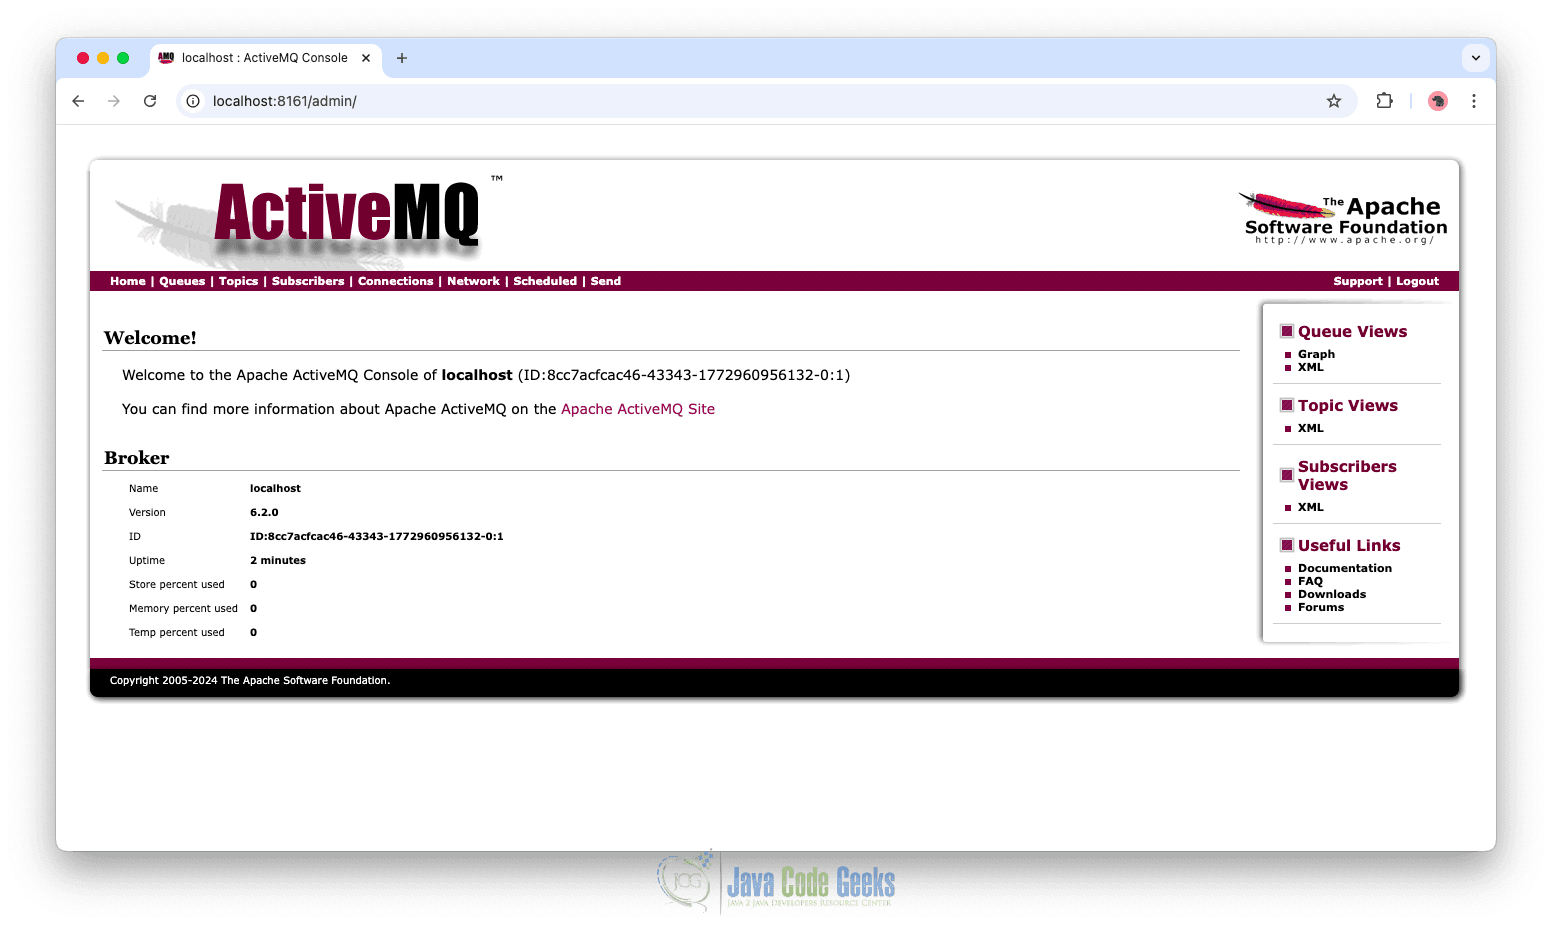
The web console allows us to monitor queues, message counts, and consumers while testing messaging flows.
Application Configuration
Spring Boot allows JMS configuration using the application.yml file.
spring:
  activemq:
    broker-url: tcp://localhost:61616
    user: admin
    password: admin
This configuration connects the application to the ActiveMQ broker running locally. The broker-url specifies the JMS transport port, and the credentials authenticate the application with the broker.
3. Creating a Message Producer
A message producer is responsible for sending messages to the broker. In Spring Boot, the JmsClient class simplifies sending JMS messages.
public class MessageProducer {

    private static final Logger logger = LoggerFactory.getLogger(MessageProducer.class);
    private final JmsClient jmsClient;

    public MessageProducer(JmsClient jmsClient) {
        this.jmsClient = jmsClient;
    }

    public void sendMessage(String message) {
        jmsClient.destination("message-queue")
                .send(message);
        logger.info("Message sent: {}", message);
    }
}
The MessageProducer class is responsible for sending messages to a JMS destination using Spring’s JmsClient. It acts as a simple messaging component that publishes messages to a queue so they can be processed asynchronously by other parts of the system.
The JmsClient instance is injected through the constructor. This client is automatically created and registered as a bean when the JMS dependencies are included in the project.
The sendMessage method performs the actual message publishing. It calls jmsClient.destination("message-queue").send(message), which sends the provided message to the queue named message-queue.
One of the key advantages of JmsClient is how it simplifies the process of sending messages. With earlier APIs such as JmsTemplate, we typically needed additional methods like convertAndSend. JmsClient introduces a fluent API, where the destination is specified first, and the message is sent using a simple send operation. This approach reduces boilerplate code, improves readability, and makes the intent of the code clearer.
4. Creating a Message Consumer
Spring Boot simplifies JMS message consumption by automatically configuring the required messaging infrastructure. This includes components such as the ConnectionFactory, MessageConverter, and the default listener container factory used by @JmsListener.
With these components auto-configured, we do not need to manually define the underlying JMS listener setup. The following example shows how to create a message consumer that listens for incoming messages from a JMS queue.
@Component
public class MessageConsumer {

    private static final Logger logger = LoggerFactory.getLogger(MessageConsumer.class);

    @JmsListener(destination = "message-queue")
    public void receive(TextMessage incomingMessage) throws Exception {

        logger.info("Received message: {}", incomingMessage.getText());

    }
}
This listener subscribes to the queue message-queue. Whenever a message arrives, Spring automatically invokes the method and provides the received TextMessage object.
Creating a REST Controller to Trigger Messaging
A REST controller can be used to trigger message sending for testing purposes.
@RestController
@RequestMapping("/api/messages")
public class MessageController {

    private final MessageProducer producer;

    public MessageController(MessageProducer producer) {
        this.producer = producer;
    }

    @PostMapping
    public String sendMessage(@RequestParam String message) {
        producer.sendMessage(message);
        return "Message sent successfully";
    }
}
This REST controller exposes an HTTP endpoint that triggers the JMS producer. When a request is sent to /api/messages, the controller invokes the producer which sends the message to the queue using JmsClient.
After starting the ActiveMQ container and running the application, a message can be sent using an HTTP request.
Example request:
curl -X POST "http://localhost:8080/api/messages?message=HelloJMS"
When this request is executed, the controller triggers the producer, which sends the message to message-queue. The consumer listening to the queue receives the message and processes it immediately. In this example, both the send and receive events will appear in the application logs.
INFO 28040 --- [spring-jmsclient-app] [ntContainer#0-1] com.jcg.example.MessageConsumer          : Received message: HelloJMS
INFO 28040 --- [spring-jmsclient-app] [nio-8080-exec-1] com.jcg.example.MessageProducer          : Message sent: HelloJMS
Monitor the broker by opening the ActiveMQ console at http://localhost:8161. From the console, we can view active queues, monitor message counts, and inspect connected consumers. This interface allows us to visually confirm that messages are being processed correctly within the messaging system.
5. Sending Domain Objects Through JMS
Applications often send domain objects rather than simple text messages. Since JMS works with standardized message types such as TextMessage, BytesMessage, or ObjectMessage, domain objects must be converted into a format that JMS understands before being transmitted.
An approach is to serialize domain objects to JSON and store the JSON representation inside a TextMessage. This approach is used because JSON is portable, readable, and language-independent.
Example Domain Object
Modern Java applications often use records to represent simple immutable data structures. Records reduce boilerplate code and are ideal for representing message payloads.
public record NotificationEvent(String notificationId, String message, String recipient) {

}
Because records automatically generate constructors, accessors, and other methods, they are concise and well suited for messaging payloads.
Implementing a Message Converter
To send domain objects through JMS, we first serialize them into JSON. The following class implements a custom JMS message converter that converts Java objects into JSON TextMessage instances and deserializes them back into Java objects when they are received.
@Component
public class JsonTextMessageConverter implements MessageConverter {

    private final JsonMapper jsonSerializer;

    public JsonTextMessageConverter() {
        this.jsonSerializer = JsonMapper.builder().build();
    }

    @Override
    public Message toMessage(Object payloadObject, Session jmsSession) throws JMSException {
        try {
            String jsonPayload = jsonSerializer.writeValueAsString(payloadObject);
            TextMessage textMessage = jmsSession.createTextMessage(jsonPayload);
            textMessage.setStringProperty("_type", payloadObject.getClass().getName());
            return textMessage;
        } catch (Exception exception) {
            throw new JMSException(
                    "Failed to convert object to JSON: " + exception.getMessage()
            );
        }
    }

    @Override
    public Object fromMessage(Message incomingMessage) throws JMSException {
        if (incomingMessage instanceof TextMessage textMessage) {
            try {
                String jsonPayload = textMessage.getText();
                Class<?> targetClass = Class.forName(incomingMessage.getStringProperty("_type"));
                return jsonSerializer.readValue(jsonPayload, targetClass);
            } catch (Exception parsingException) {
                throw new JMSException(
                        "Failed to deserialize JSON message: " + parsingException.getMessage()
                );
            }
        }
        throw new JMSException("Unsupported message type. Only TextMessage is supported.");
    }
}
This converter uses Jackson’s JsonMapper to serialize objects to JSON when sending messages and deserialize them when receiving messages. The _type message property stores the fully qualified class name so the correct class can be reconstructed when reading the message.
Sending a Domain Object
With the message converter in place, domain objects can be sent directly through JmsClient.
@Component
public class NotificationPublisher {

    private static final Logger logger = LoggerFactory.getLogger(NotificationPublisher.class);
    private final JmsClient messagingClient;

    public NotificationPublisher(JmsClient messagingClient) {
        this.messagingClient = messagingClient;
    }

    public void publishNotification(NotificationEvent notificationEvent) {

        messagingClient
                .destination("json.message.queue")
                .send(notificationEvent);

        logger.info("Notification sent to: {}", notificationEvent.recipient());
    }

}
In this example, the NotificationPublisher sends a NotificationEvent record through the queue. Because the JSON message converter is configured, the record is automatically serialized into JSON and wrapped inside a TextMessage before being sent to the broker.
On the consumer side, the converter performs the reverse operation and reconstructs the original NotificationEvent object from the JSON payload.
@Component
public class NotificationEventListener {

    private static final Logger logger = LoggerFactory.getLogger(NotificationEventListener.class);

    @JmsListener(destination = "json.message.queue")
    public void handleNotification(NotificationEvent notificationEvent) {

        logger.info("Notification received for recipient {} with message: {}",
                notificationEvent.recipient(),
                notificationEvent.message());
    }
}
The following controller accepts notification details and sends a NotificationEvent through JmsClient.
@RestController
@RequestMapping("/api/notifications")
public class NotificationController {

    private final NotificationPublisher notificationPublisher;

    public NotificationController(NotificationPublisher notificationPublisher) {
        this.notificationPublisher = notificationPublisher;
    }

    @PostMapping
    public String sendNotification(@RequestBody NotificationEvent notificationEvent) {

        notificationPublisher.publishNotification(notificationEvent);

        return "Notification event sent: " + notificationEvent.notificationId();
    }
}
Below is an example of sending a NotificationEvent as JSON in the request body:
curl -X POST http://localhost:8080/api/notifications \
-H "Content-Type: application/json" \
-d '{
  "notificationId": "NOTIF-001",
  "message": "System maintenance scheduled",
  "recipient": "thomas@jcg.com"
}'
This request sends a JSON payload representing a NotificationEvent to the /api/notifications endpoint. When the request is received, the controller converts the JSON payload into a NotificationEvent record and passes it to the NotificationPublisher, which then sends the message to the JMS queue.
Adding Custom Headers
With JmsClient, we can attach custom headers and set message properties such as priority directly when sending messages.
        messagingClient
                .destination("json.message.queue")
                .withPriority(7)
                .send(notificationEvent, Map.of("tracking-id", "event123"));
.withPriority(7)sets the JMS message priority, which can affect delivery order if the broker supports it.Map.of("tracking-id", "event123")attaches a custom header namedtracking-idwith the valueevent123.send(notificationEvent, Map)sends theNotificationEventrecord to the queue.
These headers are sent along with the message to the broker and can be read by consumers for filtering, routing, or logging purposes.
6. Conclusion
In this article, we explored using Spring Boot’s JmsClient to send and receive messages, including domain objects serialized as JSON. We covered configuring ActiveMQ, registering a custom MessageConverter, and consuming messages using @JmsListener, demonstrating how Spring Boot simplifies JMS messaging for scalable, event-driven applications.
7. Download the Source Code
This article explored the use of JmsClient in Spring Boot.
You can download the full source code of this example here: spring boot jmsclient
