This post describes how to create an IoT project using Arduino sensor. You will learn how easy is creating an IoT app that monitors gas in a room using Arduino sensors and send a notification when the gas is over the threshold. We can build a simple gas monitoring system in a few steps. First of all, we assume you are already familiar with IoT projects and what IoT means and how it will impact our future.
What do we need to create an IoT Arduino sensor project?
- MQ-4 sensor
- Arduino Uno + internet shield
- Jump wirings
Step 1: Arduino sensor circuit
As gas sensor, we will use MQ-4 sensor. It is a fast and reliable sensor very sensitive to natural gas and CH4 (Methane). It has a long life and it commonly used in the gas leakage detecting What we want to do is creating a simple project that shows the gas concentration using two leds:
- Green Led: The gas concentration is under the threshold
- Red Led: Alert the gas concentration is above the threshold
MQ-4 Arduino sensor has four pins:
- Vcc (+5V)
- Ground
- Digital output
- Analog output
We will use the analog output to check the gas concentration. The schematic is shown below:
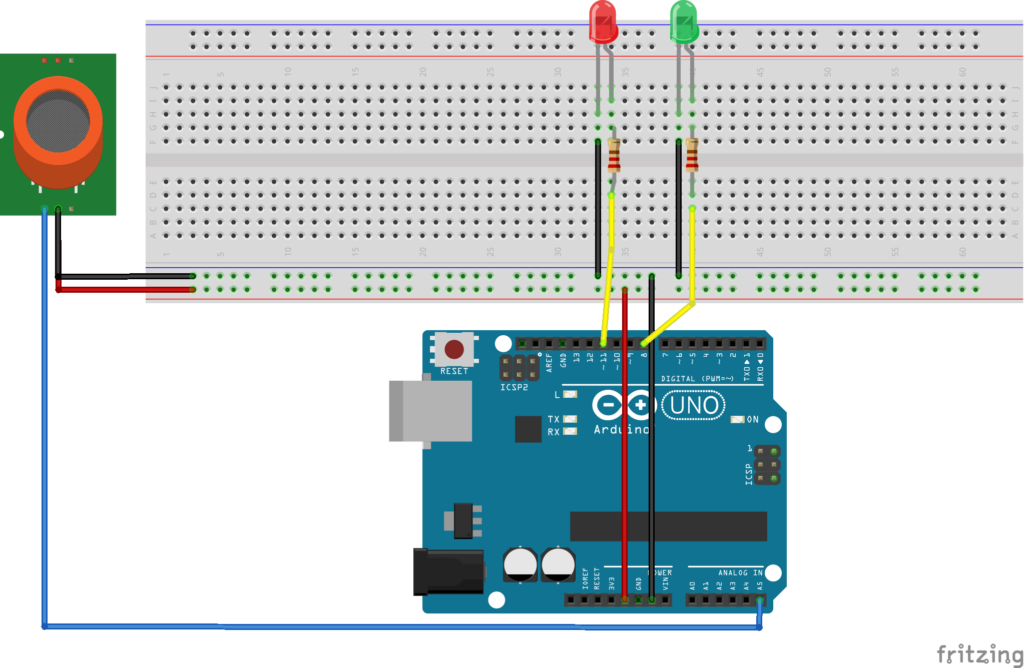
Please notice that the connections to the gas sensor in the schematic above are not real, while the Arduino pin used to get data from the sensor is the real one (A5).
When you turn on the gas sensor at the beginning it could smell a bit. This is normal do not worry. In the schematic, there are two resistors that connect the Arduino digital pin and the LEDs. This resistor limits the current flowing through the LEDs. They are 220 Ohm. That’s all. You are ready now to develop the sketch to monitor the Arduino sensor.
Step 2: Develop the Arduino sketch
The sketch below describes how to implement the gas monitoring system:
int pinRedLed = 11;
int pinGreenLed = 8;
int pinSensor = A5;
int THRESHOLD = 250;

void setup() {
  pinMode(pinRedLed, OUTPUT);
  pinMode(pinGreenLed, OUTPUT);
  pinMode(pinSensor, INPUT);
  Serial.begin(9600);
}

void loop() {
  int analogValue = analogRead(pinSensor);
  Serial.println("Val: " + analogValue);
  digitalWrite(pinGreenLed, HIGH);

  if (analogValue >= THRESHOLD) {
    digitalWrite(pinGreenLed, LOW);
    digitalWrite(pinRedLed, HIGH);
  }
  else {
   digitalWrite(pinRedLed, LOW);
  }
  delay(5000);
}
The code is very simple. At the beginning, it declares the pins we will use to connect to the sensor and LEDs. The green LED is always on while the red LED turns on only when the gas concentration is over the threshold.
Step 3: Implement the notification
In this last step, we will implement a notification system, so that when the gas concentration is over the threshold we will get an email. To do it, this Arduino sensor sketch uses IFTTT. IFTTT stands for If This Then That is a powerful system that helps us to connect to countless services like social services. The first step is creating an account if this is the first time you use this service.
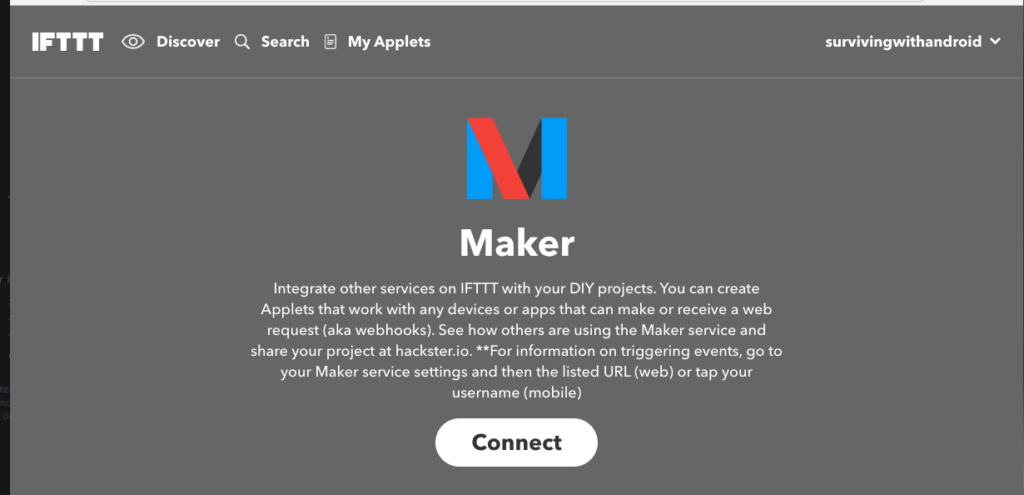
Once you have your account click on the search on the top and looks for maker service. This service is made for makers that want to integrate external services with Arduino or similar boards:
Now go to Applet and create a new Applet. Click on the plus sign and add the service. In this case you should add Maker service the one we created before. Click on Receive a web request and configure your trigger. This is the event that triggers the notification process, in other words, as soon as IFTTT receive a web request it sends an email:
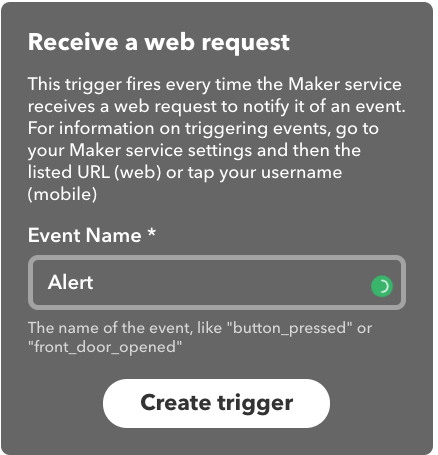
Create the trigger. Now we have to configure the other step: the service that should be executed when the trigger is fired. Click on the plus sign again (in the then part) and add the email service. You can add other services too:

Add email details and confirm. At the end you have your service configured in IFTTT:
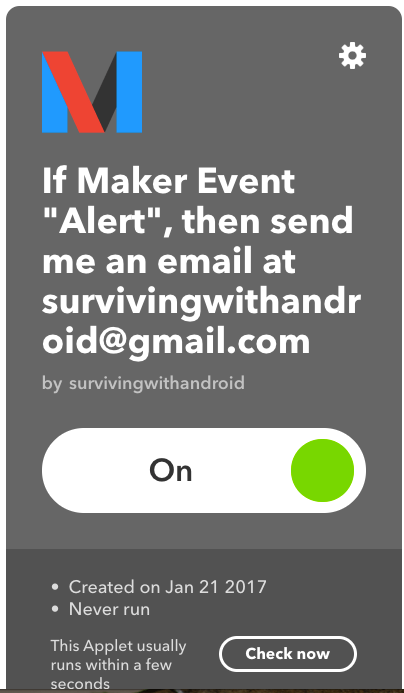
That’s all. Now to trigger this event we have to call the URL as shown in the service configuration. We have to modify the Arduino sketch to call the URL when the analog value goes above the threshold.
Conclusion
At the end, you have implemented a simple IoT project in just three steps. Integrating online services and Arduino you can expand your Arduino and create interesting and useful IoT project with a few lines of code. In this tutorial, you learned how to create an IoT project that monitors Arduino sensor.
| Reference: | Build IoT project with Arduino sensor in 3 Steps from our JCG partner Francesco Azzola at the Surviving w/ Android blog. |
