
A guide to adding Google and GitHub OAuth sign-in to your Java application
One of the most recent features that we’ve added to Takipi is 3rd party sign-in. If you’re remotely lazy like I do, then I guess you also prefer skipping on filling up forms and making up new passwords. When available, many people prefer a 3rd party sign-in as long as the permissions they’re asked for are non-intrusive – no-one really wants random posts showing up on their Facebook wall, so this kind of access includes only the user’s basic info like name and email addresses. In this post you’ll get a sneak peak to how we implemented this in Takipi, how you can use 3rd party sign-in in your application and a few insights that we came across that will save you some precious time if you decide to integrate this with your own application.
New Post: How to Implement Java OAuth 2.0 to Sign-In with GitHub and Google http://t.co/20Hn59dCtf pic.twitter.com/3tNNwPKjET
— Takipi (@takipid) May 14, 2015
In our own little universe, it turned out I’m not alone in this and many of our users feel the same way. Since we’re a developer tools startup, using GitHub’s and Google’s 3rd party sign-in made perfect sense. Beyond the convenience aspects for your users, using a 3rd party service can enhance their security. Since Google and GitHub use Two-factor authentication (2FA) your application gets to enjoy this level of security for “free”. In our case we already had 2FA enabled so I guess this makes us… 3FA ��
To see how this works in practice, you can check out this page we used to test it internally. It totally works but the update is not live on the site yet. You have a rare opportunity here to be one of the first to use it :)
So remind me how OAuth 2.0 goes again?
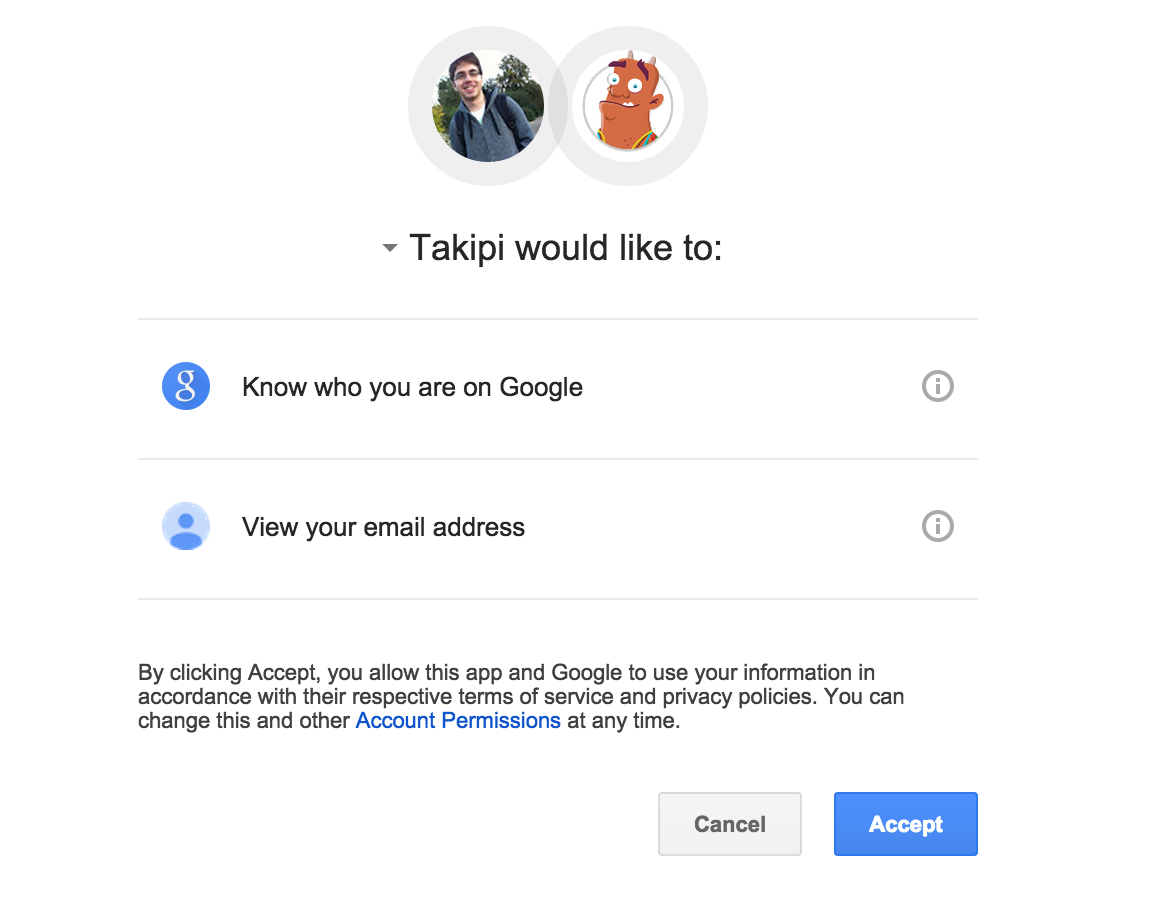
The OAuth sign-in flow goes like this: A user goes to your site, clicks on the “Sign-in with Whatever” button and gets redirected to a permissions page. The permissions page is coming from Whatever™ and when they approves the permissions you’re asking for, Whatever™ sends them a token which his browser then sends to your application’s backend. Once you’re in possession of the token, you send it back to Whatever™ for validation and assuming it’s verified – you get access to the data you were granted permissions for.
The Google OAuth2.0 library
For implementing 3rd party sign-in on our site, we used Google’s APIs Client Library for Java. Which also has Jackson2, ProtoBuf and all kinds of other handy utilities that appear on the top 100 libraries GitHub’s top Java projects use. This was a pretty straightforward choice for us since we already use this library for other purposes, and, well, honestly, the Google library just came up as the first result on… Google. Prepare your tinfoil hats.
Implementing sign-in with Google
This was the easy part of the journey; the documentation on Google’s end was clear and to the point. Since it’s their own library they also abstract parts of the procedure and handle it behind the scenes, making it even easier to implement. The first step would be to create a project on Google’s developer console where you can register your application and customize the permissions page.
Now back to Java. At the heart of it, the procedure boils down to a few simple steps with no surprises. First we build and execute a request to get a GoogleTokenResponse so we can verify the token we got from the user. Then we use this response to create a GoogleCredential that lets us invoke getAccessToken() on it and return the user’s info in a JSON format:
JsonFactory jsonFactory = new JacksonFactory();
HttpTransport httpTransport = new NetHttpTransport();

GoogleTokenResponse tokenResponse = new GoogleAuthorizationCodeTokenRequest(
                     httpTransport, jsonFactory,
                     /* Client ID and Secret */,
                     code, "postmessage").execute();

GoogleCredential credential = new GoogleCredential.Builder()
                    .setJsonFactory(jsonFactory)
                    .setTransport(httpTransport)
                    .setClientSecrets(/* Client ID and Secret */).build()
                    .setFromTokenResponse(tokenResponse);

Oauth2 oauth2 = new Oauth2.Builder(httpTransport, jsonFactory, credential).setApplicationName("YourAppName").build();
Tokeninfo tokenInfo = oauth2.tokeninfo().setAccessToken(credential.getAccessToken()).execute();

return oauth2.userinfo().get().execute();
Boom. That’s it. The best advice here would be to just follow the official documentation. On GitHub’s end, the implementation gets a bit trickier.
Implementing sign-in with GitHub
Now we’re hit with the realization that Google helped us cut some corners with regard to OAuth and use an abstraction with GoogleTokenResponse and GoogleCredential. With GitHub we’ll have to be closer to the raw protocol. Similarly to Google, we can customize the permissions screen when registering our application on GitHub’s developer applications screen.
GitHub’s permissions page – Customized for Takipi
When we got to the actual code, there were 3 main issues that slowed us down a bit and we couldn’t find in the documentation. Here’s how we solved them:
1. Building your own request flow
What was only 5 lines of code in Google’s case, turns to 19 lines so we can generate a GitHub tokenResponse. Here’s how to build the request by yourself:
JsonFactory jsonFactory = new JacksonFactory();
HttpTransport httpTransport = new NetHttpTransport();

AuthorizationCodeFlow flow = new AuthorizationCodeFlow.Builder(
                 BearerToken.authorizationHeaderAccessMethod(),
                 httpTransport, jsonFactory,
                 new GenericUrl("https://github.com/login/oauth/access_token"),
                 new ClientParametersAuthentication(/* Client ID and Secret */),
                 /* Client ID */
                 "https://github.com/login/oauth/authorize").build();

TokenResponse tokenResponse = flow
                 .newTokenRequest(code)
                 .setScopes(Collections.singletonList("user:email"))
                 .setRequestInitializer(new HttpRequestInitializer() {
                   @Override
                   public void initialize(HttpRequest request) throws IOException {
                        request.getHeaders().setAccept("application/json");
                   }
                 }).execute();
2. Expecting a JSON response? For some reason String is the default
Noticed that initialize method earlier that does setAccept? This was a bit surprising. Turns out you need to explicitly ask GitHub to send you the response back in JSON or else you’ll get it in a string format. If we would’ve known that in advance it could have saved us some time looking at it like:

3. Handling user emails for GitHub sign-in
Now, a GitHub user may have more than one email address and then you’ll have to choose which one you’ll use for your own purposes. For this reason we created a getBestEmail method that sorts out the email array (notice that it should extend ArrayList to work). After sorting the email array, we pick the best option we could find:
public class GithubEmails extends ArrayList<GithubEmail> {
  public GithubEmail getBestEmail() {
    if (isEmpty()) {
      return null;
    }

    Collections.sort(this, GithubEmail.bestEmailComparator);

    return get(0);
  }
}
So what’s the best option? Each field in this email array we get in the response from GitHub has an email, a verified field and a primary field. Here’s the sorting comparator we implemented for sorting it:
public static final Comparator<? super GithubEmail> bestEmailComparator =
    new Comparator<GithubEmail>() {
      @Override
      public int compare(GithubEmail o1, GithubEmail o2) {
        if (o1.verified != o2.verified) {
          return (o1.verified ? -1 : 1);
        }

        if (o1.primary != o2.primary) {
          return (o1.primary ? -1 : 1);
        }

      return o1.email.compareTo(o2.email);
  }
};
So basically you can see that we prefer verified and primary emails.
Conclusion
We hope this post helped you wrap your head around how to approach OAuth and Java through Google’s and GitHub’s sign-in. While this is the way we decided to implement it, there are other ways and libraries you can use to achieve similar results. We’d be happy to hear which approach you took, which libraries you prefer and answer any questions about this implementation. If you have any comments or suggestions on the way we decided to do it, please let me know in the comments section below. And if you find yourself running into trouble, please share where you’re stuck and we’ll be happy to help and share more of the code.
| Reference: | Tutorial: How to Implement Java OAuth 2.0 to Sign-In with GitHub and Google from our JCG partner Alex Zhitnitsky at the Takipi blog. |
