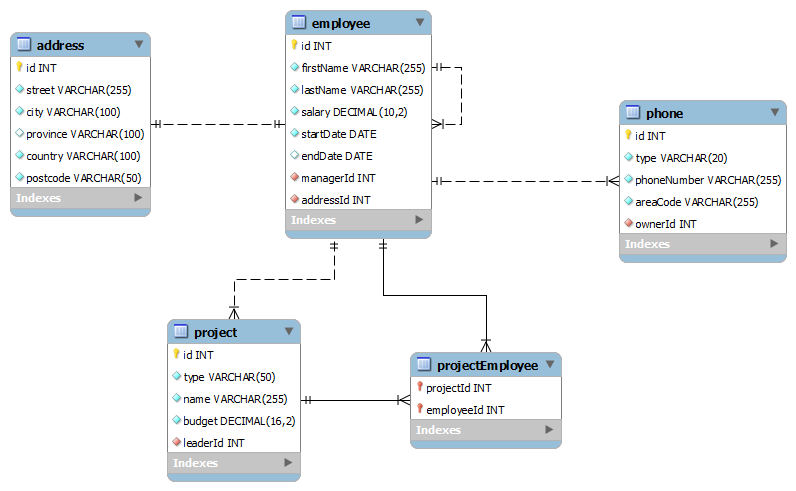
In this article I will discuss about the entity mapping procedure in JPA. As for my examples I will use the same schema that I used in one of my previous articles.
In my two previous articles I explained how to set up JPA in a Java SE environment. I do not intend to write the setup procedure for a web application because most of the tutorials on the web do exactly that. So let’s skip over directly to object relational mapping, or entity mapping.
Wikipedia defines Object Relational Mapping as follows:
Object-relational mapping (ORM, O/RM, and O/R mapping) in computer science is a programming technique for converting data between incompatible type systems in object-oriented programming languages. This creates, in effect, a “virtual object database” that can be used from within the programming language. There are both free and commercial packages available that perform object-relational mapping, although some programmers opt to create their own ORM tools.
Typically, mapping is the process through which you provide necessary information about your database to your ORM tool. The tool then uses this information to read/write objects into the database. Usually you tell your ORM tool the table name to which an object of a certain type will be saved. You also provide column names to which an object’s properties will be mapped to. Relation between different object types also need to be specified. All of these seem to be a lot of tasks, but fortunately JPA follows what is known as “Convention over Configuration” approach, which means if you adopt to use the default values provided by JPA, you will have to configure very little parts of your applications.
In order to properly map a type in JPA, you will at a minimum need to do the following:
- Mark your class with the @Entity annotation. These classes are called entities.
- Mark one of the properties/getter methods of the class with the @Id annotation.
And that’s it. Your entities are ready to be saved into the database because JPA configures all other aspects of the mapping automatically. This also shows the productivity gain that you can enjoy by using JPA. You do not need to manually populate your objects each time you query the database, saving you from writing lots of boilerplate code.
Let’s see an example. Consider the following Address entity which I have mapped according to the above two rules:
import javax.persistence.Entity;
import javax.persistence.Id;

@Entity
public class Address {
  @Id
  private Integer id;

  private String street;
  private String city;
  private String province;
  private String country;
  private String postcode;

  /**
   * @return the id
   */
  public Integer getId() {
    return id;
  }

  /**
   * @param id the id to set
   */
  public Address setId(Integer id) {
    this.id = id;
    return this;
  }

  /**
   * @return the street
   */
  public String getStreet() {
    return street;
  }

  /**
   * @param street the street to set
   */
  public Address setStreet(String street) {
    this.street = street;
    return this;
  }

  /**
   * @return the city
   */
  public String getCity() {
    return city;
  }

  /**
   * @param city the city to set
   */
  public Address setCity(String city) {
    this.city = city;
    return this;
  }

  /**
   * @return the province
   */
  public String getProvince() {
    return province;
  }

  /**
   * @param province the province to set
   */
  public Address setProvince(String province) {
    this.province = province;
    return this;
  }

  /**
   * @return the country
   */
  public String getCountry() {
    return country;
  }

  /**
   * @param country the country to set
   */
  public Address setCountry(String country) {
    this.country = country;
    return this;
  }

  /**
   * @return the postcode
   */
  public String getPostcode() {
    return postcode;
  }

  /**
   * @param postcode the postcode to set
   */
  public Address setPostcode(String postcode) {
    this.postcode = postcode;
    return this;
  }
}
Now based on your environment, you may or may not add this entity declaration in your persistence.xml file, which I have explained in my previous article.
Ok then, let’s save some object! The following code snippet does exactly that:
import com.keertimaan.javasamples.jpaexample.entity.Address;
import javax.persistence.EntityManager;
import com.keertimaan.javasamples.jpaexample.persistenceutil.PersistenceManager;

public class Main {
  public static void main(String[] args) {
    EntityManager em = PersistenceManager.INSTANCE.getEntityManager();

    Address address = new Address().setId(1)
        .setCity("Dhaka")
        .setCountry("Bangladesh")
        .setPostcode("1000")
        .setStreet("Poribagh");
    em.getTransaction()
        .begin();
    em.persist(address);
    em.getTransaction()
        .commit();
    System.out.println("addess is saved! It has id: " + address.getId());

    Address anotherAddress = new Address().setId(2)
        .setCity("Shinagawa-ku, Tokyo")
        .setCountry("Japan")
        .setPostcode("140-0002")
        .setStreet("Shinagawa Seaside Area");
    em.getTransaction()
        .begin();
    em.persist(anotherAddress);
    em.getTransaction()
        .commit();
    em.close();
    System.out.println("anotherAddress is saved! It has id: " + anotherAddress.getId());

    PersistenceManager.INSTANCE.close();
  }
}
Let’s take a step back at this point and think what we needed to do if we had used plain JDBC for persistence. We had to manually write the insert queries and map each of the attributes to the corresponding columns for both cases, which would have required a lot of code.
An important point to note about the example is the way I am setting the id of the entities. This approach will only work for short examples like this, but for real applications this is not good. You’d typically want to use, say, auto-incremented id columns or database sequences to generate the id values for your entities. For my example, I am using a MySQL database, and all of my id columns are set to auto increment. To reflect this in my entity model, I can use an additional annotation called @GeneratedValue in the id property. This tells JPA that the id value for this entity will be automatically generated by the database during the insert, and it should fetch that id after the insert using a select command.
With the above modifications, my entity class becomes something like this:
import javax.persistence.Entity;
import javax.persistence.Id;
import javax.persistence.GeneratedValue;

@Entity
public class Address {
  @Id
  @GeneratedValue
  private Integer id;

  // Rest of the class code........
And the insert procedure becomes this:
Address anotherAddress = new Address()
    .setCity("Shinagawa-ku, Tokyo")
    .setCountry("Japan")
    .setPostcode("140-0002")
    .setStreet("Shinagawa Seaside Area");
em.getTransaction()
    .begin();
em.persist(anotherAddress);
em.getTransaction()
    .commit();
How did JPA figure out which table to use to save Address entities? Turns out, it’s pretty straight-forward:
- When no explicit table information is provided with the mapping then JPA tries to find a table whose name matches with the entity name.
- The name of an entity can be explicitly specified by using the “name” attribute of the @Entity annotation. If no name attribute is found, then JPA assumes a default name for an entity.
- The default name of an entity is the simple name (not fully qualified name) of the entity class, which in our case is Address. So our entity name is then determined to be “Address”.
- Since our entity name is “Address”, JPA tries to find if there is a table in the database whose name is “Address” (remember, most of the cases database table names are case-insensitive). From our schema, we can see that this is indeed the case.
So how did JPA figure our which columns to use to save property values for address entities?
At this point I think you will be able to easily guess that. If you cannot, stay tuned for my next post!
Until next time.
[ Full working code can be found at github.]
| Reference: | JPA tutorial: Mapping Entities – Part 1 from our JCG partner Sayem Ahmed at the Codesod blog. |

great article very useful
Thank you, glad to hear that!