In this tutorial we shall show you how to avoid dependency disambiguation in CDI beans. In CDI we can achieve dependency injection for multiple implementations of an interface to different clients in an application. The problem of dependency disambiguation is how a client can call a specific implementation among different ones, without any errors occurring.
To see how we can avoid dependency disambiguation when injecting beans to an application we will create a simple service. We will create two implementations of the service and then we will inject both implementations in a servlet in our application. We will make use of the @Qualifiers, as will be explained below.
Our preferred development environment is Eclipse. We are using Eclipse Juno (4.2) version, along with Maven Integration plugin version 3.1.0. You can download Eclipse from here and Maven Plugin for Eclipse from here. The installation of Maven plugin for Eclipse is out of the scope of this tutorial and will not be discussed. Tomcat 7 is the application server used.
Let’s begin,
1. Create a new Maven project
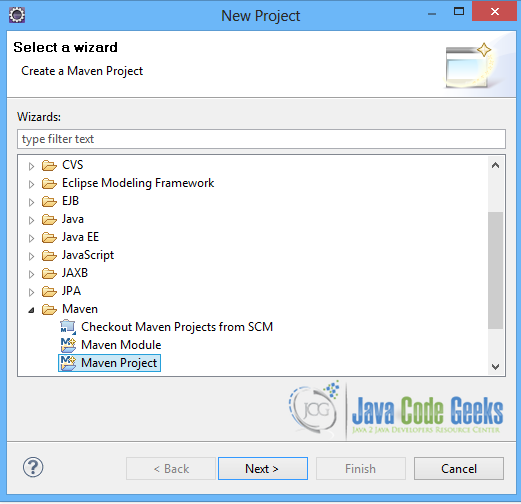
Go to File -> Project ->Maven -> Maven Project.
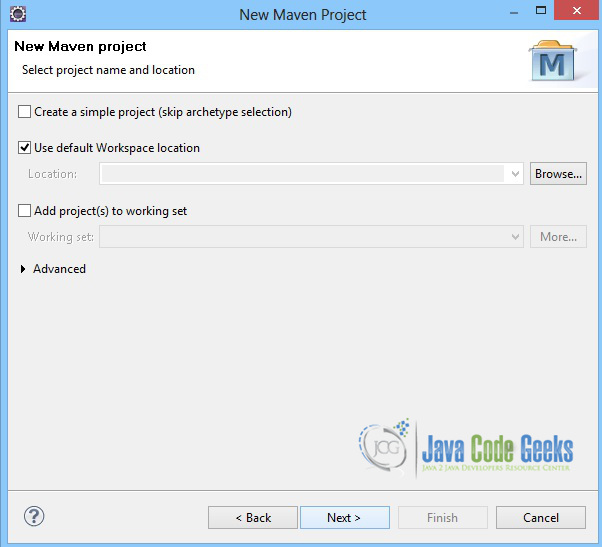
In the “Select project name and location” page of the wizard, make sure that “Create a simple project (skip archetype selection)” option is unchecked, hit “Next” to continue with default values.
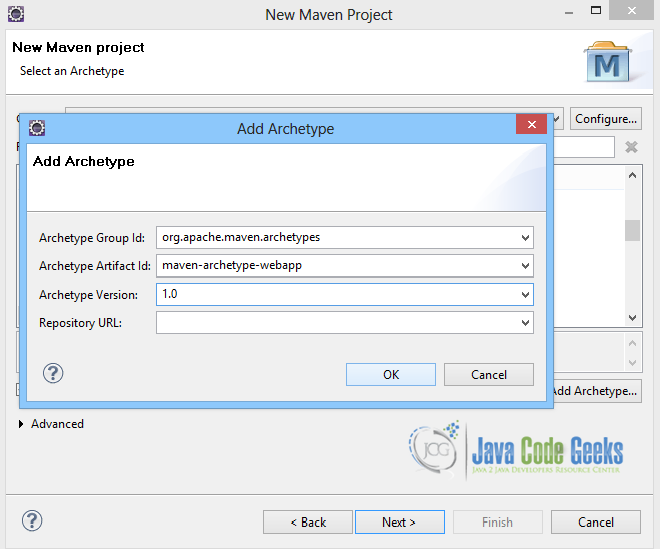
Here the maven archetype for creating a web application must be added. Click on “Add Archetype” and add the archetype. Set the “Archetype Group Id” variable to "org.apache.maven.archetypes", the “Archetype artifact Id” variable to "maven-archetype-webapp" and the “Archetype Version” to "1.0". Click on “OK” to continue.
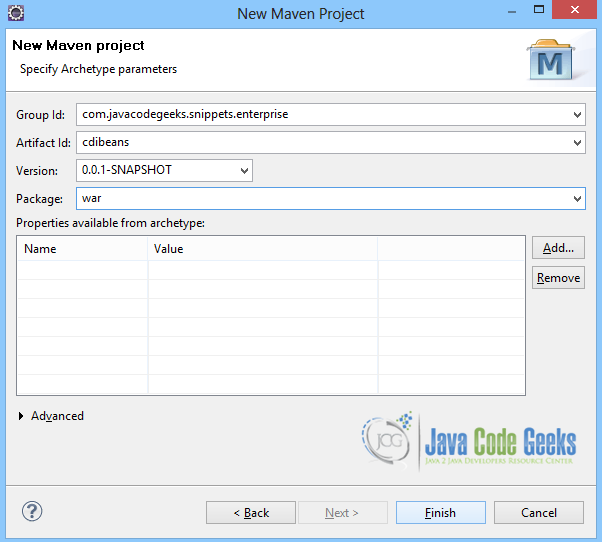
In the “Enter an artifact id” page of the wizard, you can define the name and main package of your project. Set the “Group Id” variable to "com.javacodegeeks.snippets.enterprise" and the “Artifact Id” variable to "cdibeans". The aforementioned selections compose the main project package as "com.javacodegeeks.snippets.enterprise.cdibeans" and the project name as "cdibeans". Set the “Package” variable to "war", so that a war file will be created to be deployed to tomcat server. Hit “Finish” to exit the wizard and to create your project.
The Maven project structure is shown below:
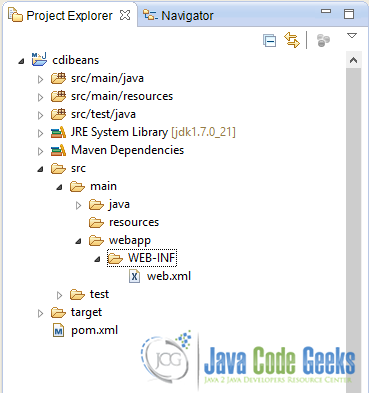
- It consists of the following folders:
- /src/main/java folder, that contains source files for the dynamic content of the application,
- /src/test/java folder contains all source files for unit tests,
- /src/main/resources folder contains configurations files,
- /target folder contains the compiled and packaged deliverables,
- /src/main/resources/webapp/WEB-INF folder contains the deployment descriptors for the Web application ,
- the pom.xml is the project object model (POM) file. The single file that contains all project related configuration.
2. Add all the necessary dependencies
You can add the dependencies in Maven’s pom.xml file, by editing it at the “Pom.xml” page of the POM editor, as shown below:
pom.xml:
<project xmlns="http://maven.apache.org/POM/4.0.0" xmlns:xsi="http://www.w3.org/2001/XMLSchema-instance"
	xsi:schemaLocation="http://maven.apache.org/POM/4.0.0 http://maven.apache.org/maven-v4_0_0.xsd">
	<modelVersion>4.0.0</modelVersion>
	<groupId>com.javacodegeeks.snippets.enterprise.cdi</groupId>
	<artifactId>cdibeans</artifactId>
	<packaging>war</packaging>
	<version>0.0.1-SNAPSHOT</version>
	<name>cdibeans Maven Webapp</name>
	<url>http://maven.apache.org</url>
	<dependencies>
		<dependency>
			<groupId>org.jboss.weld.servlet</groupId>
			<artifactId>weld-servlet</artifactId>
			<version>1.1.10.Final</version>
		</dependency>
		<dependency>
			<groupId>javax.servlet</groupId>
			<artifactId>jstl</artifactId>
			<version>1.2</version>
		</dependency>
		<dependency>
			<groupId>javax.servlet</groupId>
			<artifactId>javax.servlet-api</artifactId>
			<version>3.0.1</version>
			<scope>provided</scope>
		</dependency>
		<dependency>
			<groupId>org.glassfish</groupId>
			<artifactId>javax.faces</artifactId>
			<version>2.1.7</version>
		</dependency>
	</dependencies>

	<build>
		<finalName>cdibeans</finalName>
	</build>
</project>
As you can see Maven manages library dependencies declaratively. A local repository is created (by default under {user_home}/.m2 folder) and all required libraries are downloaded and placed there from public repositories. Furthermore intra – library dependencies are automatically resolved and manipulated.
3. Create a simple Service
We make use of a simple service that creates a greeting message for the application that uses it. The GreetingCard.java class is an interface with a method that produces the greeting message.
GreetingCard.java
package com.javacodegeeks.snippets.enterprise.cdibeans;

public interface GreetingCard {

	void sayHello();
}
We create two implementations of the service. Each implementation produces a different message, as shown below:
GreetingCardImpl.java
package com.javacodegeeks.snippets.enterprise.cdibeans.impl;

import com.javacodegeeks.snippets.enterprise.cdibeans.GreetingCard;

public class GreetingCardImpl implements GreetingCard {

	public void sayHello() {
		System.out.println("Hello!!!");
	}

}
AnotherGreetingCardImpl.java
package com.javacodegeeks.snippets.enterprise.cdibeans.impl;

import com.javacodegeeks.snippets.enterprise.cdibeans.GreetingCard;


public class AnotherGreetingCardImpl implements GreetingCard {

	public void sayHello() {
		System.out.println("Have a nice day!!!");
	}

}
4. Use of the Service
In order to inject the service to another bean, we can make use of the @Qualifier. CDI allows us to create our own Java annotation, and then use it in the injection point of our application to get the correct implementation of the GreetingCard according to the GreetingType of the bean.
Greetings.java
package com.javacodegeeks.snippets.enterprise.cdibeans;

import static java.lang.annotation.ElementType.FIELD;
import static java.lang.annotation.ElementType.TYPE;
import static java.lang.annotation.ElementType.METHOD;
import static java.lang.annotation.RetentionPolicy.RUNTIME;
import java.lang.annotation.Retention;
import java.lang.annotation.Target;

import javax.inject.Qualifier;

@Qualifier
@Retention(RUNTIME)
@Target({ FIELD, TYPE, METHOD })
public @interface Greetings {

	GreetingType value();

}
The GreetingType.java is an enumeration, as shown below:
GreetingType.java
package com.javacodegeeks.snippets.enterprise.cdibeans;

public enum GreetingType {

	HELLO, HI;
}
Now, the service implementations use the annotation, as shown below:
GreetingCardImpl.java
package com.javacodegeeks.snippets.enterprise.cdibeans.impl;

import com.javacodegeeks.snippets.enterprise.cdibeans.GreetingCard;

@Greetings(GreetingType.HELLO)
public class GreetingCardImpl implements GreetingCard {

	public void sayHello() {
		System.out.println("Hello!!!");
	}

}
AnotherGreetingCardImpl.java
package com.javacodegeeks.snippets.enterprise.cdibeans.impl;

import com.javacodegeeks.snippets.enterprise.cdibeans.GreetingCard;

@Greetings(GreetingType.HI)
public class AnotherGreetingCardImpl implements GreetingCard {

	public void sayHello() {
		System.out.println("Have a nice day!!!");
	}

}
5. Inject the service in a servlet
We create a simple servlet, and inject both implementations of the service, using the @Inject annotation provided by CDI, as shown below:
GreetingServlet.java
package com.javacodegeeks.snippets.enterprise.cdibeans.servlet;

import java.io.IOException;
import java.io.PrintWriter;

import javax.inject.Inject;
import javax.servlet.ServletException;
import javax.servlet.annotation.WebServlet;
import javax.servlet.http.HttpServlet;
import javax.servlet.http.HttpServletRequest;
import javax.servlet.http.HttpServletResponse;

import com.javacodegeeks.snippets.enterprise.cdibeans.GreetingCard;
import com.javacodegeeks.snippets.enterprise.cdibeans.GreetingType;
import com.javacodegeeks.snippets.enterprise.cdibeans.Greetings;

@WebServlet(name = "greetingServlet", urlPatterns = {"/sayHello"})
public class GreetingServlet extends HttpServlet {

	private static final long serialVersionUID = 2280890757609124481L;

	@Inject
	@Greetings(GreetingType.HELLO)
	private GreetingCard greetingCard;

	@Inject
	@Greetings(GreetingType.HI)
	private GreetingCard anotherGreetingCard;

	  public void init() throws ServletException {
	  }

	  public void doGet(HttpServletRequest request, HttpServletResponse response)
	            throws ServletException, IOException {
	      response.setContentType("text/html");
	      PrintWriter out = response.getWriter();
	      out.println("<h1>" + greetingCard.sayHello() + "</h1>");
	      out.println("<h1>" + anotherGreetingCard.sayHello() + "</h1>");
	  }

	  public void destroy(){
	  }

}
To run the example we must build the project with Maven, and then place the war file produced in webbaps folder of tomcat. Then, we can hit on :
http://localhost/8080/cdibeans/sayHello
and the result is the one shown below:

Note that dependency disambiguation may also occur when using Producer methods to inject CDI beans, as shown in the Java EE CDI Producer methods tutorial.
This was a tutorial of Java EE CDI dependency disambiguation.
Download the source code of this tutorial: CDIDependencyDisambiguationExample.zip
