This tutorial is the second part of the “Setting up an infrastructure for Instant Messaging” article series. After installing the Openfire server (“Openfire server installation“), we are now ready to create some users.
Login to the admin console and choose “Users/Groups”. There you should see the existing users under “User Summary”. Only “admin” is currently existent, so choose “Create New User” from the left panel.
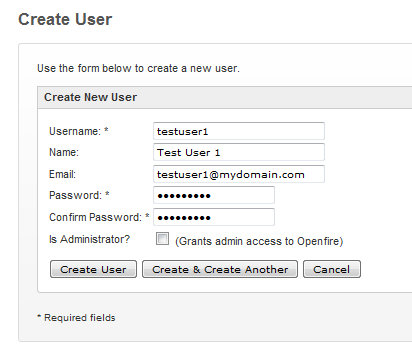
Fill in the user’s information as shown above and make sure the “Is Administrator” option is not selected. Hit the “Create & Create Another” button to create the current user and repeat the procedure to create a second one. I created users “testuser1” and “testuser2”.
Now let’s use an XMPP client to actually connect to the server. I will use Spark, an open source, cross-platform IM client provided by Ignite Realtime, the same company that provides Openfire. Download the latest version here. I chose the Windows platform version, the one where JRE is not bundled (since I have Java already installed). The current version is 2.5.8 (direct link here).
Run the installer and after the installation is complete, launch the application. You should see the following picture:

To login, use one of the users that you created above (I chose “testuser1”), provide the corresponding password and also fill the server hostname (or IP address) in the “Server” field.

Then hit the “Login” button and if you correctly connect, you should see the following picture:
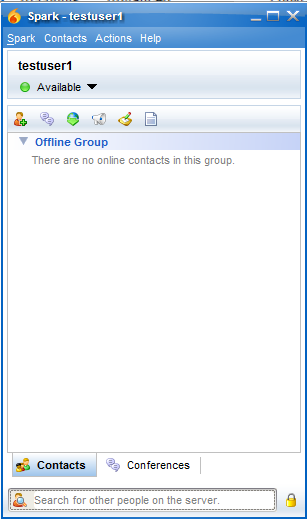
You now can do all the usual IM stuff, i.e. add friends to your roster, create groups, set your current status etc.
On the server side, the current client sessions can be monitored via the admin console. Hit the “Sessions” button and you will find the active client sessions as shown below:

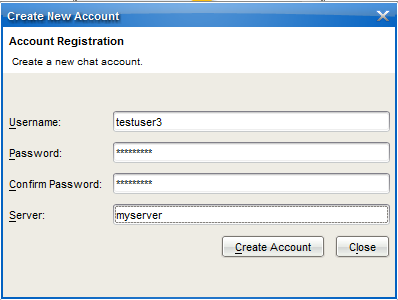
Note that by default, users can automatically create new accounts. To do that in Spark, hit the “Accounts” button (logout first if necessary). In the screen that appears, fill in the desired username, the password and the server to which the user will be created.
If you wish to configure manually the creation of new users, you can change the default behaviour by logging into the Openfire admin console and go to “Server ? Server Settings ? Registration & Login”.

In the “Registration Settings” interface that appears, you can configure the “Inband Account Registration”, that is whether users can automatically create new accounts. Another option that should be disabled for security issues is the “Anonymous Login”. Finally, using the “Restrict Login” feature, you can restrict the IP addresses or IP address ranges that clients are allowed to login from.
Full configuration of the Openfire server is out of the scope of this tutorial, but note that useful guides can be found under the “documentation” folder of the Openfire distribution file.
As a final thing, I will show you how to use Spark to connect to Google’s server with your Google Talk account. There are two things to bear in mind:
- For the username, you have to provide your Google Talk username without any @ symbol or domain.
- The server to connect to is gmail.com (and not talk.google.com)

Happy chatting!!!

when i try to connect to an account from spark by giving newly installed openfire server hostname its saying that server can’t find or unreachable and how it will be possible for others to connect to my server i hav no idea regarding this .rpy aeap thanks in advance.