(You can also check our introductory article on Android here)
LiveAndroid is a project that provides a LiveCD for Android running on x86 platforms. With a Live CD (or Live Distribution) you are able to test an operating system without altering the already installed OS or any files existing on the computer’s storage devices. The user can return his PC to its previous state when he is done with the LiveCD. LiveAndroid does not fully support the Android OS, but the most important stuff are included in the distribution (with more added with each release).
LiveAndroid can also be used with a virtualization application. I will show you how to install it on VirtualBox. You can find the ISO files in the downloads section of the project, the current version being 0.3. There are two distinct ISO files for that version:
- liveandroidv0.3.iso.001
- liveandroidv0.3.iso.002
The two ISO files have to be joint before proceeding with the installation.
If you are running Linux, this is a matter of a single command:
? cat liveandroidv0.3.iso.001 liveandroidv0.3.iso.002 > liveandroidv0.3.iso
If you are running Windows, use HJSplit(http://www.freebyte.com/hjsplit/ or http://www.freebytesoftware.com/download/hjsplit.zip) to join it. (I remember this tool back from the glory days of floppy disks)
Run HJ-Split ? Choose Join ? Select “Input File” ? Locate the .001 file ? Hit “Start”
After the ISO file is ready, start up your VirtualBox application and hit the “New” button to create a new virtual machine.

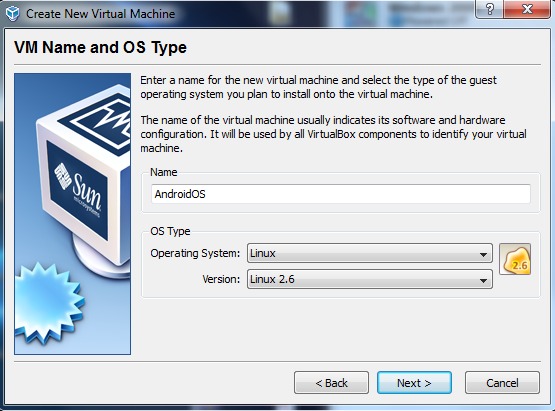
Follow the wizard and on the “VM Name and OS Type” choose the following:
- Name: AndroidOS
- Operating System: Linux
- Version: Linux 2.6
On the next screen, we select the virtual machine’s amount of memory. Since we are talking about a mobile phone OS, I chose only 128MB.

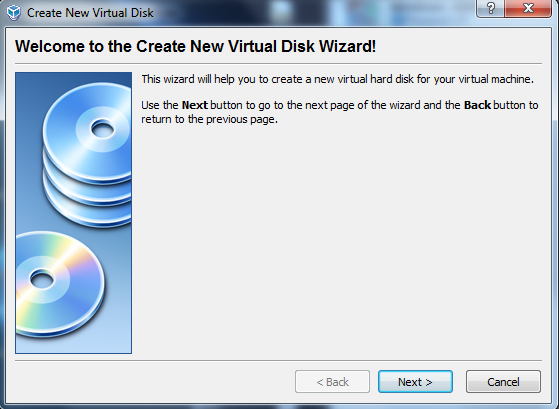
Next, we select the hard disk image that will be used to host our new virtual machine. Select the “Create new hard disk” option.

That will launch the “Create New Virtual Disk” wizard.
We then have to select the hard disk’s storage type. I chose “Fixed-size storage”. That will reserve all the configured disk amount up front and will not allow the machine’s disk to expand.

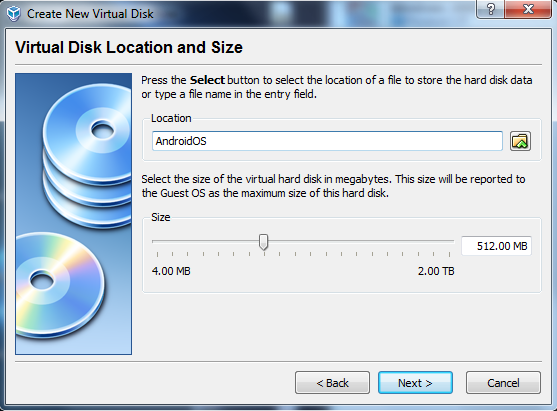
Next, we select the disk’s location and size. The location should be “AndroidOS”, since that is the new virtual machine we have created for Android. I chose 512MB for the hard disk. Again, remember that we are talking about a mobile phone OS here.
After all these, we get a screen with the summary of our new hard disk configuration.

After we click finish, we are presented with the new virtual machine’s configuration summary. If everything looks OK, hit “Finish” to create the VM.

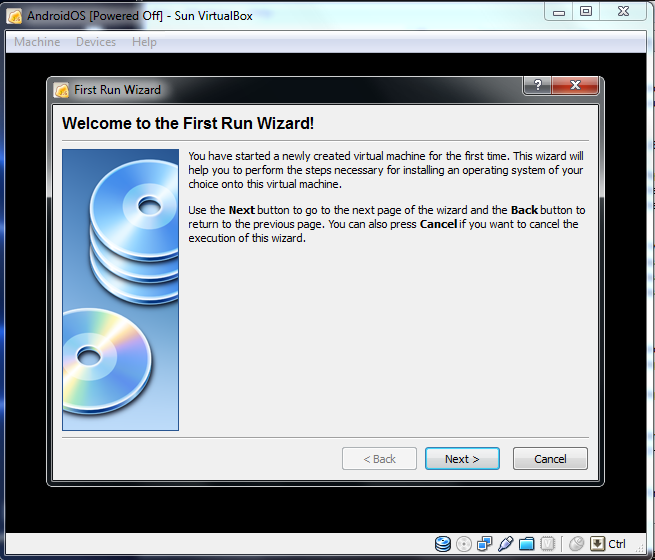
After the machine is created, you will see it in the left panel. Select it and hit the “Start” button to power it up. Since this will be the first time this machine boots, the “First Run Wizard” will appear.
We have to select the installation media, i.e. the source from which the machine will boot and will be used for the installation. That will be the ISO file we have created, so hit on the folder button on the right side of the “Media Source” subpanel.

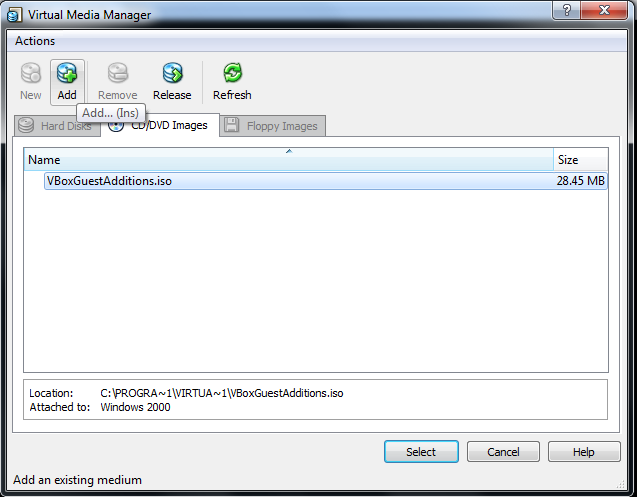
The “Virtual Media Manager” screen appears. Hit on the “Add” button, we want to add a new media source.
In the new window, browse to the location of the joint ISO file (named “liveandroidv0.3.iso”) and select it for our media source.
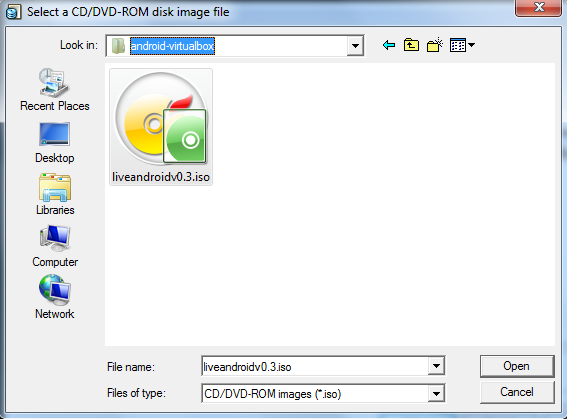
Once it is selected, click “Next” to continue.

The summary page of the “First Run Wizard” appears, listing our option. Hit “Finish” to proceed.
The virtual machine will boot from the provided ISO file and after a number of messages, you will see a screen prompting you to choose the desired screen size. (Ignore any messages regarding the color depth settings).
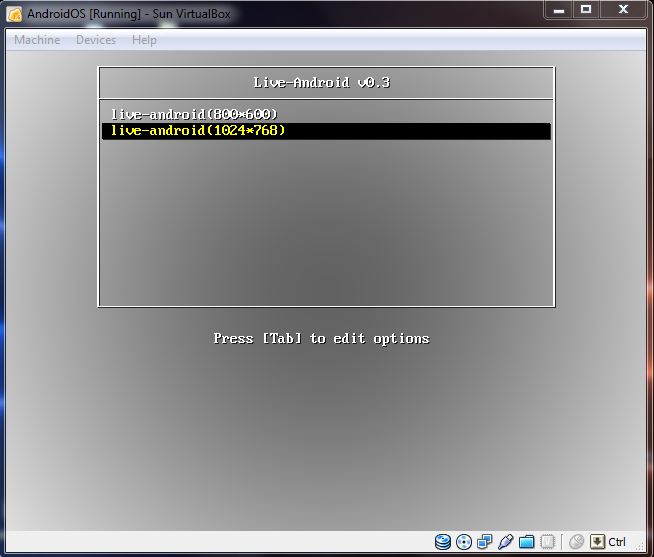
Choose the desired screen size (I chose 800×600) and press “Enter”. The first screen of your new OS will appear. Well done!

You can play with the Android OS, checking out its cool features. Fire up the Browser (it is based on WebKit if I am not mistaken). The home page is Google, obviously. Start typing a new address and hit the “Go” button that will appear. I have to admit that the available web browser is much more powerful than I believed it was.
Here’s how our home page looks like:

Awesome.
- “Android Full Application Tutorial” series
- Android Text-To-Speech Application
- Android Reverse Geocoding with Yahoo API – PlaceFinder
- Embracing the Android awesomeness: A quick overview
- Install Windows 8 from Virtual Machine

how can i install my “apk” files to my guest os? i have my “apk” files on my hd
Thnk you for providing such information!
bt m in a prblm! whn I locate the .iso file, a error msg is showing like dis->
Failed to open the CD/DVD image E:SoftwareGoogle osliveandroid.0.2.iso.
Could not get the storage format of the medium ‘E:SoftwareGoogle osliveandroid.0.2.iso’ (VERR_NOT_SUPPORTED).
Result Code: VBOX_E_IPRT_ERROR (0x80BB0005)Component: MediumInterface: IMedium {53f9cc0c-e0fd-40a5-a404-a7a5272082cd}Callee: IVirtualBox {c28be65f-1a8f-43b4-81f1-eb60cb516e66}
I cant undrstnd wht to do! pz hlp me!!!!!!!!!
I have installed the things as you mentioned but after booting .iso file, it was showing booting and after it there is only one screen(like wallpaper) of LIVE android is coming after that nothing is going on………..plz give me solution.
how to create a androiad application
good
I have installed the OS but unable to access Internet… unable to enable WiFi…