Automating the Continuous Integration of Android Projects With Gradle Using Jenkins on Windows
This post will show how to automate the deployment process of an Android Application using Jenkins Continuous Integration – to build the project, run the unit tests (if any), archive the built artifacts and run the Android lint reports.
1. Install Jenkins as a Windows Service
Navigate to jenkins-ci.org website using an Internet browser and download the Windows native package (the link is underlined for easy identification) as shown from the right side pane of the Download Jenkins tab.
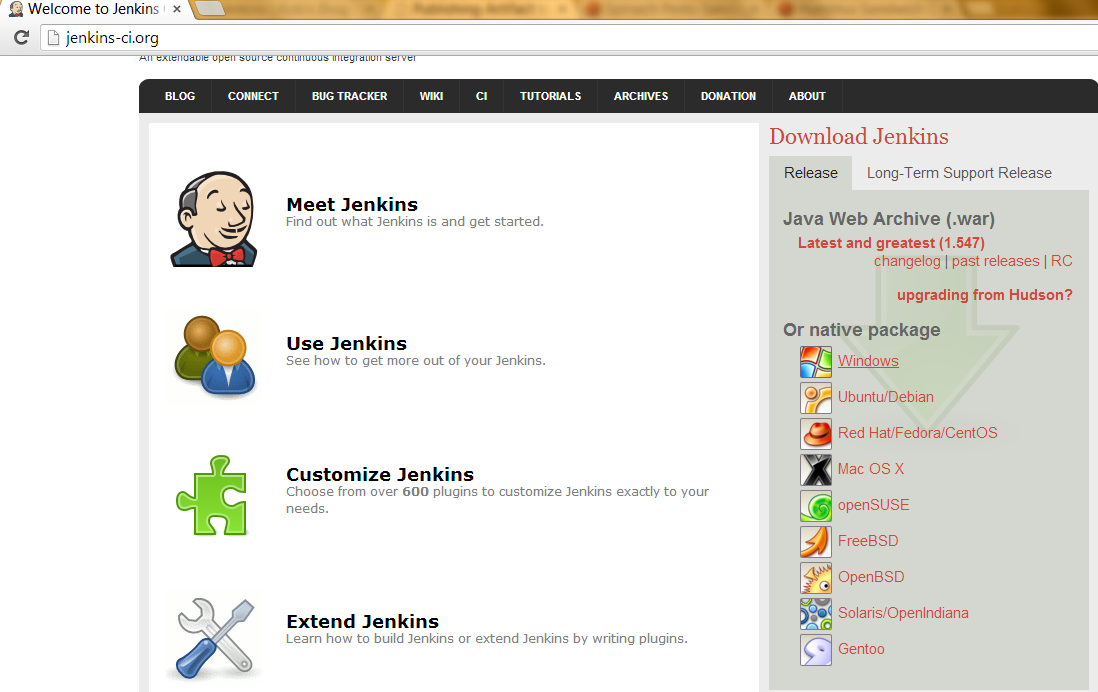
Once the download is complete, uncompress the zip file and click on the jenkins-1.xxx.msi file. Proceed through the configuration steps to install the Jenkins as a Windows service.
2. Modify Default Jenkins Port
By default Jenkins runs on the port 8080. In order to avoid conflict with other applications, the default port can be modified by editing the jenkins.xml found under C:\Program Files (x86)\Jenkins location. As shown below, modify the httpPort to 8082.
<service>
<id>jenkins</id>
<name>Jenkins</name>
<description>This service runs Jenkins continuous integration system.</description>
<env name="JENKINS_HOME" value="%BASE%"/>
<!--
if you'd like to run Jenkins with a specific version of Java, specify a full path to java.exe.
The following value assumes that you have java in your PATH.
-->
<executable>%BASE%\jre\bin\java</executable>
<arguments>-Xrs -Xmx256m -Dhudson.lifecycle=hudson.lifecycle.WindowsServiceLifecycle -jar "%BASE%\jenkins.war" --httpPort=8082</arguments>
<!--
interactive flag causes the empty black Java window to be displayed.
I'm still debugging this.
<interactive />
-->
<logmode>rotate</logmode>
<onfailure action="restart" />
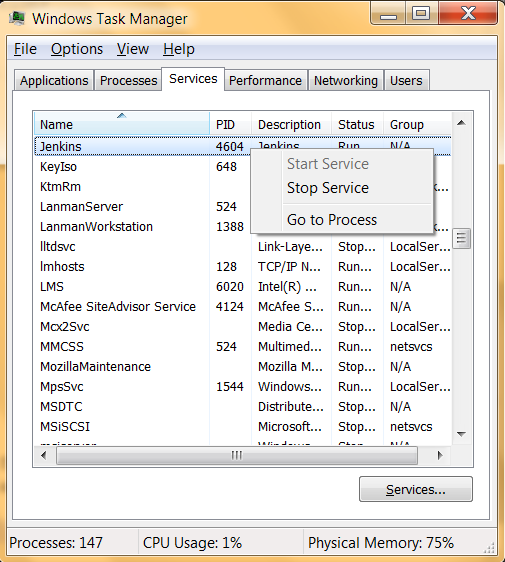
</service>Once the modification is saved in jenkins.xml file, restart the Jenkins service from the Windows Task Manager->Services and right clicking on the Jenkins service and choose Stop Service to stop the service as shown below.
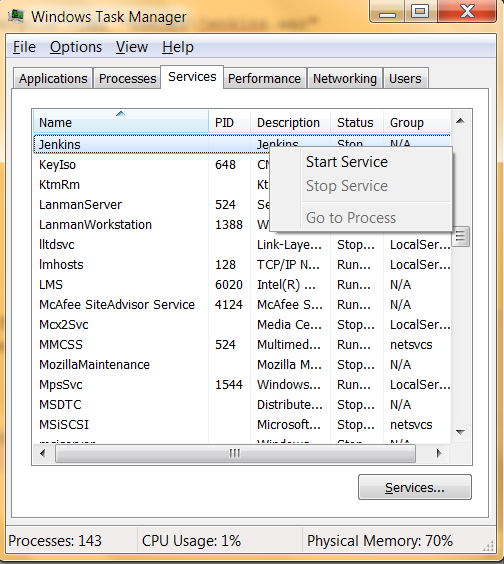
Once the status of the service changes to stopped, restart the service by right clicking on the Jenkins service and choose Start Service to start the service again.
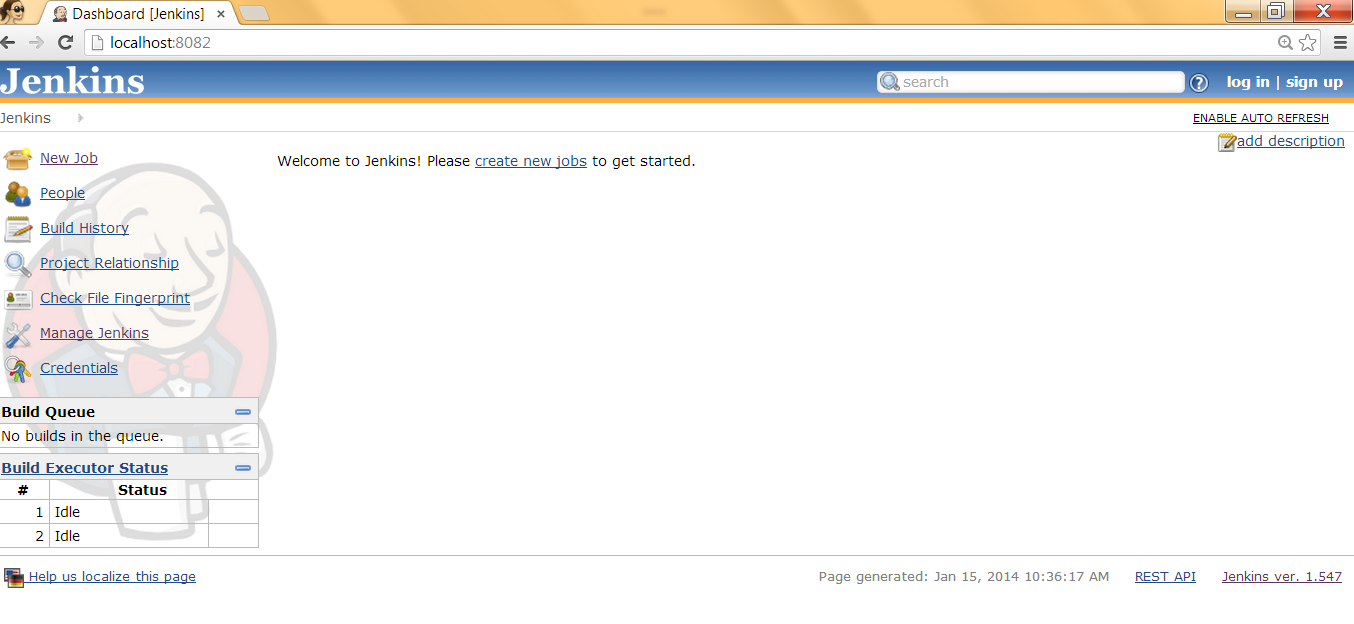
Navigate to localhost:8082 to verify if the Jenkins restart was successful as shown below – Jenkins Dashboard will be displayed. Note that it takes a while before the Jenkins service becomes available.
3. Install Plugins
On the Jenkins Dashboard, navigate to Manage Jenkins –> Manage Plugins as shown in the snapshot below.
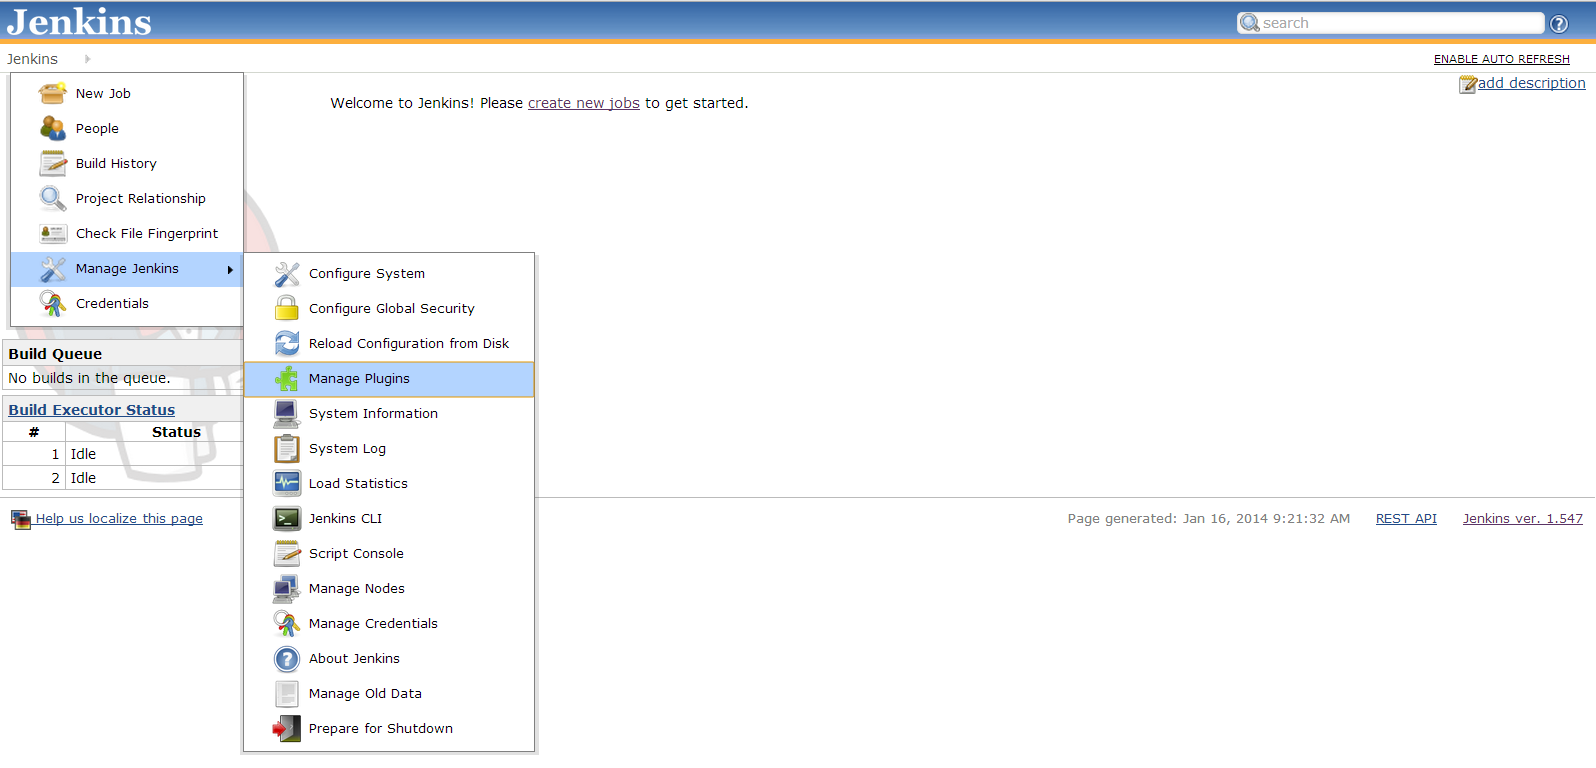
Install the following plugins and restart Jenkins for the changes to take effect.
- Git Plugin (for integrating Git with Jenkins)
- Gradle Plugin (for integrating Gradle with Jenkins)
- Android Lint Plugin (for integration Lint with Jenkins)
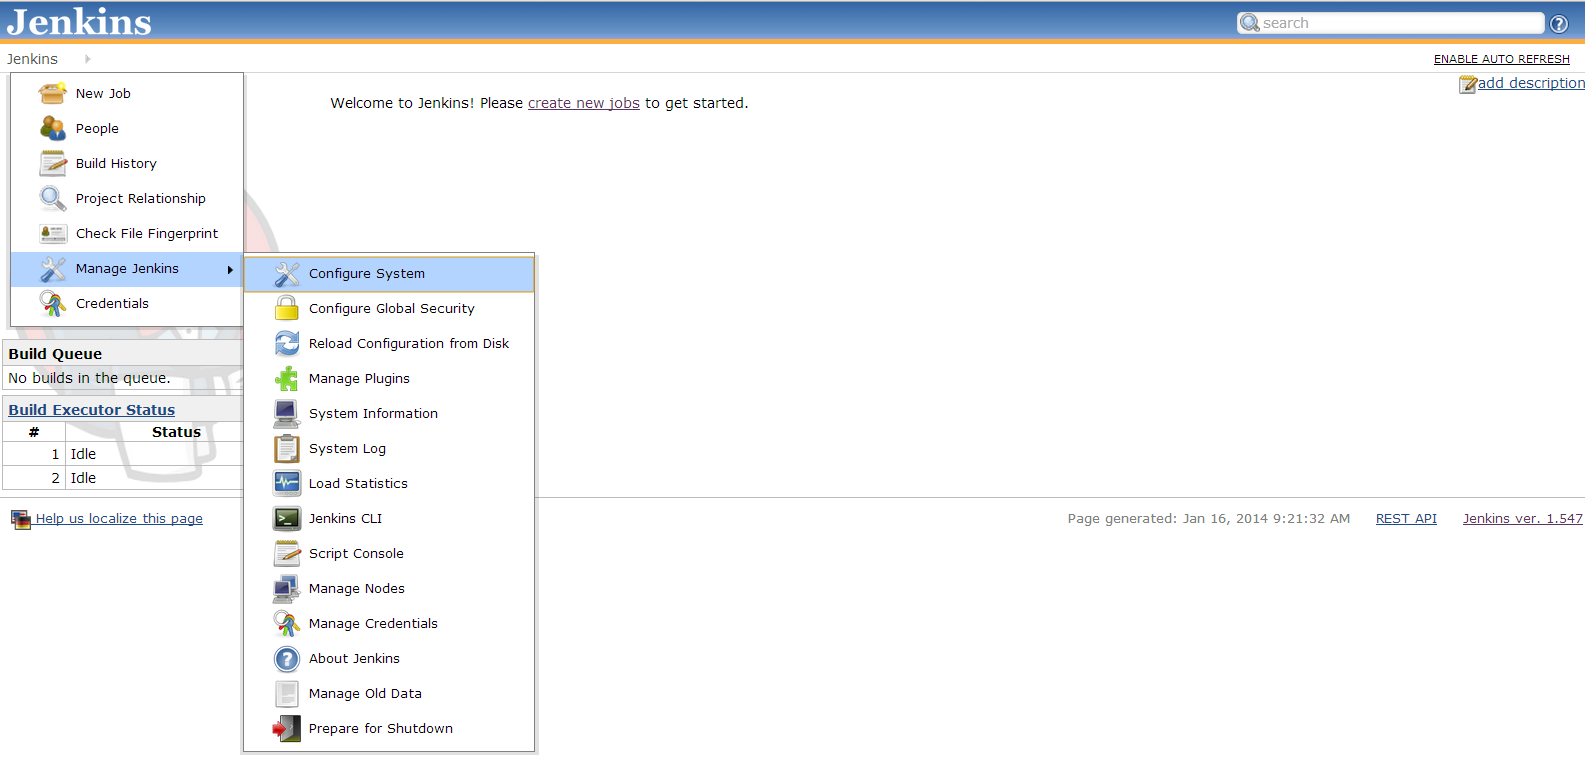
4. Configure System
On the Jenkins Dashboard, navigate to Manage Jenkins –> Configure System as shown in the snapshot below.
Navigate to the Global Properties section and click on Add to add an Environment Variable ANDROID_HOME as shown in the snapshot below. Enter the name as ANDROID_HOME and enter the path of the location where the Android SDK is stored on windows.

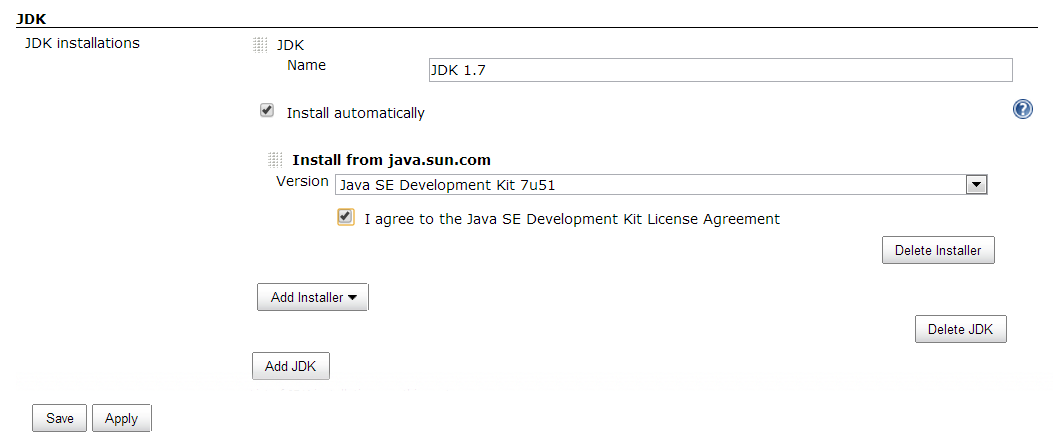
Navigate to the JDK section and click on “Add JDK” to add the JDK installation as shown in the snapshot below. Specify a JDK Name, choose the JDK Version to install and follow the on-screen instructions to save the Oracle Login credentials. Save the changes.
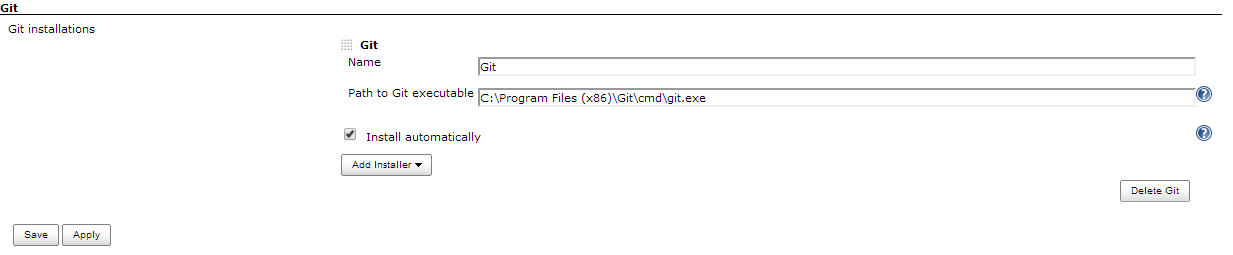
Next, proceed to the Git section and click on “Add Git” to add the Git installation as shown in the snapshot below. Specify Git Name, specify the path to Git executable and Save the changes.
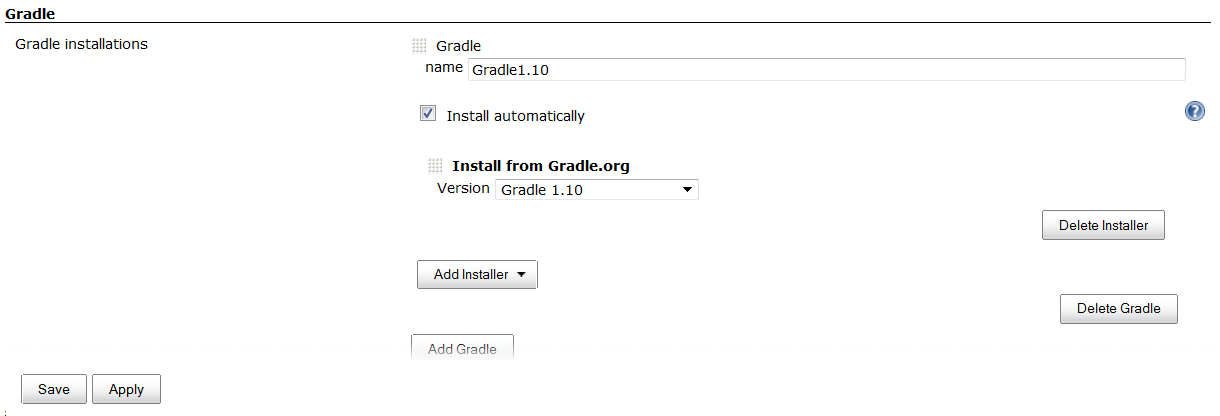
Next, proceed to the Gradle section and click on “Add Gradle” to add the Gradle installation as shown in the snapshot below. Specify Gradle Name, choose the appropriate version (at the time of writing, I used Gradle 1.10) and Save the changes.
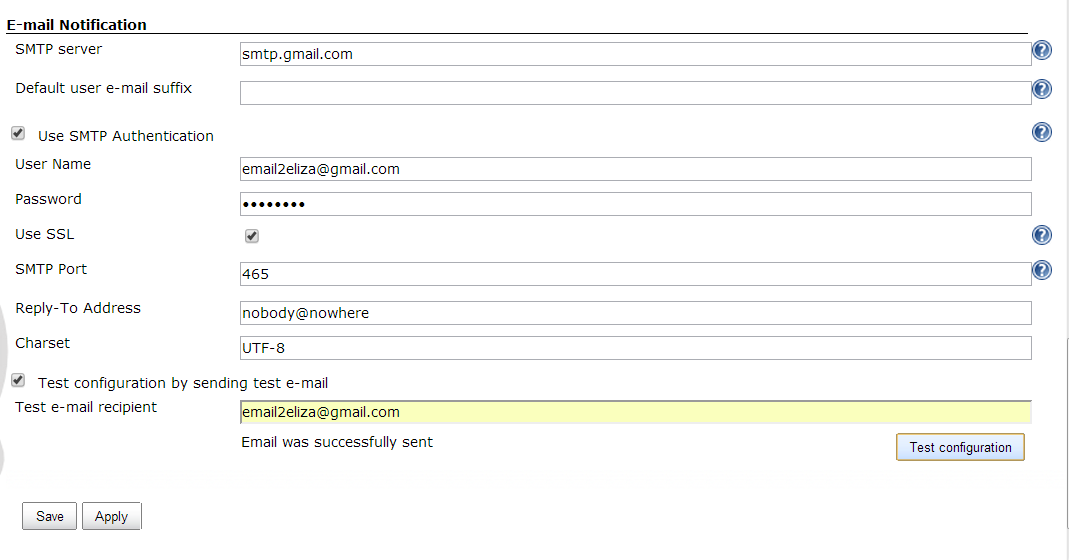
Next, proceed to the Email Notification section and enter the SMTP Server details as shown below. Click on the Advanced button to add the further details required and Save the changes. Click on “Test configuration by sending test e-mail”, enter the test e-mail recipient and click on “Test configuration” to see if the email is successfully sent.
5. Create a New Jenkins Job
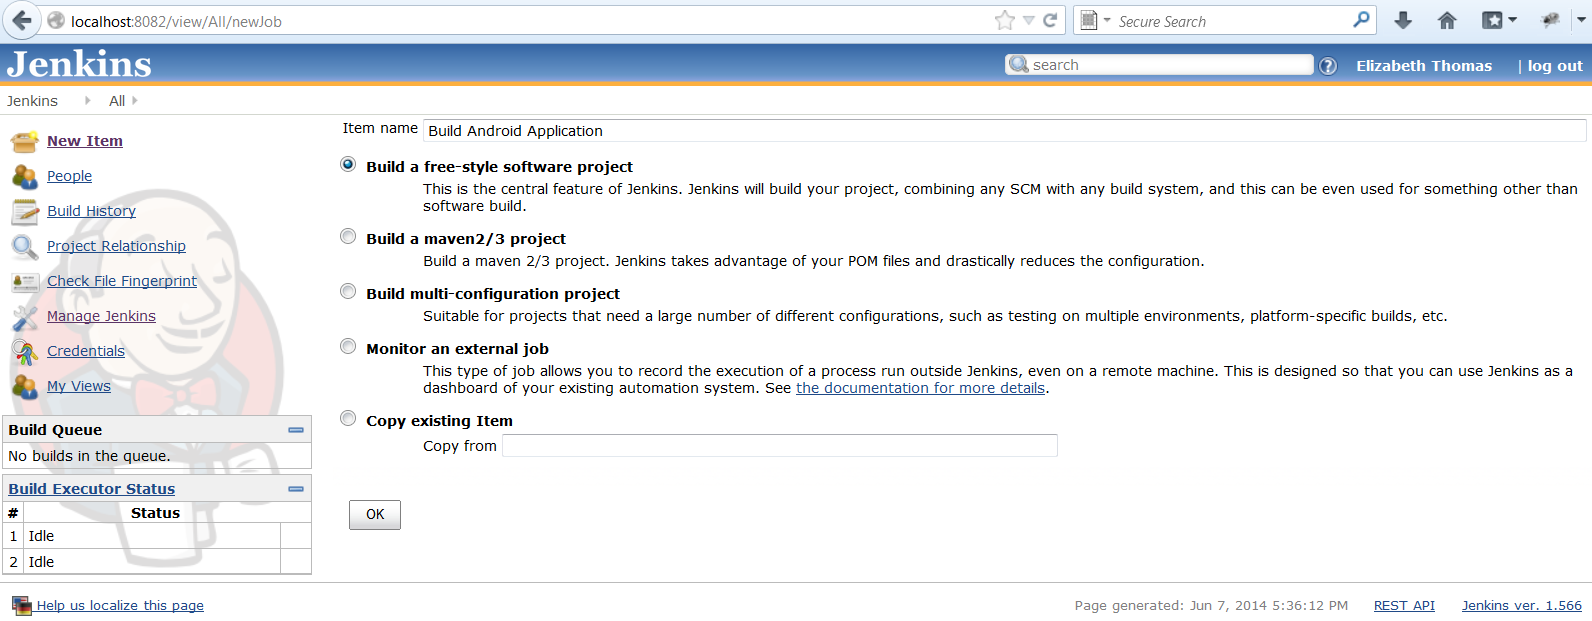
From the Jenkins Dashboard, click on “New Job” to create a new job. Enter a name for the job and choose “Build a free-style software project” as option and click on OK as shown below.
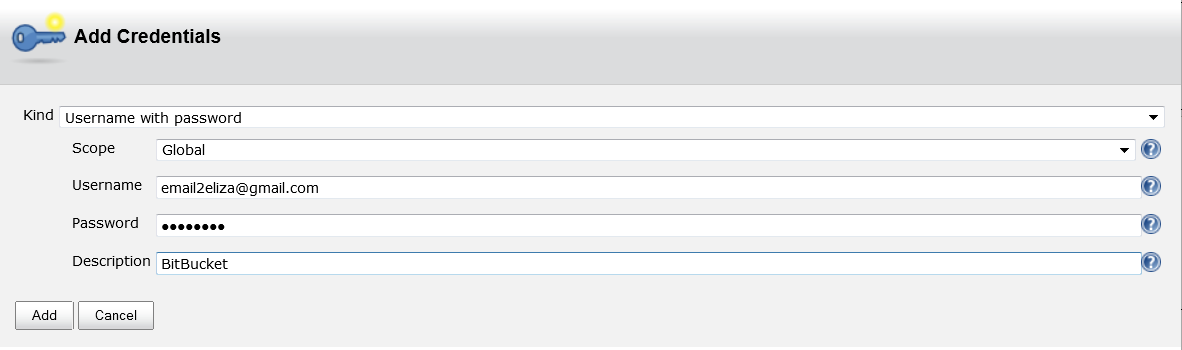
From the New Job Configuration screen, proceed to the Source Code Management section. Save the Git credentials by clicking on “Add” as shown below and entering the details in the following dialog. Save the changes by clicking on “Add” as shown below.
Specify the Git Repository URL for the project, choose the saved credentials from the drop-down list as shown in the snapshot below. Save the changes.

Next, from the Build Triggers section, select the options desired as shown below and Save the changes.

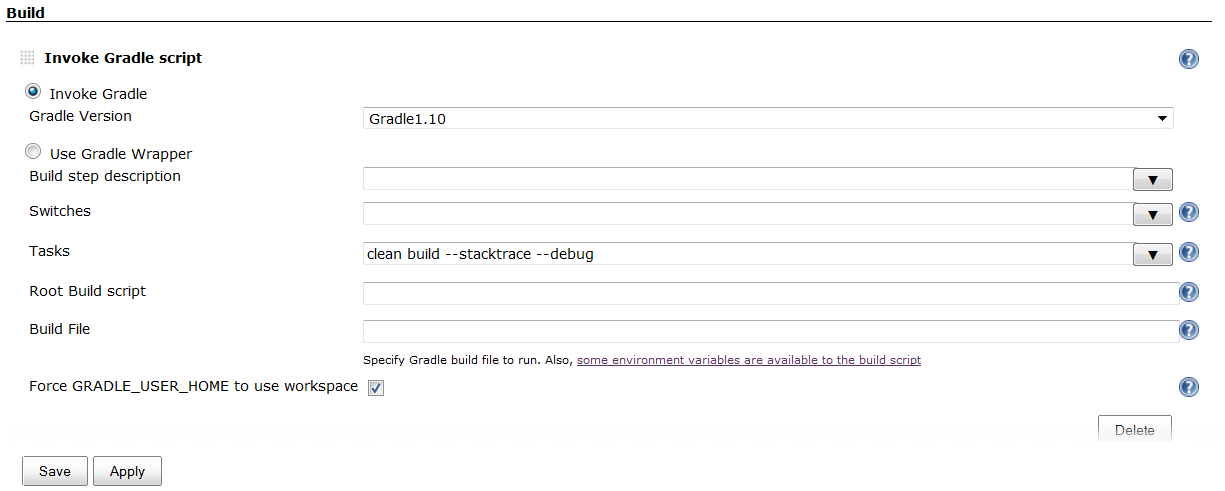
Proceed to the Build section, choose “Invoke Gradle script” from the drop-down list of choices for “Add build step”. Choose the appropriate Gradle version which is configured, enter the tasks to be built and select the options as desired. Save the changes.
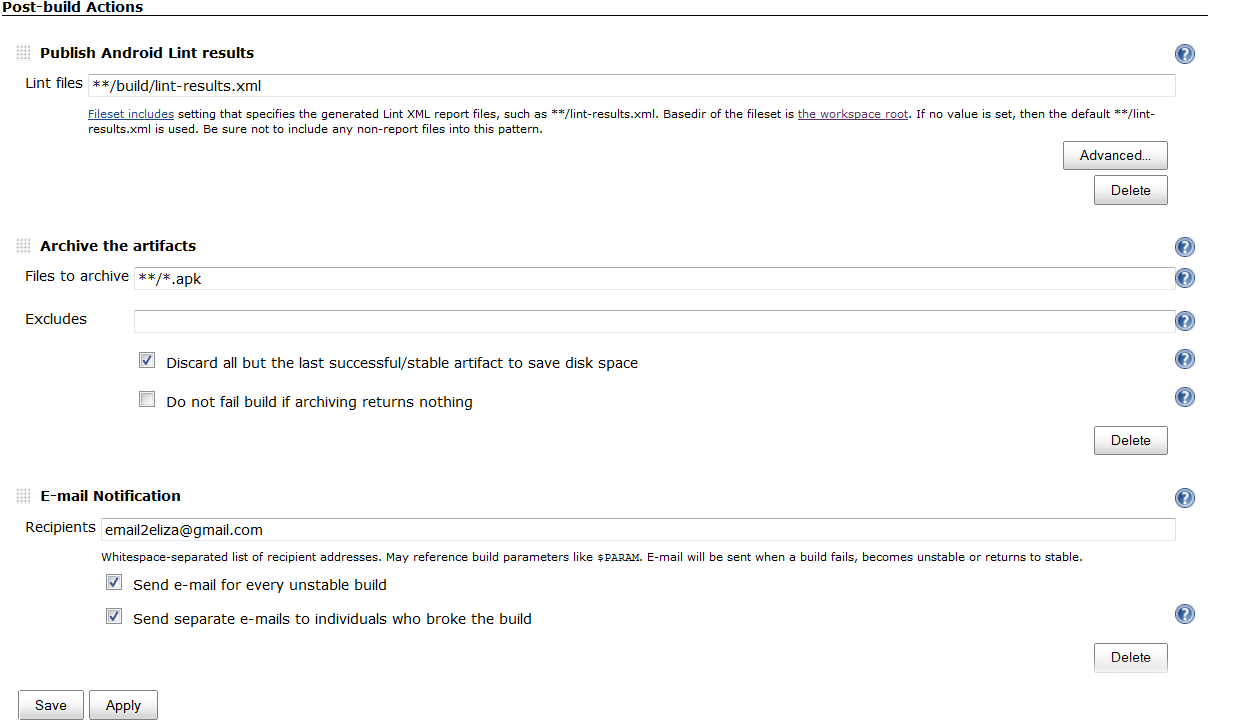
Proceed to the Post-build Actions section, click on “Publish Android Lint results” from the drop-down list of choices for “Add post-build action” and specify the location where the Lint results should be stored in the Jenkins workspace for the job.
Similarly, click on “Archive the artifacts” from the drop-down list of choices for “Add post-build action” and the specify the format of APK files to be archived after every build. Additionally, options from Advanced section such as “Discard all but the last successful/stable artifact to save disk space” could be enabled for saving disk space.
Click on “E-mail Notification” from the drop-down list of choices for “Add post-build action” and enter the values for the email recipients as shown below. Save the changes.
6. Build Now
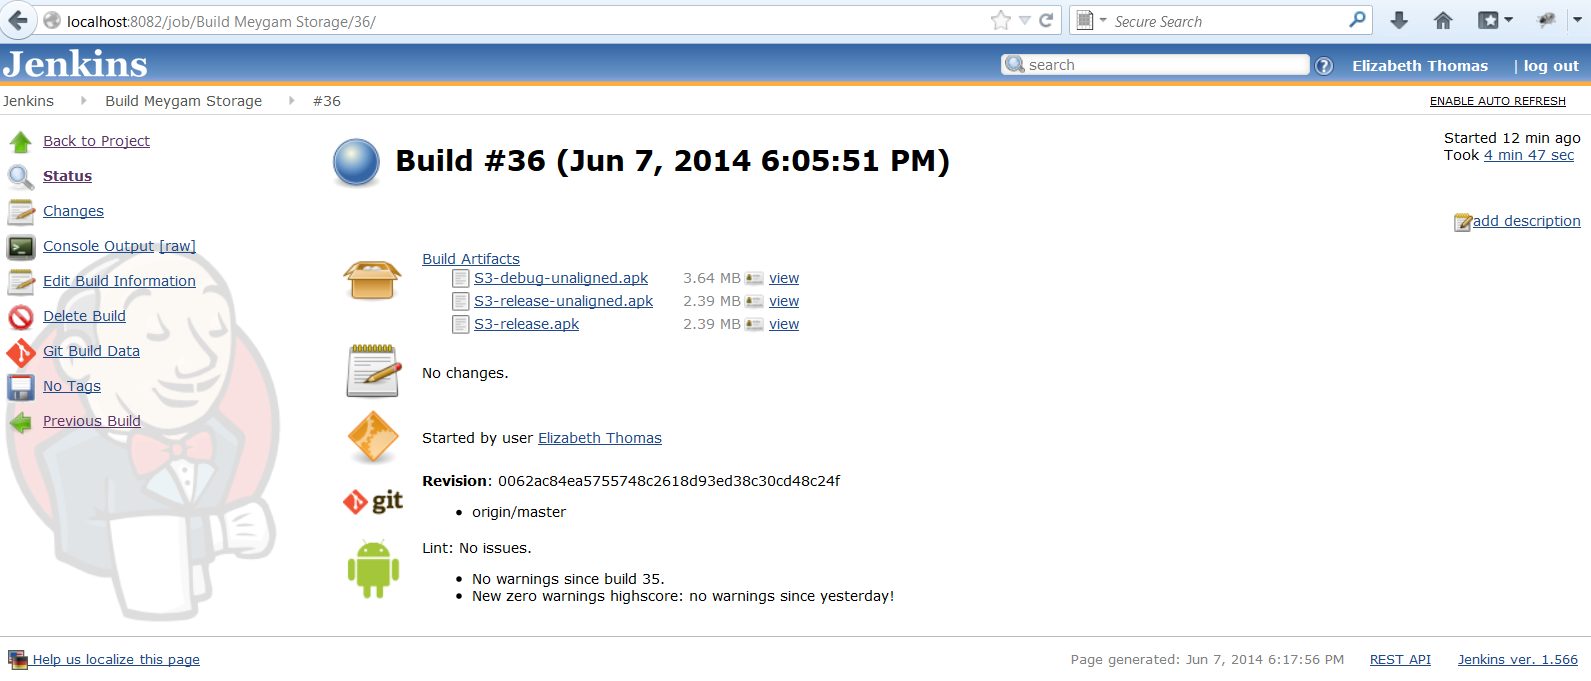
Once the above configuration steps are complete, click on “Build Now” under the Jenkins –> Build Android Application (or the respective Job name) to build the project based on the configuration.
The console output has the detailed logs of what steps were initiated by the configuration and the outcome of the entire build. Clicking on any successful build outcome shows the artifacts that were archived as part of the build, the change that started the build and the lint results as shown below.
Thus the entire process of building the project an Android application project whenever a SCM change is triggered or under another condition, running lint reports, archiving the artifacts built, publishing lint reports and triggering emails to the recipients can be automated with a click of a button through Jenkins.
| Reference: | Automating the Continuous Integration of Android Projects With Gradle Using Jenkins on Windows from our JCG partner Elizabeth Thomas at the My Experiments with Technology blog. |
