Many organizations have an automated test suite running in integration and continuous delivery systems but fail to effectively utilize the results generated at the end of the test. Without proper analysis and documentation, it becomes challenging to distinguish valuable information from irrelevant data.
The true benefit of automating testing lies not only in its ability to serve as documentation in the development process but also in its ability to increase test coverage, ensure the quality of the software, and help identify and fix bugs early in the development cycle.
Additionally, having clear and detailed test results can also aid in the overall development process by providing insight into areas of the code that may require further attention or optimization.
Therefore, effective test reporting is important and will ensure that all data at the end of your tests are properly collected and transformed into usable information. These test results can bring great benefits to a development team by providing insight into areas of the code that may require further attention or optimization. It also ensures that bugs are identified and fixed early in the development cycle, increasing the overall quality and efficiency of the software development process.
In this blog on generating XML reports in pytest, we will first briefly discuss pytest, a popular Python testing framework. Pytest allows for easy and efficient testing of Python code and is widely used in the development community. After discussing pytest, we will delve into the benefits of test reporting and how to generate XML reports in pytest.
So, let’s get started!
The Importance of Test Reporting
When you start to run automated tests in your pipeline daily, you encounter different challenges. This may be due to some change in product behavior or flaws. The test report is a critical component for the QA team to analyze and perform their role effectively. It helps them evaluate the testing process and identify any issues that need to be addressed.
The test report is a key element of a test automation framework, as it plays an essential role in effectively analyzing test results. Having a test report helps you build more robust test automation suites. The efficiency with which your test report is implemented plays an important role in the overall success of your automation efforts.
Test reports help better document the product under development and provide valuable information for stakeholders to make decisions. This can result in faster time-to-market, improved return on investment, faster bug resolution, faster developer velocity, and increased visibility across the board.
By providing clear and detailed information about the results of automated tests, test reports can help to ensure the quality and reliability of the software while also improving the efficiency and effectiveness of the development process.
Run Python Test Scripts across 3000+ browsers & devices. Try LambdaTest Now!
XML vs HTML in Test Reporting
Test reports are an essential part of any test automation framework, providing developers with detailed information about the results of automated tests. One popular format for test reports is XML, which stands for Extensible Markup Language. XML is a markup language used to organize and label the different parts of a document, making it easy to read and understand for both humans & machines.
Unlike HTML (Hypertext Markup Language), which is used to format and display data in a web browser, XML is designed to store and transport data. It allows for the creation of custom tags and self-describing languages, making it highly flexible and adaptable to various systems. XML also has a standard and clear structure, ensuring data integrity and exchange.
When choosing a format for test reports, it is important to consider your project’s specific needs and requirements. XML is a good choice for test reports because it is easy to read and understand and can be easily integrated into other systems.
Additionally, XML reports can include detailed information about test failures and errors, making it easier to identify and fix bugs. However, if you are looking for a more visual representation of your test results, HTML reporting may be a better choice. Ultimately, the choice of format will depend on your project’s specific needs and requirements.
What is pytest?
Although often overlooked, testing is an essential step in the Software Development Life Cycle (SDLC). Python comes with its built-in testing framework called unittest. However, some developers find writing tests in unittest to be complicated. In recent years, pytest, a third-party testing framework, has gained popularity among developers for its ease of use and flexibility.
Pytest is a Python testing framework designed to assist developers with writing better systems and releasing them with confidence. It requires less boilerplate code, making test suites more readable and easy to maintain. A simple assert statement is used, rather than the assertSomething methods of unittest, making it easier to write and understand tests.
You can also Subscribe to the LambdaTest YouTube Channel and stay updated with the latest tutorials around automated browser testing, Selenium testing, Cypress E2E testing, CI/CD, and more.
The binding system simplifies the setting and removal of the test state, keeping tests organized and reliable. A functional approach allows for more modular tests, and the large ecosystem of community-maintained plugins allows for the easy addition of functionality. Pytest Fixtures are also provided, which allows for shared setup and cleanup code across tests, making the tests more maintainable and efficient.
Overall, its ease of use and flexibility make pytest an excellent choice for improving the quality and reliability of code.
Test Environment Setup
This section of the blog on generating XML reports in pytest will cover the process of configuring a test environment.
Setting up pytest
Note: This section of the blog on generating XML reports in pytest is intended for readers who may not be familiar with setting up pytest. If you are already familiar with the process, feel free to skip this section.
The installation of pytest is simple. If you have cloned the repository, it is already installed, and you can skip this step. If you have not cloned the repository, follow these steps:
Make sure you have Homebrew on your machine because we will use a macOS operating system in this tutorial on generating XML reports in pytest.
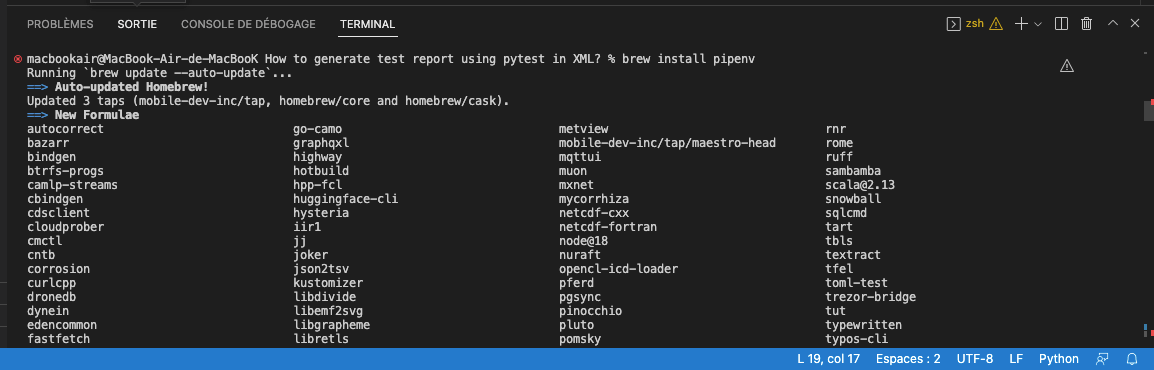
Step 1
Type the following command in your terminal.
brew install pipenv
The pipenv installation should look like this.
Step 2
Creation of Pipfile in an empty directory. This file is essential for using Pipenv. It tracks your project’s dependencies if you need to reinstall them.
[source]
name = "pypi"
url = "https://pypi.org/simple"
verify_ssl = true

[dev-packages]

[packages]
pytest = "*"
selenium = "*"

[requires]
python_version = "*"
The python_version parameter is the version of the base interpreter you specified when creating a new pipenv environment.
The packages section is where you can list the packages required for your project. “*” is for installing the latest stable versions of the packages.
When writing this blog on generating XML reports in pytest, the latest versions of pytest and Selenium are pytest 7.1.2 and 4.2.2, respectively.
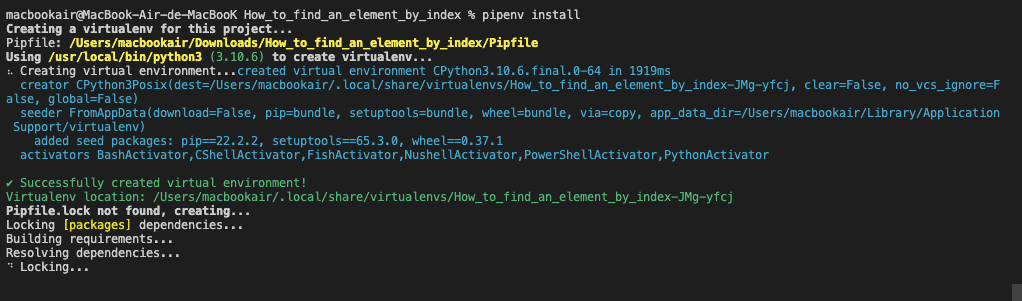
Step 3
In your terminal, go to the directory and install the latest stable versions of the pytest and Selenium packages with the command:
Pipenv Install
This blog post demonstrates how to run tests using pytest and the LambdaTest Selenium Grid. However, it’s possible to perform these tests locally by installing the latest WebDriver version for the desired browser or by using WebDriverManager. In fact, WebDriverManager is also a thing of the past after the support for Selenium Manager was available in Selenium v4.6 (and above).
Now let’s add some code to demo how to find an element by index in Selenium WebDriver for Python from our Selenium-controlled browser.
How to generate test reports using pytest in XML?
Now that our project is ready let’s create our test suite. Our test suite will include three test scenarios
- test_cart.py for test scenario 1.
- test_cart.py for test scenario 2.
- test_cart.py for test scenario 3.
This is what the structure of our project should look like:
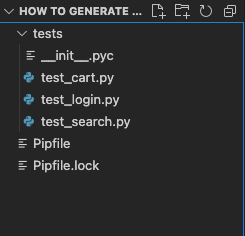
Each of our test cases will contain test scenarios.
Test Scenario 1
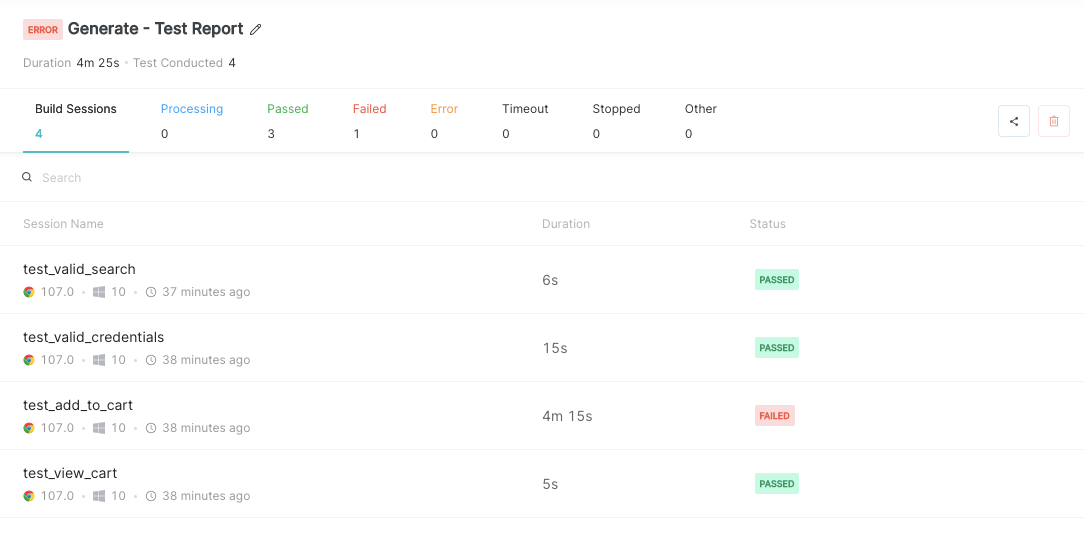
Test Case 1- View cart (PASSED)
|
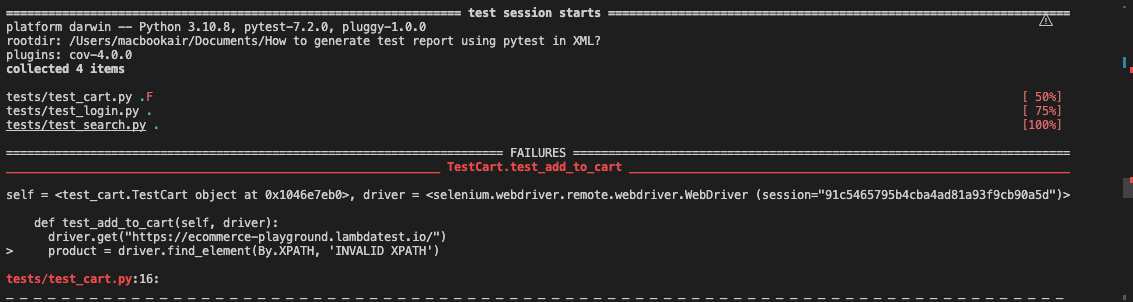
Test Case 2: Add a product to the cart (FAILED)
|
This second test case is expected to fail because of the usage of invalid locator for locating the requisite product on the page.
Test Scenario 2
Test Case 1: Login with valid credentials (PASSED)
|
Test Scenario 3
Test Case 1: Perform a search (PASSED)
|
Implementation
import pytest
import time
from selenium import webdriver
from selenium.webdriver.common.by import By


@pytest.mark.usefixtures('driver')
class TestCart():


 def test_view_cart(self, driver):
   driver.get("https://ecommerce-playground.lambdatest.io/")
   cart_button = driver.find_element(By.XPATH, '//*[@id="entry_217825"]/a/div[1]')
   cart_button.click()


 def test_add_to_cart(self, driver):
   driver.get("https://ecommerce-playground.lambdatest.io/")
   product = driver.find_element(By.XPATH, 'INVALID XPATH')
   product.click()


   add_to_cart_button = driver.find_element(By.XPATH, '//*[@id="entry_216842"]/button')
   time.sleep(5)
Code Walkthrough
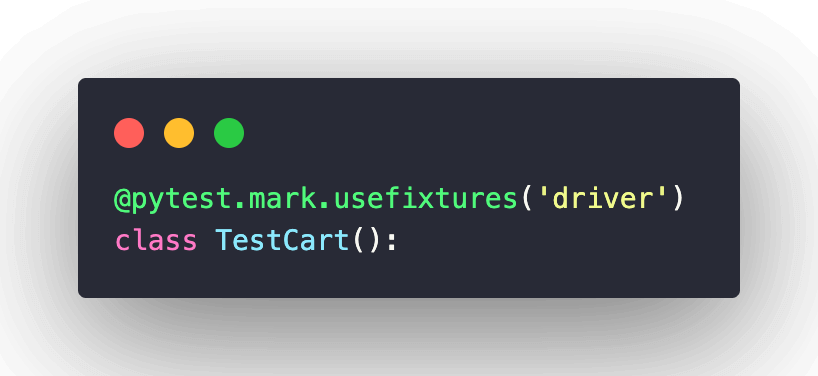
The script contains two test methods, test_view_cart, and test_add_to_cart, which are decorated with the @pytest.mark.usefixtures(‘driver’) decorator.
This tells pytest to run the driver fixture before running these test methods.
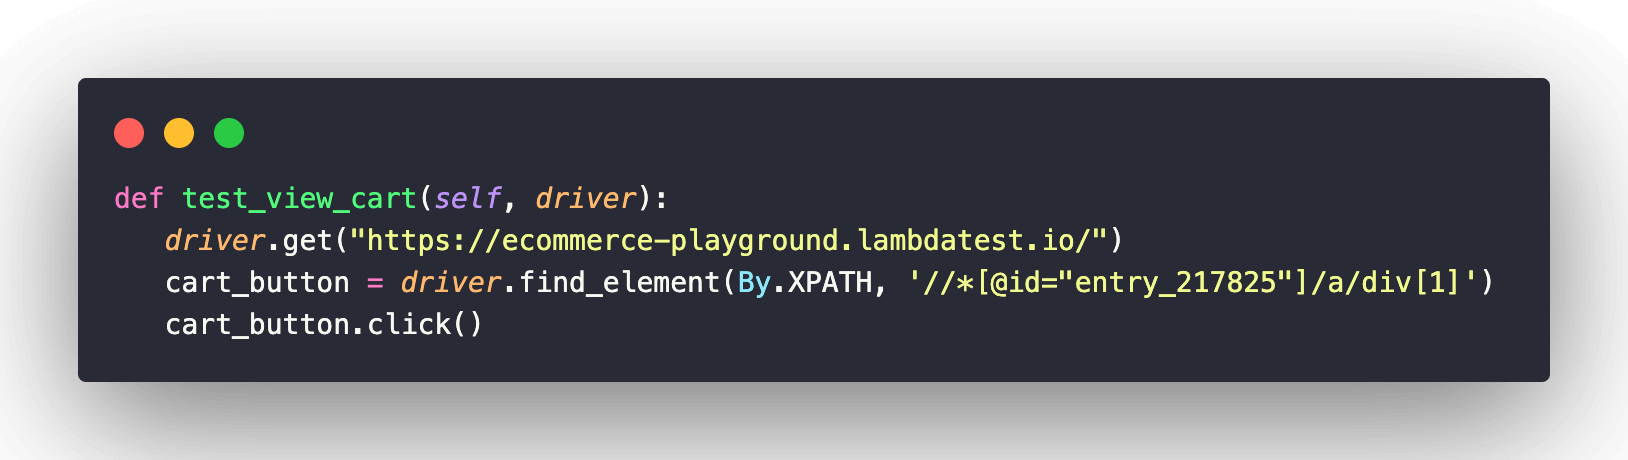
The test_view_cart method navigates to https://ecommerce-playground.lambdatest.io/ using the driver.get() method and then locates the Cart button using the driver.find_element() method and the By class’s XPATH attribute. It then clicks on the Cart button.
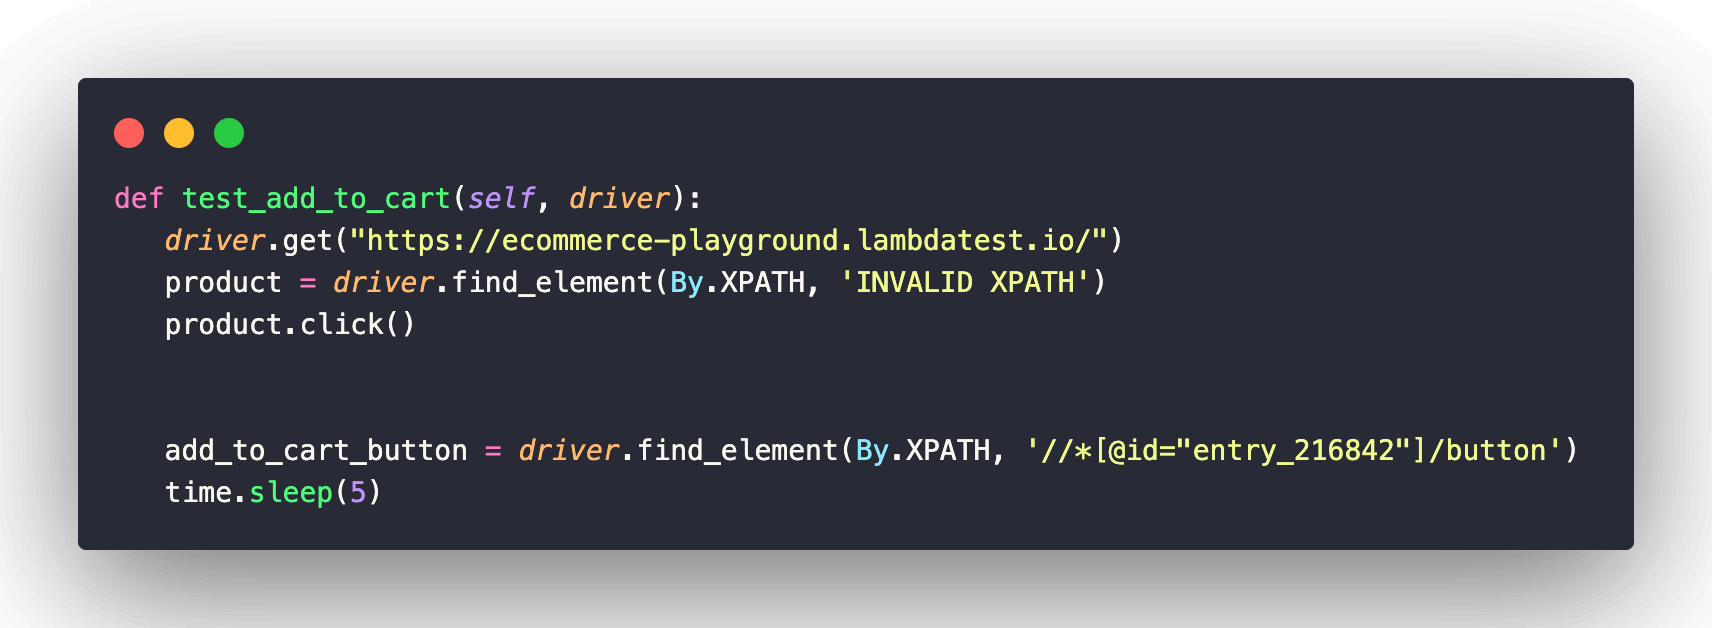
The test_add_to_cart method also goes to the https://ecommerce-playground.lambdatest.io/ page, then tries to locate a product using an invalid XPATH. It should then locate the add to cart button and click it.
It also contains a time.sleep(5) statement, which pauses the execution of the script for 5 seconds before moving on to the next step.
Note: It is also interesting to note that the script uses an invalid XPATH to locate a product, so this test case will fail because the script will not find any items with this XPATH.
import pytest
import time
from selenium import webdriver
from selenium.webdriver.common.by import By


@pytest.mark.usefixtures('driver')
class TestLogin():


 def test_valid_credentials(self, driver):
   driver.get("https://ecommerce-playground.lambdatest.io/")
   account_button = driver.find_element(By.XPATH, '//*[@id="widget-navbar-217834"]/ul/li[6]/a/div/span')
   account_button.click()


   time.sleep(5)


   email_field = driver.find_element(By.NAME, "email")
   email_field.send_keys("email@email.com")


   password_field = driver.find_element(By.NAME, "password")
   password_field.send_keys("email")


   login_button = driver.find_element(By.XPATH, '//*[@id="content"]/div/div[2]/div/div/form/input[1]')
   login_button.click()
This script navigates to the https://ecommerce-playground.lambdatest.io/ page, then it finds the account button using the provided XPATH, clicks it, and waits for 5 seconds.
After that, it finds the email and password fields using their name attributes and enters the hardcoded values of email@email.com and email, respectively.
Finally, it finds the login button using the provided XPATH and clicks on it.
import pytest
from selenium import webdriver
from selenium.webdriver.common.by import By


@pytest.mark.usefixtures('driver')
class TestSearch():


 def test_valid_search(self, driver):
   driver.get("https://ecommerce-playground.lambdatest.io/")
   search_field = driver.find_element(By.NAME, "search")
   search_field.send_keys("iphone")
   submit_button = driver.find_element(By.XPATH, '//*[@id="search"]/div[2]/button')
   submit_button.click()
The test_valid_search method navigates to the https://ecommerce-playground.lambdatest.io/ page. Then, it locates the search field using the driver.find_element() method and the By class’s NAME attribute and sends keys “iphone” to it.
After that, it locates the submit button using the find element method in Selenium and the By class’s XPATH attribute. The click method in Selenium is then used to click on the button element on the page.
Now that all our test cases are implemented let’s run our tests using LambdaTest Selenium Grid.
LambdaTest is a digital experience testing platform that allows developers and QAs to perform Python web automation on over 3000 real browsers and platform combinations. It supports various Python-based testing frameworks, including pytest, for conducting Selenium Python testing.
Visit our support documentation to get started with Selenium Python testing.
Here are steps you can follow:
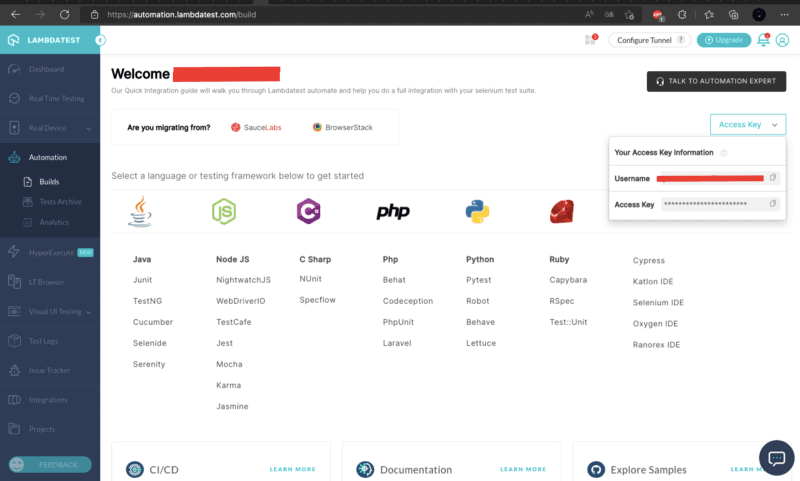
- Navigate to the LambdaTest website and log in if you already have an account, or create one if you don’t have one yet.
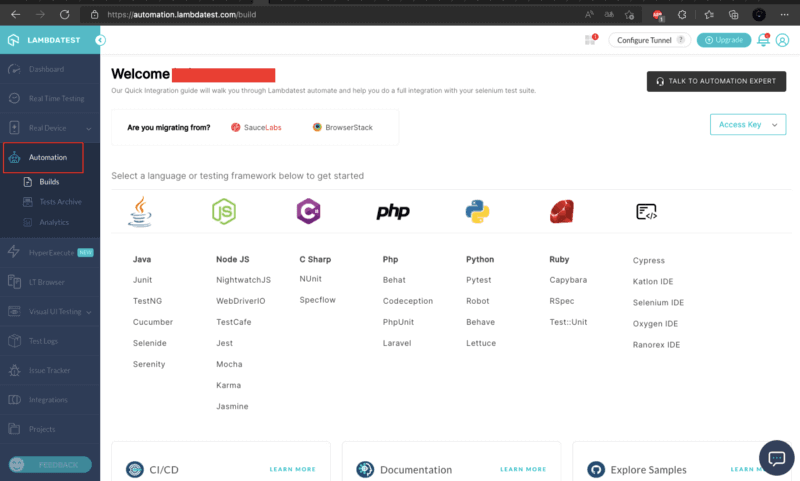
- Once logged in, navigate to the automation page by clicking Automation on the left sidebar of your screen.
- To use pytest with LambdaTest Grid, you need LambdaTest credentials (i.e., username and access key). To get the credentials, click the “Access Key” button on the right side of your screen.
Now let’s add a conftest.py file to the root of our project:
from os import environ

import pytest
from selenium import webdriver
from selenium.webdriver.remote.remote_connection import RemoteConnection

@pytest.fixture(scope='function')
def driver(request):
   desired_caps = {}

   browser = {
       "platform": "Windows 10",
       "browserName": "chrome",
       "version": "latest"
   }

   username = "YOUR_USERNAME"
   access_key = "YOUR_ACCESS_KEY"

   desired_caps.update(browser)
   test_name = request.node.name
   build = environ.get('BUILD', "Generate - Test Report")
   tunnel_id = environ.get('TUNNEL', False)

   selenium_endpoint = "http://{}:{}@hub.lambdatest.com/wd/hub".format(username, access_key)
   desired_caps['build'] = build
   desired_caps['name'] = test_name
   desired_caps['video'] = True
   desired_caps['visual'] = True
   desired_caps['network'] = True
   desired_caps['console'] = True
   caps = {"LT:Options": desired_caps}

   executor = RemoteConnection(selenium_endpoint)
   browser = webdriver.Remote(
       command_executor=executor,
       desired_capabilities=caps
   )
   yield browser

   def fin():
       if request.node.rep_call.failed:
           browser.execute_script("lambda-status=failed")
       else:
           browser.execute_script("lambda-status=passed")
           browser.quit()

   request.addfinalizer(fin)

@pytest.hookimpl(tryfirst=True, hookwrapper=True)
def pytest_runtest_makereport(item, call):
   # this sets the result as a test attribute for LambdaTest reporting.
   # execute all other hooks to obtain the report object
   outcome = yield
   rep = outcome.get_result()

   # set a report attribute for each phase of a call, which can
   # be "setup", "call", "teardown"
   setattr(item, "rep_" + rep.when, rep)

Test Execution
Run your pytest tests with:
pipenv run python -m pytest
After the execution of the tests, you should have a summary in your console of the execution of your tests.
On your LambdaTest Automation Dashboard.
Generate an XML Report in pytest
To generate an XML report in pytest, you can use the pytest-xml plugin. This plugin will generate an XML file containing the test results, which can be read by other tools for further analysis.
Here’s how you can use the pytest-xml plugin:
- First, install the plugin using pip:
pipenv install pytest-xml
- Next, run your pytest tests with the –junitxml flag to specify the path of the XML file where the results will be saved:
pipenv run python -m pytest -v --junitxml="path/to/report.xml"
- The XML report will be generated at the specified path. You can open the file in a text editor or view it using a tool capable of reading XML files, such as a web browser.
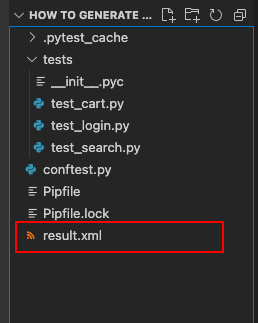
Let’s open our result.xml file in a browser
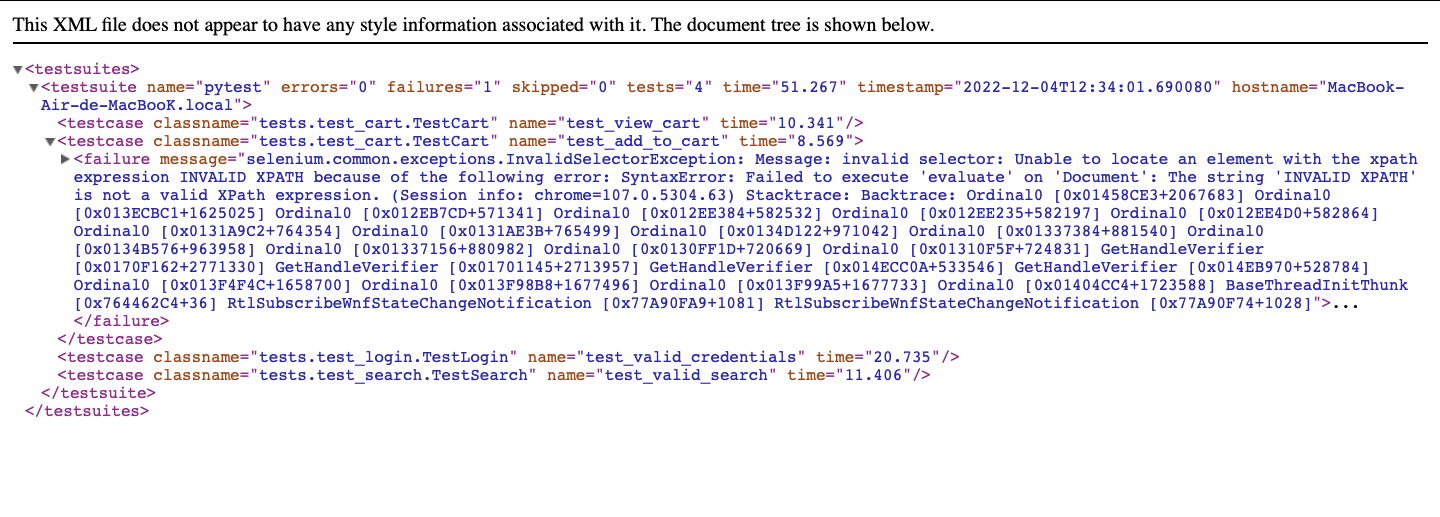
In our test report in an XML file, we can find some information through tags.
testsuite:
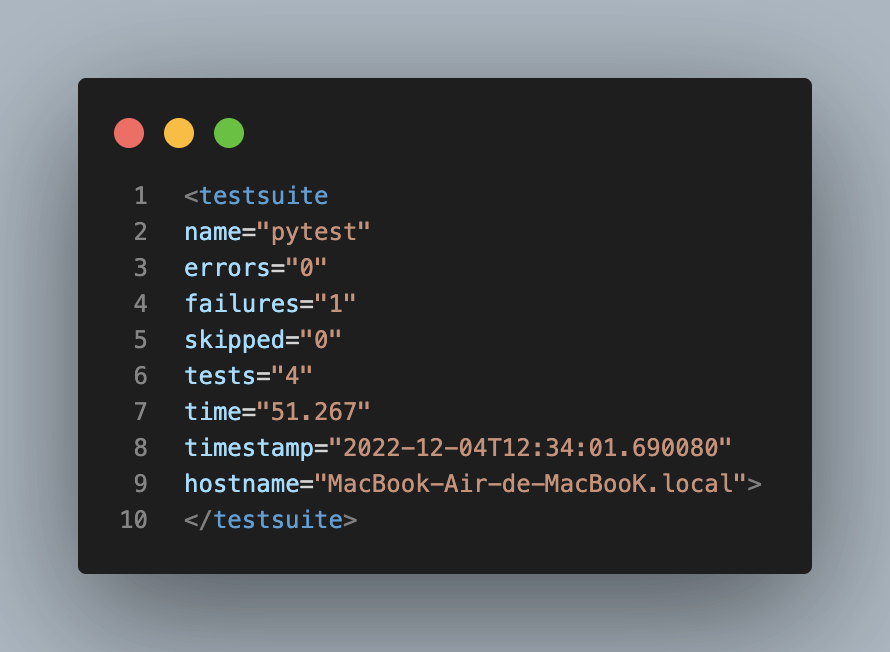
This tag indicates our test suite. We can find attributes such as:
- name: The name of the test suite
- errors: The number of errors found after the execution of the test suite
- failures: the number of test cases that failed after the test suite was executed
- skipped: the number of test cases that were not executed
- tests: the number of test cases that our test suite contains
- time: the number of times the test suite was executed
- timestamp: the time at which the report was generated
testcase:
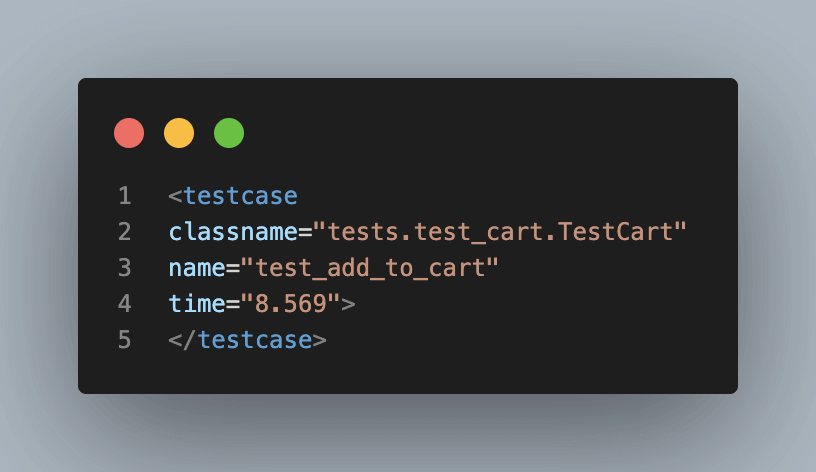
- classname: The name of the test case class
- name: The name of the test case
- time: The execution time of the test case
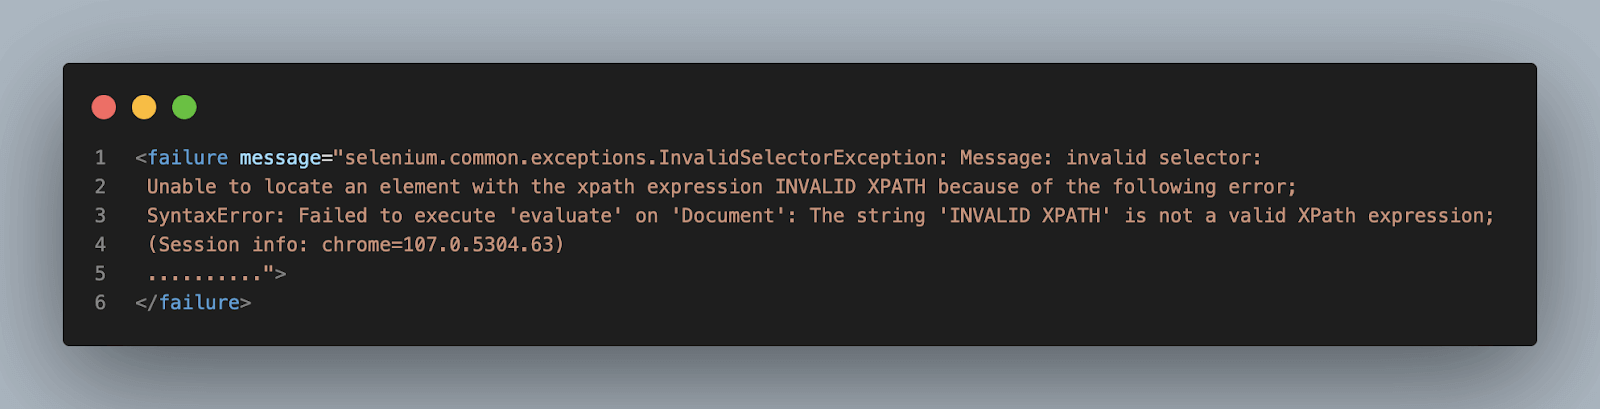
We also have in the failure tag the reason for the failure of the test case test_add_to_cart.
If you’re looking to become an expert in automation testing, enrolling in a Selenium Python 101 certification program is a great way to kick-start your journey toward becoming an automation testing expert and improving your Python skills. It will help you establish a solid groundwork for utilizing Selenium Python in testing and pave the way for a prosperous career in this domain.
Conclusion
In this Selenium pytest tutorial, we have seen the importance of a test report in a test automation project and how to generate XML reports in pytest framework. We started by configuring the test environment in Selenium using pytest and discovered the pytest-xml plugin that permitted us to generate an XML report in pytest.
We also saw the execution of the code on a Selenium cloud grid like LambdaTest.
I hope you enjoyed reading this article on how to generate XML reports in pytest?
|
Published on Java Code Geeks with permission by Jolivé Hodehou, partner at our JCG program. See the original article here: How To Generate XML Reports In pytest? Opinions expressed by Java Code Geeks contributors are their own. |
