In this post, we are going to create a Jenkins pipeline for a Java Spring project using Maven and Git:
Accessing Jenkins dashboard and configuring Maven in Jenkins:
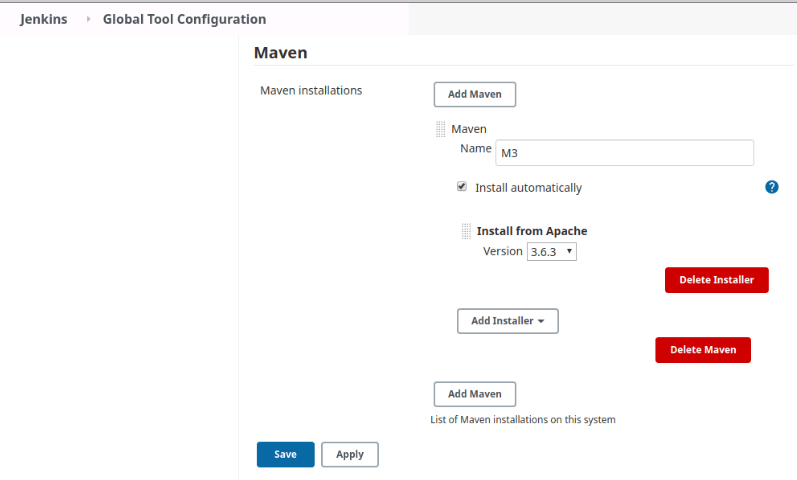
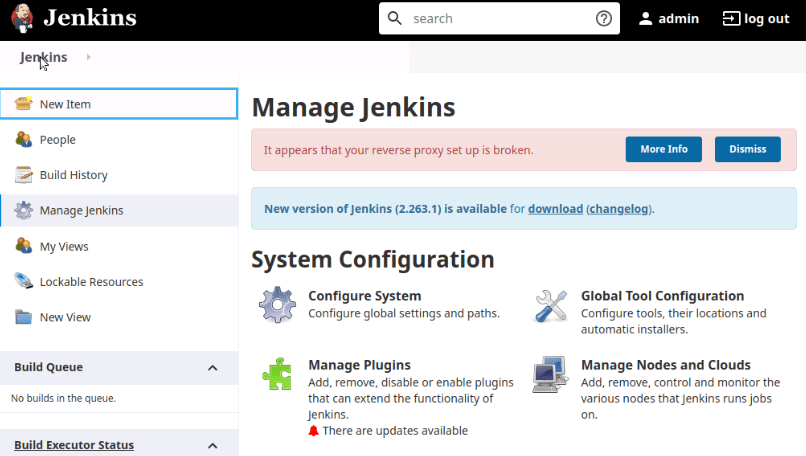
Click on “Manage Jenkins” and then in “Global Tool Configuration”

Add a Maven installation and provide a name for it. Click on Save.
Creation of our first build job in Jenkins for a Spring application:
Click on “New Item”
Provide a name for the project and choose “Freestyle Project”

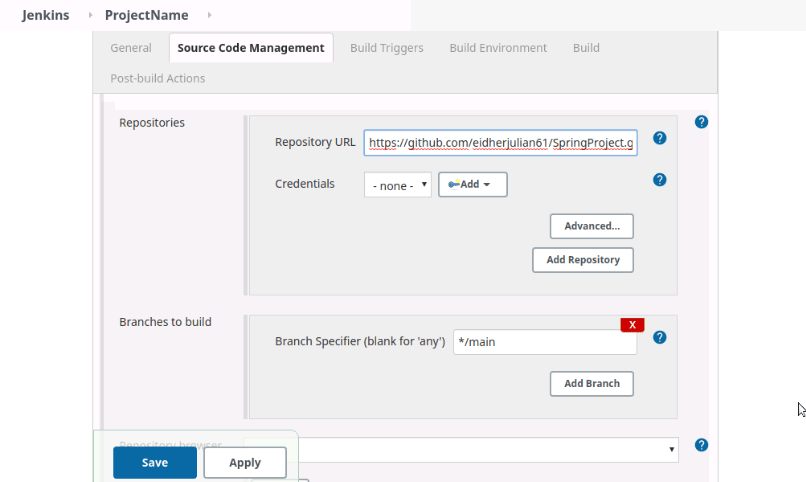
Go to “Source Code Management”, choose “Git”, and provide the Repository URL and the branch.
Go to the “Build” tab and choose “Invoke top-level Maven targets”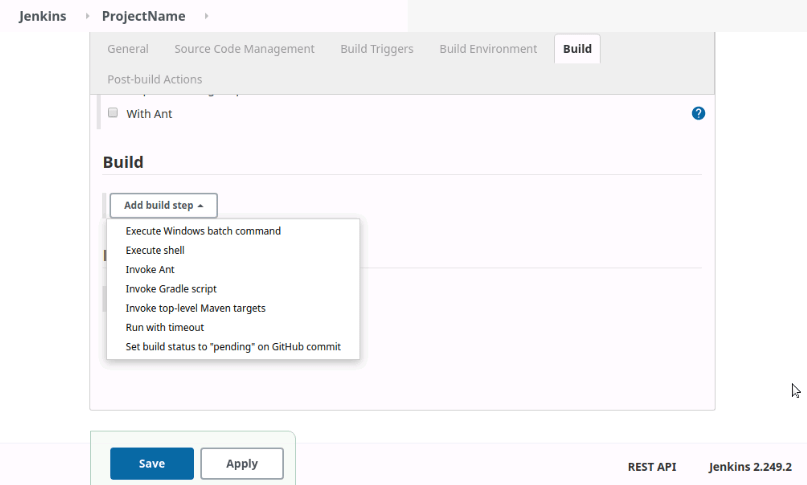
Choose the Maven Version, write compile in the goals and click on “Save”
Click on “Build Now”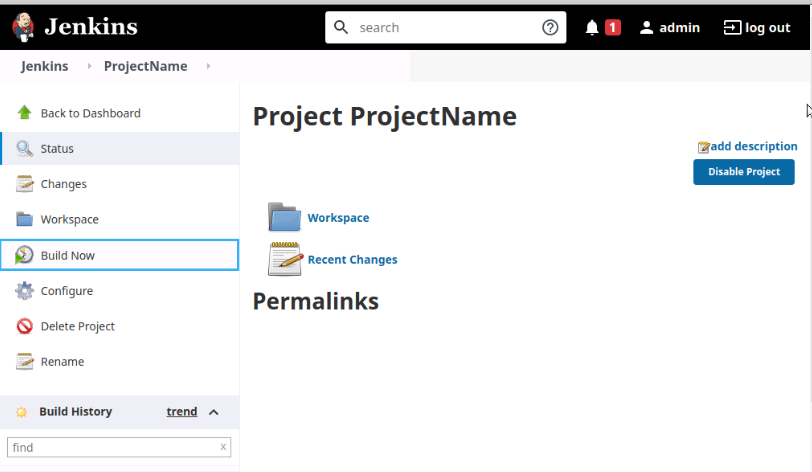
Click on “Console Output” in the first build of the Build History section
Confirm the “SUCCESS” message is displayed when finished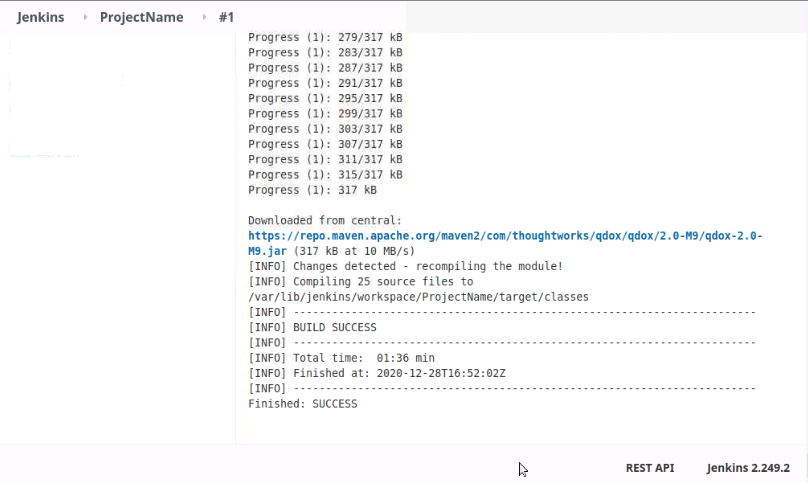
Developing and viewing of a delivery pipeline of a Spring application with two stages build and test in Jenkins
Let’s create a New Item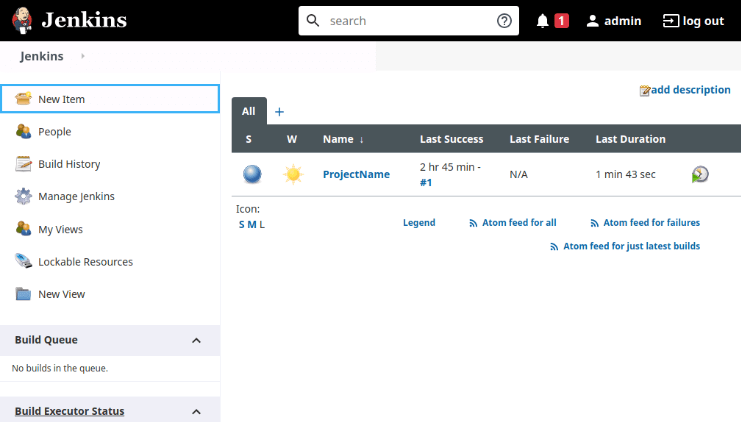
Enter an item name, choose the “Freestyle project” and click OK
Go to the “Source Code Management” tab, select “Git”, provide the URL of the Repository, and the branch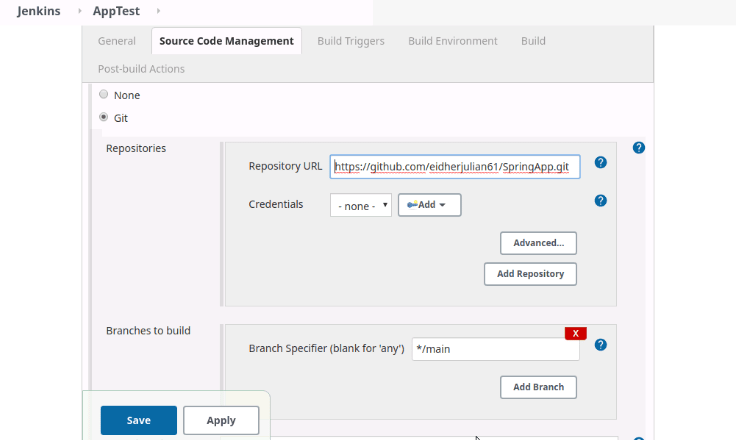
Go to the “Build” tab and choose “Invoke top-level Maven targets”
Choose the Maven Version, write test in the goals and click on “Save”
Click on “Build Now”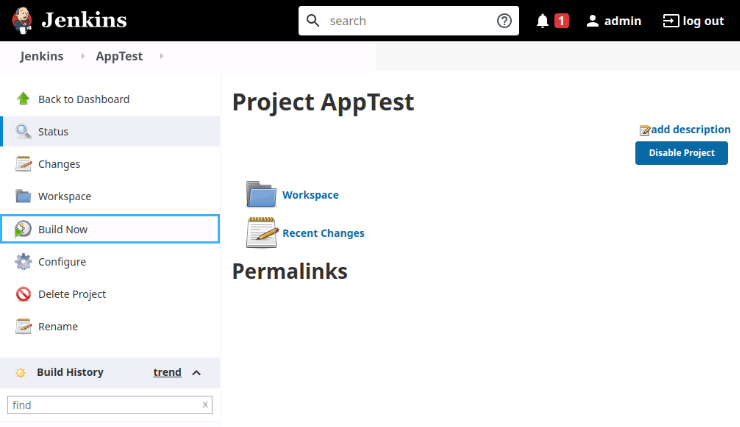
Click on “Console Output” in the first build of the Build History section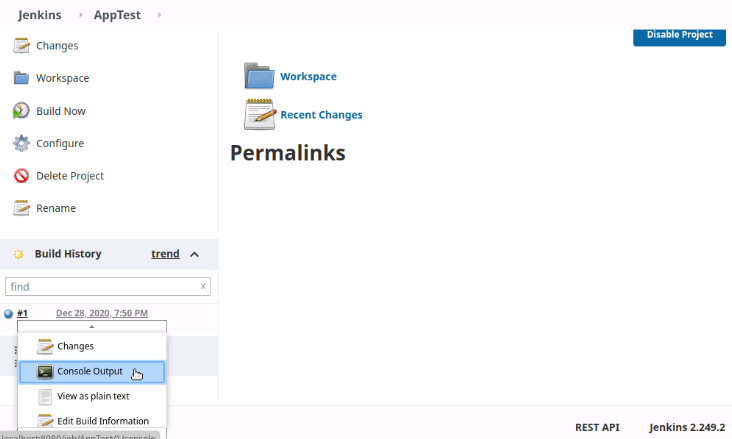
Confirm the “SUCCESS” message is displayed when finished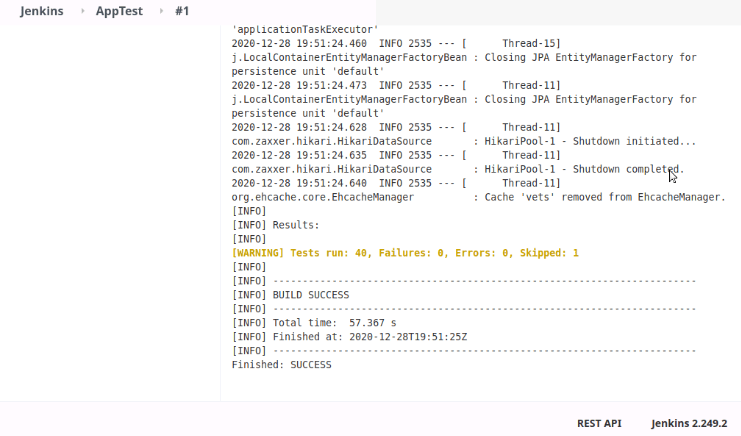
To do it automatically after the compile job, let’s go to the “Configure” option of the item
Go to the “Build Triggers” section and select the “Build after other projects are built” option. Then, enter the other project name, and click “Save”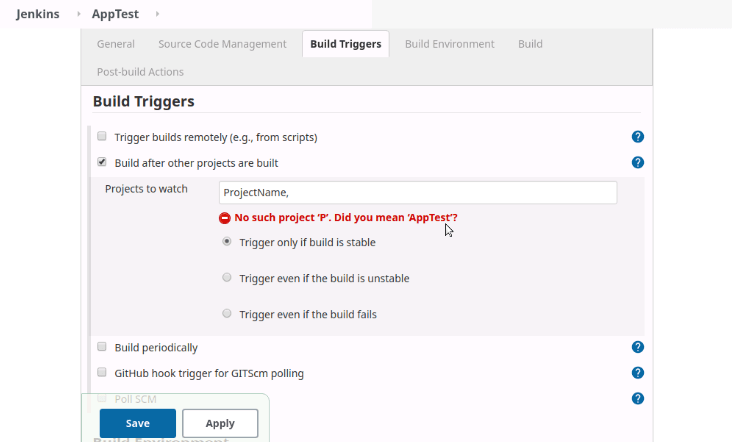
Go to the “Manage Jenkins” option in the main menu and choose “Manage Plugins”
Go to the “Available” tab and look for “Build pipeline”. Choose it and click on “Install without Restart”
Choose the plus symbol in the main dashboard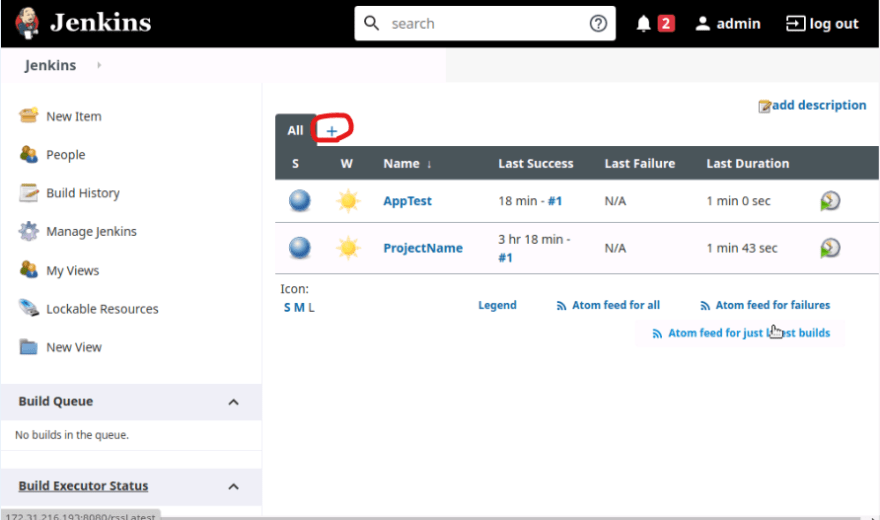
Choose the “Build Pipeline View” option, provide a view name, and click on “OK”
Select the initial job and click ok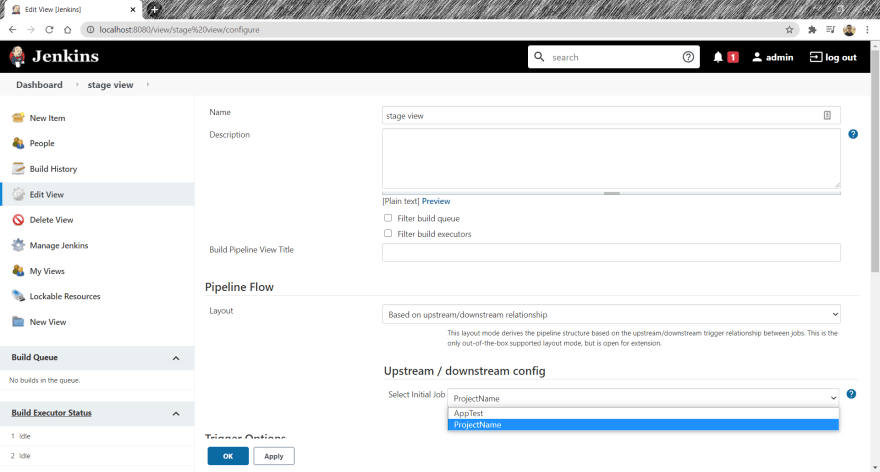
Click “Run”
Transforming your delivery pipeline in the form of scripted/declarative pipeline
First, install the “Pipeline Maven Integration Plugin”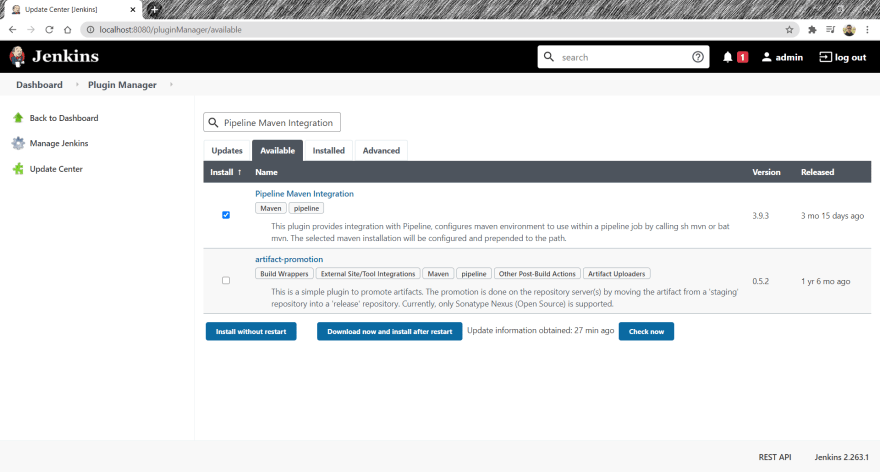
Now, let’s create a new item (Pipeline)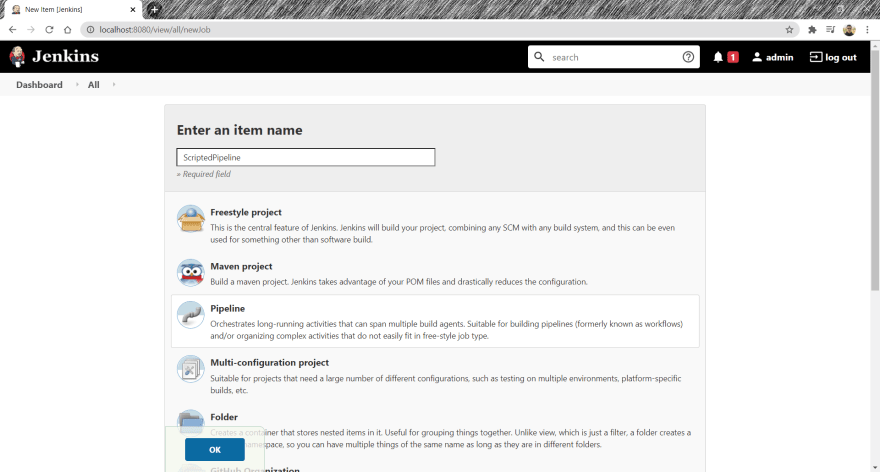
Then, go to the “Pipeline” tab and choose “Scripted Pipeline” or “GitHub + Maven” for a declarative pipeline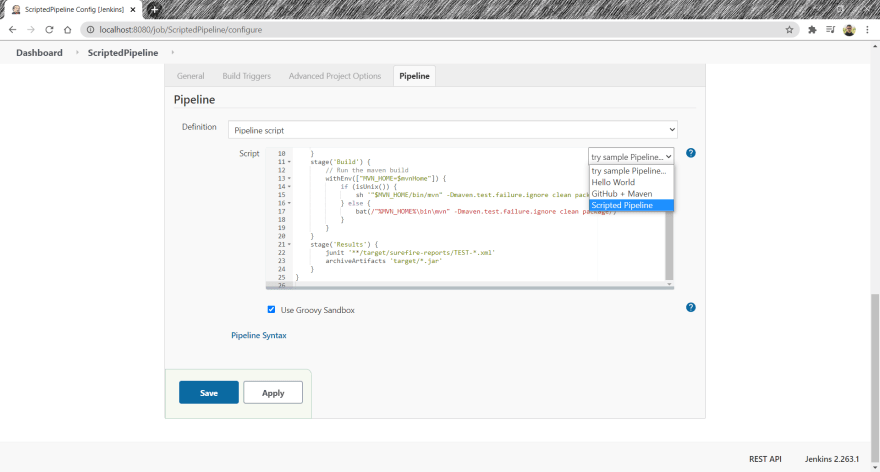
Finally, adapt the code according to your needs, and click on “Save”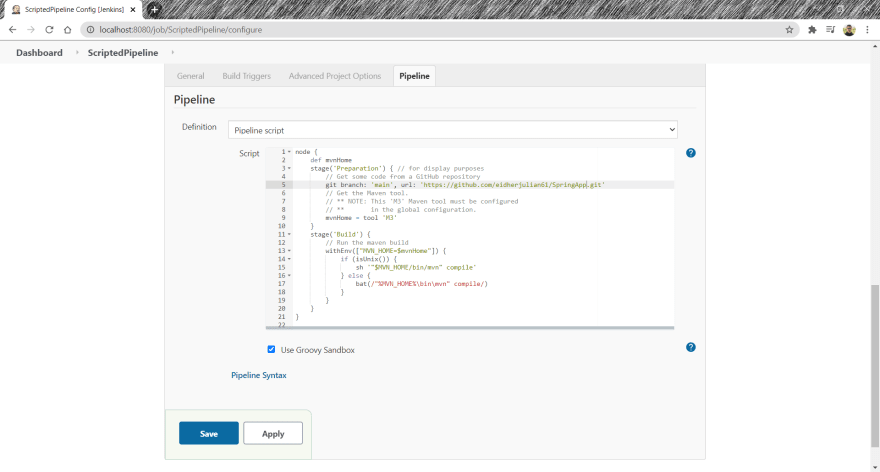
If you click on “Build Now” you can see the result
Developing a Jenkinsfile for our application
If you chose “GitHub + Maven” for a declarative pipeline you can copy that code into a Jenkinsfile in the root of your project. Now, edit the Pipeline and select “Pipeline script from SCM”. Then, choose Git as your SCM and provide the Repository URL and branch. Finally, click “Save” and “Build now” to test your pipeline.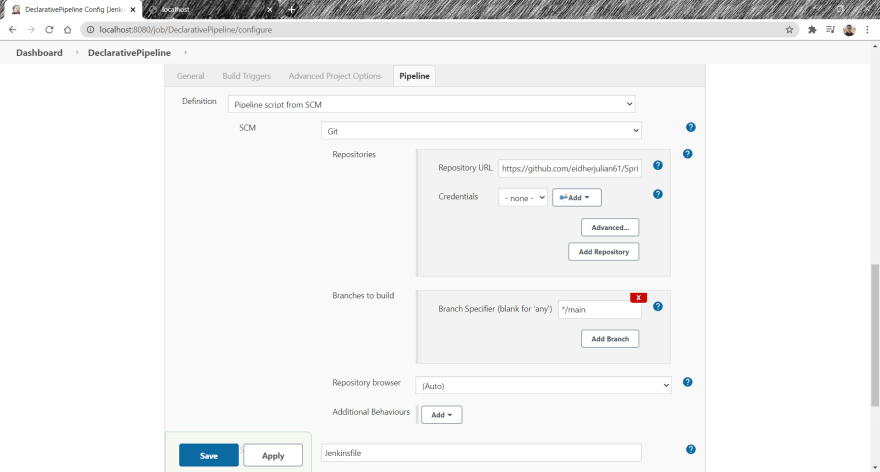
Published on Java Code Geeks with permission by Eidher Julian, partner at our JCG program. See the original article here: Jenkins: Automating your delivery pipeline Opinions expressed by Java Code Geeks contributors are their own. |
