With the 4th release of Spring Boot, developing enterprise applications for the web have become so much easier. Something that still requires a lot of time on the developer’s behalf is modelling an existing database in for an example Hibernate to get an object-oriented view of the data. In this tutorial we are going to explore how to use the open source tool Speedment together with Spring to generate entities, managers and controllers with the press of a button, enabling you to get started with the development so much faster.
About Speedment
Speedment is an open source java toolkit that makes it possible for a developer to rapidly generate all the glue required to communicate with a database. Using a graphical tool, you can connect to a database and generate java sources in seconds. Speedment is built in a modular fashion, just like Spring, making it easy to learn and use only the parts you are interested in. In this article we are going to use a plugin for Speedment to generate Spring controllers in addition to the standard files.
Step 1: Creating a New Spring Boot Project
Spring Boot consists of a number of templates that make it easy to get started with a new application. We are going to use one called “spring-boot-starter-web” to set the stage for our web application.
Begin by creating a new Maven Project and add the following to your “pom.xml”-file:
<?xml version="1.0" encoding="UTF-8"?>
<project xmlns="http://maven.apache.org/POM/4.0.0" xmlns:xsi="http://www.w3.org/2001/XMLSchema-instance" xsi:schemaLocation="http://maven.apache.org/POM/4.0.0 http://maven.apache.org/xsd/maven-4.0.0.xsd">
    <modelVersion>4.0.0</modelVersion>

    <parent>
        <groupId>org.springframework.boot</groupId>
        <artifactId>spring-boot-starter-parent</artifactId>
        <version>1.4.1.RELEASE</version>
    </parent>

    <groupId>com.github.pyknic</groupId>
    <artifactId>speedment-spring-example</artifactId>
    <version>1.0.0-SNAPSHOT</version>
    <packaging>jar</packaging>

    <properties>
        <java.version>1.8</java.version>

        <speedment.version>3.0.1</speedment.version>
        <mysql.version>5.1.39</mysql.version>
    </properties>

    <build>
        <plugins>
            <plugin>
                <groupId>org.springframework.boot</groupId>
                <artifactId>spring-boot-maven-plugin</artifactId>
            </plugin>

            <plugin>
                <groupId>com.speedment</groupId>
                <artifactId>speedment-maven-plugin</artifactId>
                <version>${speedment.version}</version>

                <dependencies>
                    <dependency>
                        <groupId>mysql</groupId>
                        <artifactId>mysql-connector-java</artifactId>
                        <version>${mysql.version}</version>
                    </dependency>

                    <dependency>
                        <groupId>com.speedment.plugins</groupId>
                        <artifactId>spring-generator</artifactId>
                        <version>${speedment.version}</version>
                    </dependency>
                </dependencies>

                <configuration>
                    <components>
<component>com.speedment.plugins.spring.SpringGeneratorBundle</component>
                    </components>
                </configuration>
            </plugin>
        </plugins>
    </build>

    <dependencies>
        <dependency>
            <groupId>com.speedment</groupId>
            <artifactId>runtime</artifactId>
            <version>${speedment.version}</version>
            <type>pom</type>
        </dependency>

        <dependency>
            <groupId>com.speedment.plugins</groupId>
            <artifactId>spring-generator</artifactId>
            <version>${speedment.version}</version>
        </dependency>

        <dependency>
            <groupId>mysql</groupId>
            <artifactId>mysql-connector-java</artifactId>
            <version>${mysql.version}</version>
        </dependency>

        <dependency>
            <groupId>org.springframework.boot</groupId>
            <artifactId>spring-boot-starter-web</artifactId>
        </dependency>
    </dependencies>
</project>
This will configure your project as a Spring Boot application and tell it to use Speedment with the Spring Generator Plugin.
Step 2: Using Speedment to Generate Sources
Once the pom-file has been modified, a number of new Maven goals will be available in the IDE. Speedment can be used both graphically or from the command line. In this tutorial, we are going to use the UI. To start the Speedment Tool, execute the following Maven goal on the project:
mvn speedment:tool
A dialog will open that let you connect to a database. Once connected, you will see a window with an overview of the database on the left and various configuration options in the center. For this tutorial the default settings will suffice, so simply press “Generate” in the toolbar.
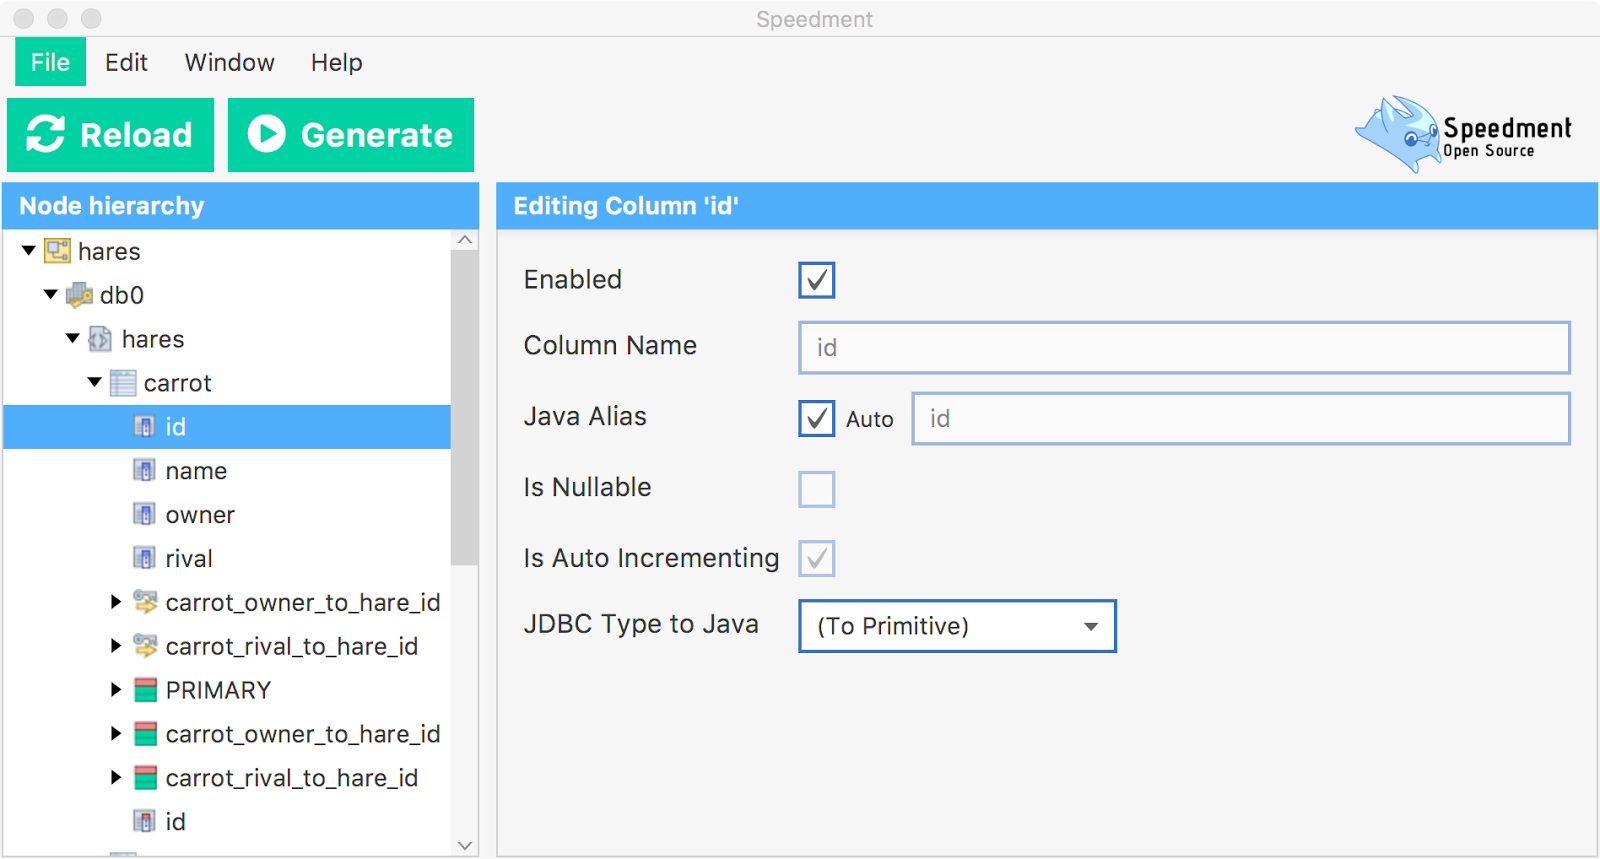
If you switch back to the IDE you will see the new generated sources. You will notice that every class exists in two copies, one of them with the “Generated”-prefix. The reason for this is to allow modifications without the risk of overwriting your changes should you need to regenerate the sources at some point. Files with the “Generated”-prefix will always be overwritten and files without it will only be created once.
Step 3: Create a Main File
Speedment has generated a complete object-oriented model of the database, but we still need to create an entry point for the application. We will put this in the main package and call it Main.java.
Main.java
package com.github.pyknic.spring;

import com.speedment.common.logger.Level;
import com.speedment.common.logger.LoggerManager;
import org.springframework.boot.SpringApplication;
import org.springframework.boot.autoconfigure.SpringBootApplication;

@SpringBootApplication
public class Main {

    public static void main(String... args) {
        SpringApplication.run(Main.class, args);
    }
}
If we start the application, Spring Boot will setup a self-contained web application with a generated controller for every table in the database. We can try it out by going to the following path in a browser:
http://localhost:8080/hare/
A JSON representation of the “hare” table in my database will now be returned.
[
    {"id":1, "name":"Harry", "color":"Gray", "age":3},
    {"id":2, "name":"Henrietta", "color":"White", "age":2},
    {"id":3, "name":"Henry", "color":"Black", "age":9}
]
Note #1: If you get an exception that says something in style of this…
There was an unexpected error (type=Internal Server Error, status=500).
Could not write content: No value present (through reference chain:
java.util.ArrayList[0]...
…it probably means that you have nullable columns in your database that Speedment chooses to implement as OptionalLong, OptionalInt etc. You can turn this feature off in the Speedment Tool by setting the “Nullable Implementation” field to WRAPPER instead of OPTIONAL for those columns.
Note #2: If you get an exception in the style of this…
java.sql.SQLException: Access denied for user 'root'@'localhost'
(using password: YES)
…you will need to create an application.properties-file in the root of the project and add the authentication details for your database.
application.properties
jdbc.username=root
jdbc.password=password
Summary
In this article we have used Speedment and the Spring Generator plugin to automatically create a complete Spring Boot Application. Speedment has generated entities, managers and REST controllers for communicating with the database. If you want to know more about Speedment and how you can control the generated code, check out the many examples at the Speedment GitHub page!
| Reference: | Creating a REST API with Speedment and Spring from our JCG partner Emil Forslund at the Age of Java blog. |
