This post is a follow up of the libgdx and Kotlin post.
I have decided to prototype a simple 2D platformer (along the lines of Star Assault from my early posts), but instead of Java, I am using and learning Kotlin along the way.
For this tutorial, the project should be in its initial state from the previous post. A bare-bone libGdx Java project turned into a Kotlin project. We’ll be jamming away in our main Game.kt file, formerly Nemo.kt.
The project source for the initial state can be found here.
Kotlin doesn’t require the file name to be the same as the class name, or even to be in the directory structure equivalent to the declared package.
Without further ado, here’s is the first change to the code.
The main class has been changed from Nemo to Game, because we will be using the name Nemo for the character.
So Nemo.kt -> Game.kt as the first step.
...// imports omitted
class Game : ApplicationAdapter() {
    internal lateinit var batch: SpriteBatch
    internal lateinit var img: Texture
    internal lateinit var nemo: Nemo

    override fun create() {
        batch = SpriteBatch()
        img = Texture("images/nemo_01.png")
        nemo = Nemo()
    }

    override fun render() {
        Gdx.gl.glClearColor(0f, 0f, 0f, 1f)
        Gdx.gl.glClear(GL20.GL_COLOR_BUFFER_BIT)
        batch.begin()
        batch.draw(img, nemo.position.x, nemo.position.y)
        batch.end()
    }

    data class Nemo(val position: Vector2 = Vector2(0f, 0f))
}
The highlighted lines show the changes.
- #05 – Declare the attribute
nemoof typeNemoand mark it for late initialisation. - #09 – load a different gif for the texture (check out the project on github)
- #10 – instantiates the
Nemoclass. This is equivalent of the javanew Nemo(); - #21 – This line creates a data class with one attribute, position of type Vector2 from libGdx, and defaults that vector to be new Vector2(0f, 0f) in case we omit it when initialising.
A data class is a data container class complete with generated getters, setters if the attribute is var instead of val, equals, hashCode, toString. Note the val qualifier for the attribute, meaning that the position is final and immutable. This means, once the vector is assigned to, it can’t be modified. The values of the vector can be modified however. It’s a good practice to make everything immutable unless otherwise required and Kotlin is designed to use this pattern as a default.
This is shorthand for:
public class Nemo {
    // val is the equivalent of final
    private final Vector2 position;

    // constructor with argument
    public Nemo(Vector2 position) {
        this.position = position;
    }

    // default constructor
    public Nemo() {
        this.position = new Vector2(0f, 0f);
    }

    // getter
    public Vector2 getPosition() {
        return position;
    }

    @Override
    public boolean equals(Object o) {
        if (this == o) return true;
        if (o == null || getClass() != o.getClass()) return false;

        Nemo nemo = (Nemo) o;

        return position != null ? position.equals(nemo.position) : nemo.position == null;

    }

    @Override
    public int hashCode() {
        return position != null ? position.hashCode() : 0;
    }

    @Override
    public String toString() {
        return "Nemo{" +
                "position=" + position +
                '}';
    }
}
The whole class is replaced by one single line nested in the class. Semicolons are not needed either to mark the end of the instruction.
data class Nemo(val position: Vector2 = Vector2(0f, 0f))
- #17 – this instruction draws the texture loaded previously, at the position held by Nemo. The equivalent Java code would be:
batch.draw(img, nemo.getPosition().getX(), nemo.getPosition().getY());
In Kotlin we don’t need to specify the getter or setter, we use the dot notation to the attributes. It’s all taken care of by the compiler and the accessor methods are inferred.
nemo.getPosition().getX()
becomes
nemo.position.x
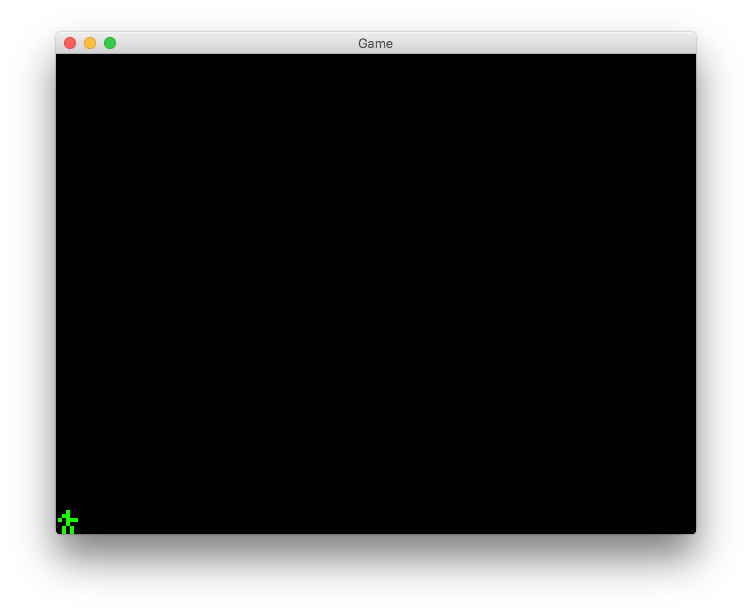
Try running the project so we can see the result:
That’s it for now. Make sure you consult the Kotlin documentation about classes, to understand more about them.
In the next part, we will be turning Nemo into an animated and movable character.
| Reference: | libgdx and Kotlin – Classes [2D Platformer Prototyping] from our JCG partner Impaler at the Against the Grain blog. |
