Now that I have received my grade for the second part of the Coursera iOS with Swift specialisation I decided it is time to get started to build my own app. The first thing to do (as a professional developer ;-)) is to configure my versioning control in XCode.
Since I have pretty good experiences with Git I decided to setup a GIT repository to use. Normally I would use GitHub for this but since I want to have a free private repository I decided to use GitLab. In the past I have setup my own server running GitLab CE but for now I stay with the free hosting on the Gitlab.com server. After creating an account and signing in into GitLab.com it is just running the commands as shown on the GitLab site when you create your first project. But before I do that I set up the SSH key on my MacBook first so I can use the SSH protocol with GitLab.
To setup a new SSH key on a Mac perform the following commands in your Terminal.
Go to your home directory:
cd ~/
Generate the SSH key:
ssh-keygen -t rsa
Copy the content of the created key to your clipboard:
cat ~/.ssh/id_rsa.pub | pbcopy
Go to your profile on gitlab.com and choose the menu option ‘SSH Keys’. Click on ‘Add SSH KEY’ and paste the clipboard content in the ‘key’ field. Enter a name for the key and you are ready to use HTTPS for your GitLab interactions.
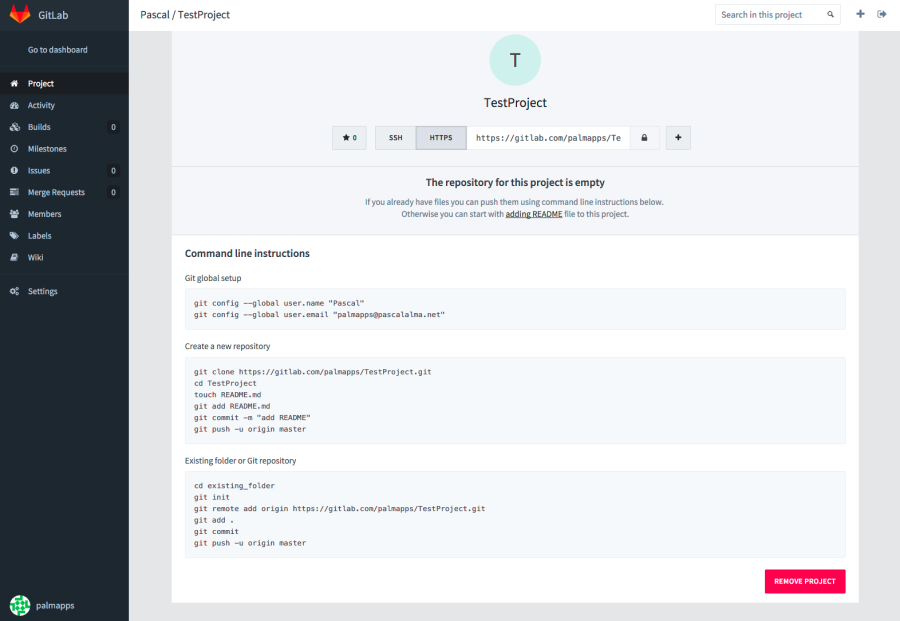
When that is done I can create my project in GitLab:

Just fill in the details and click ‘Create’. This will take you to the ‘Project’ page showing you the commands you can perform on your Mac to ‘clone’ the project to your local system:
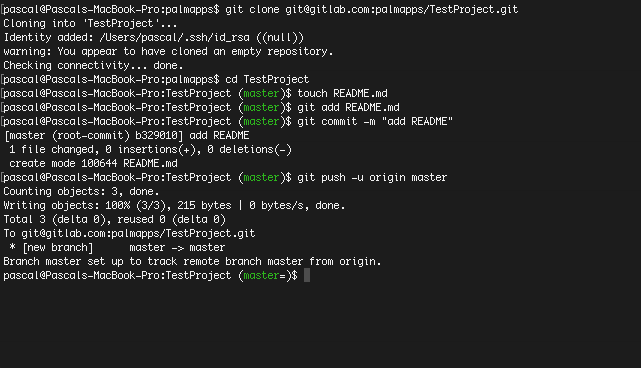
Performing these commands in your Terminal should give you the following result:
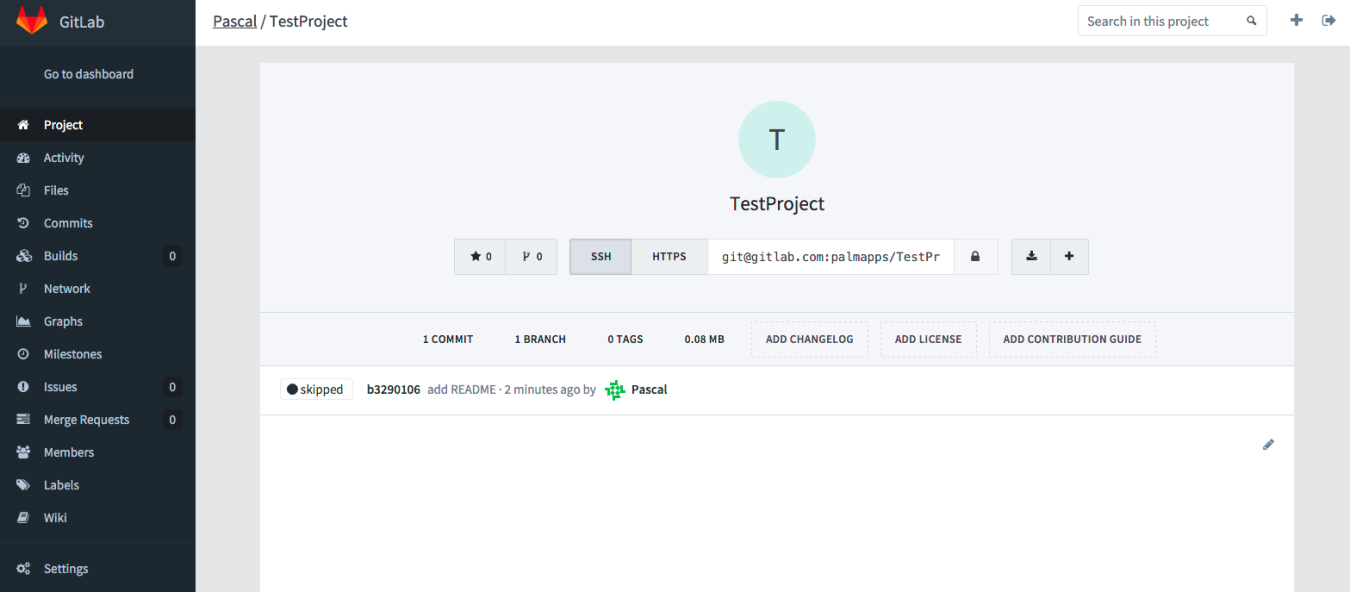
If you now refresh the page in GitLab you should see that there has been one commit:
This makes sure the basics of GIT are working. Now it is time to implement the Git Flow as I mentioned in a previous post.
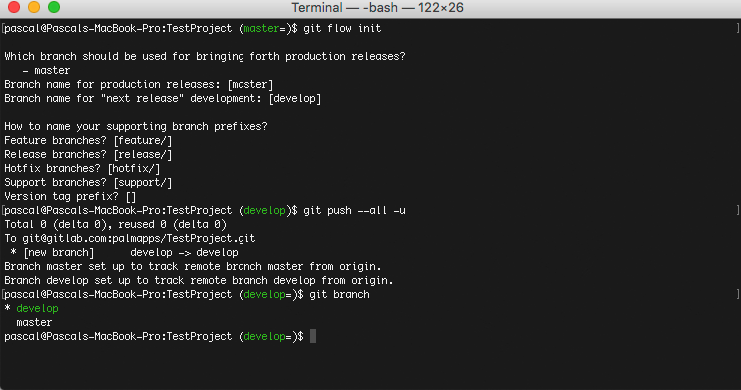
To install the Git Flow just run the command ‘brew install git-flow’. When that is finished just run the command ‘git flow init’ in your project to get started with Git Flow (creating necessary branches etc). To push the created branch to the GitLab sever use ‘git push –all -u’. Here you see how it should look like:
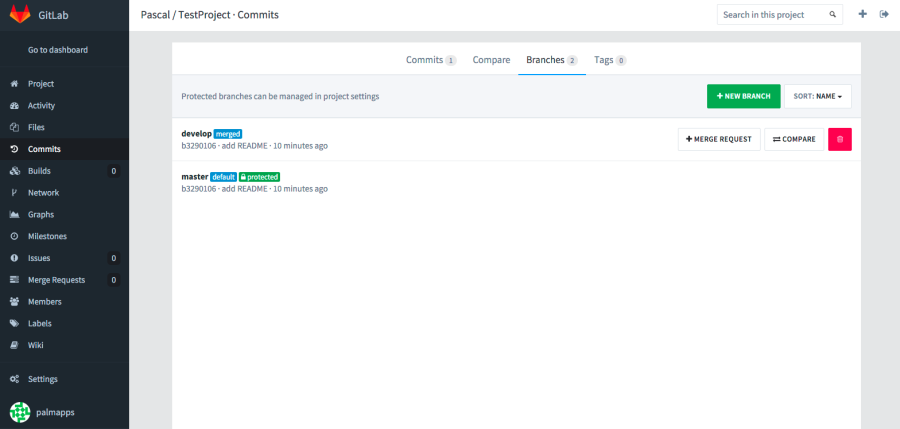
In GitLab we now see two branches for our project:
So now we are able to create a remote project and use that in our Terminal on the Mac. In the next post I will dive into the combination of GitLab, XCode and Git Flow.
| Reference: | Starting developing in Swift: setting up version control with GitLab from our JCG partner Pascal Alma at the The Pragmatic Integrator blog. |
