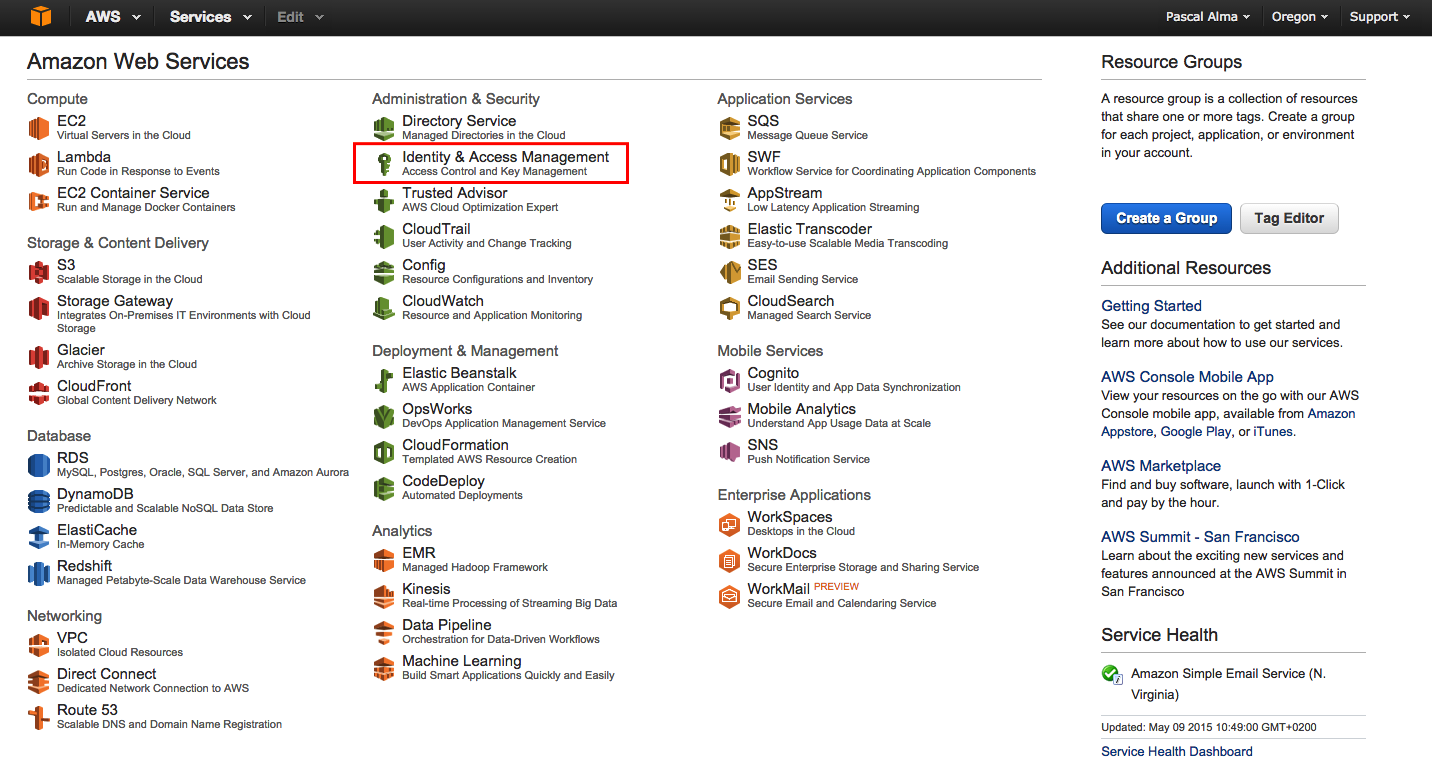
![]() Recently AWS announced that using IAM Roles with their EMR service will be mandatory as of June 30 this year. In this post I will show you how to setup the IAM basics when you are starting with AWS. When you are starting from scratch with your new AWS account then you will see the following management console. Choose the option Identity and Access Management so we can get started creating users, roles, etc.:
Recently AWS announced that using IAM Roles with their EMR service will be mandatory as of June 30 this year. In this post I will show you how to setup the IAM basics when you are starting with AWS. When you are starting from scratch with your new AWS account then you will see the following management console. Choose the option Identity and Access Management so we can get started creating users, roles, etc.:
The first thing I do is creating a friendly login url by changing the login link:
I make it something like:
![]()
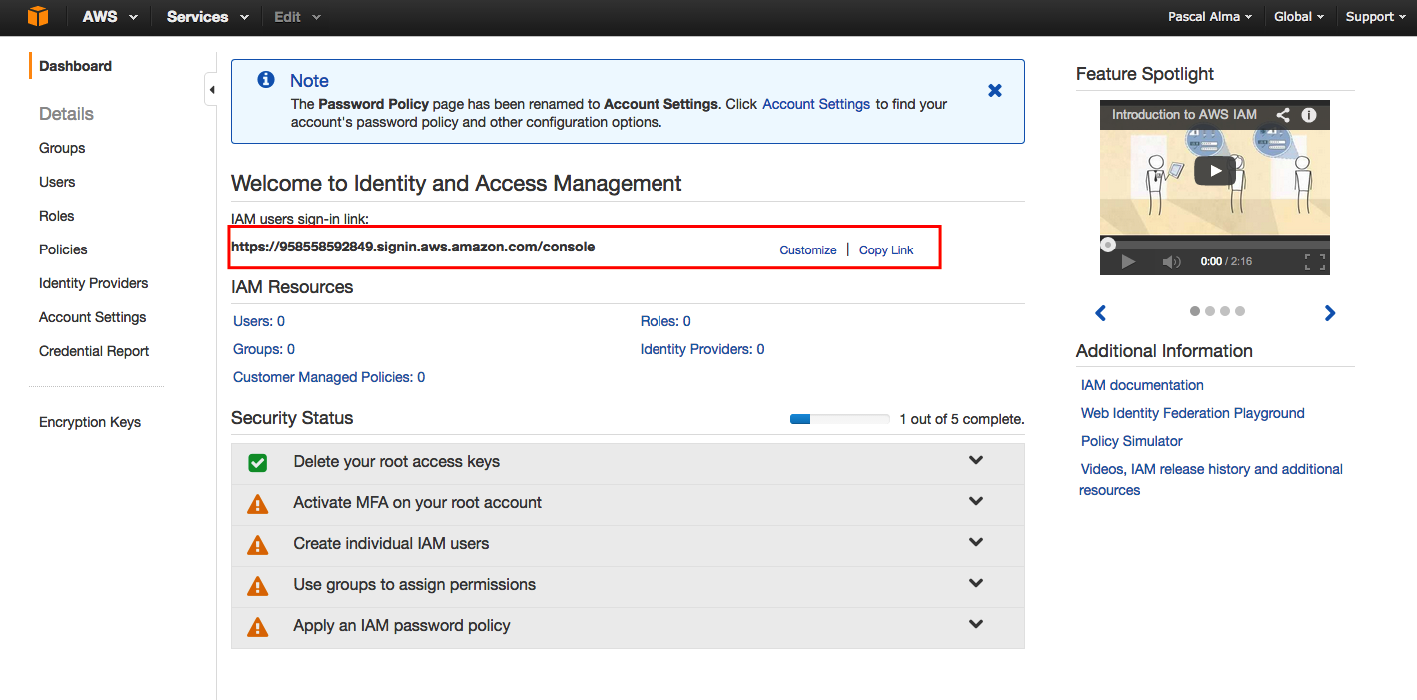
Now the users I setup can use this link to login into AWS. What we see in our IAM Dashboard is that we have only completed 1 out of 5 security steps which are the best practices from AWS:
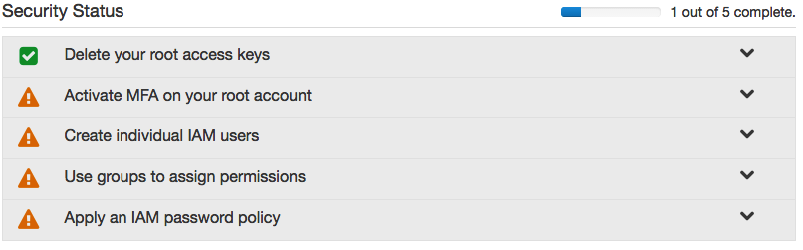
Actually step 1 is done automatically for the new account. The second bullet states we should setup a MFA (Multi Factor Authentication) for the root account. So lets do that. We need to pick the type of MFA device:
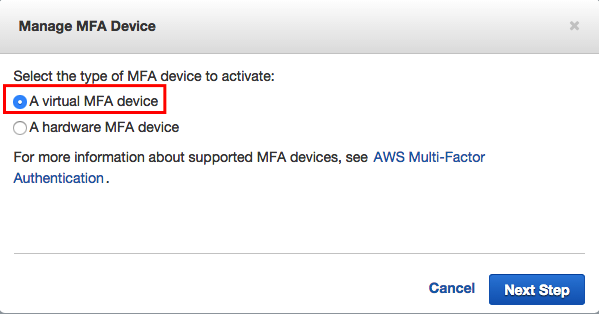
Since I want to use the Google Authenticator App on my IPhone I choose the ‘virtual MFA device’ and go to the next step:
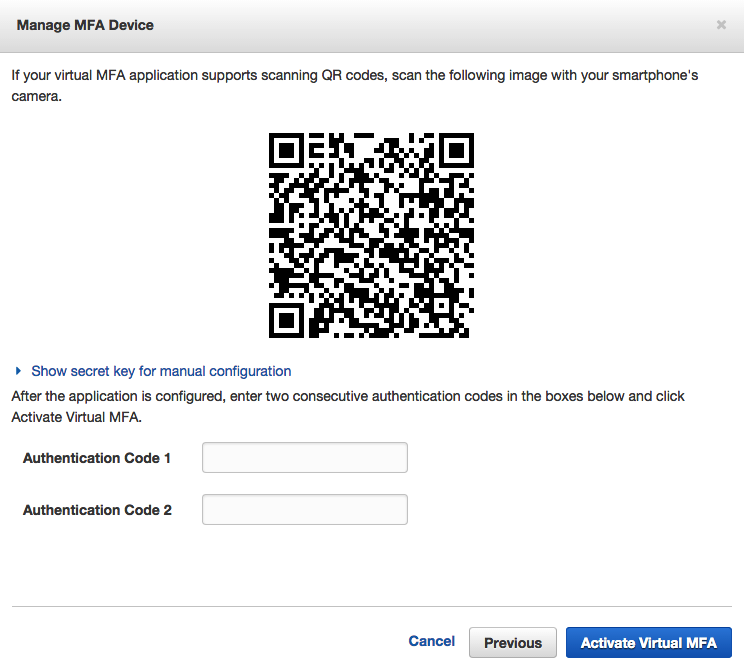
Now I can scan the QR code with the App on my phone, fill in two sequential access codes and I am done. When I log out and log in again with my root account I also have to supply an access code generated with my Google Authenticator app on my phone.
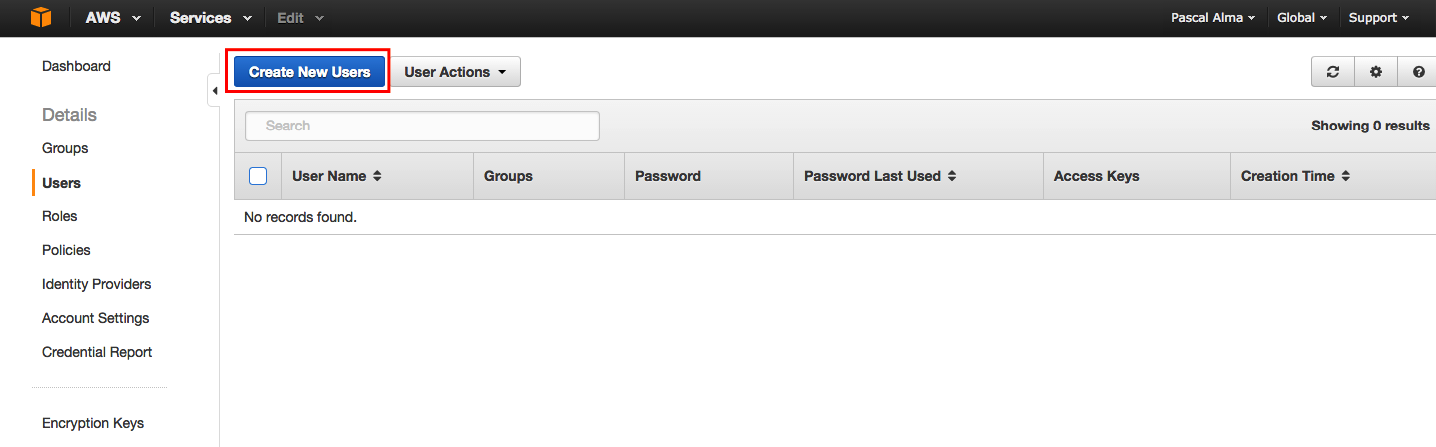
The third bullet says that I should setup individual IAM users so I won’t need to login with my root account to make use of AWS. So lets create a user by clicking the new user button:
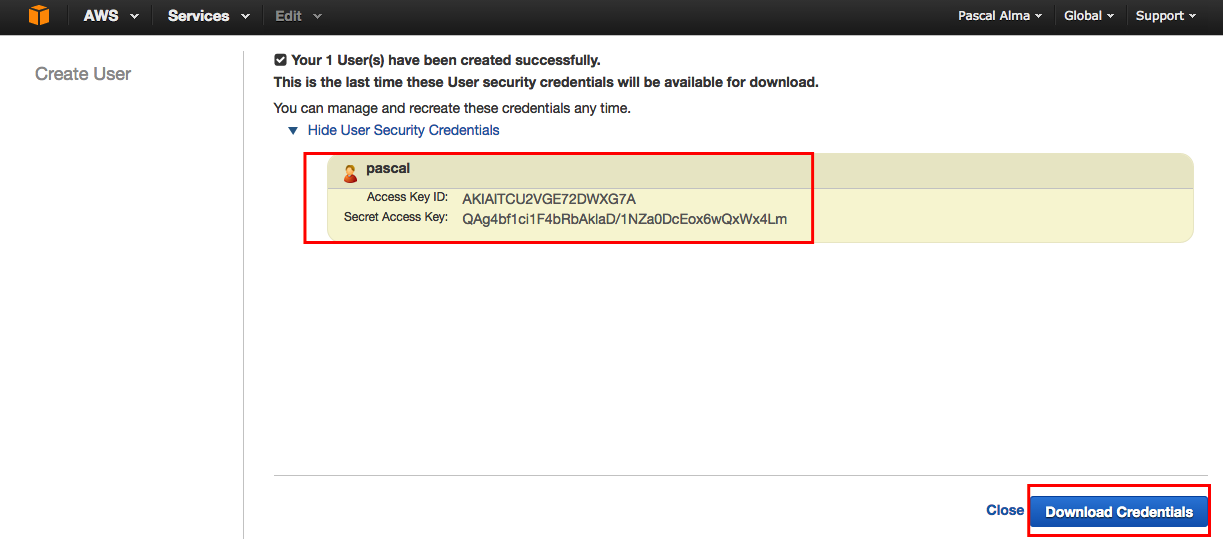
After entering a user name the following screen is shown in which we can see the access Id and the secret key for this user. Be aware to keep these things secret! I show them here because I will remove this user after this post but normally you would download the credentials and supply them only to the user that will use them (with SDK kits or API calls):
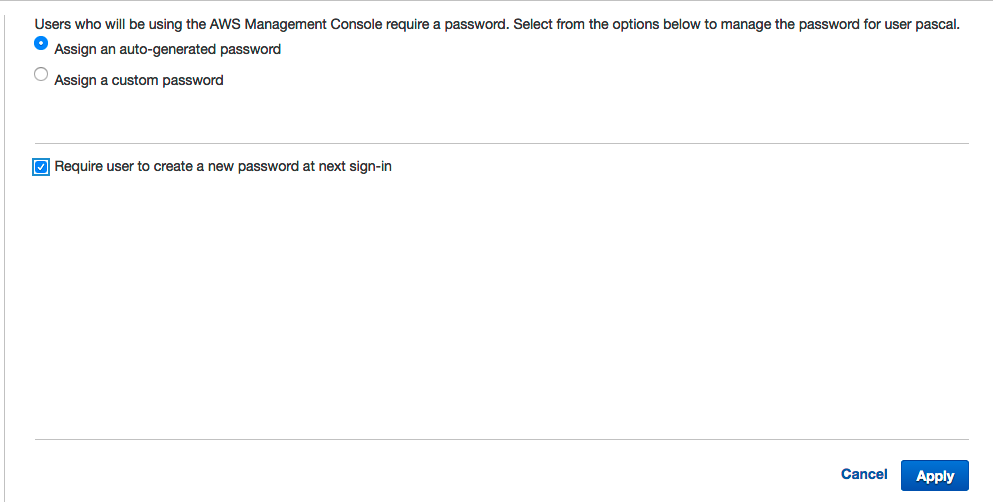
Now we have a user created but this user is not able to login to the console since it hasn’t setup a password yet. To do this we select the user and go to the user action and choose ‘Manage Password’:

Now we can choose to setup a password ourselves or have AWS create one. Also we can choose to have the user enter a new password after first login:
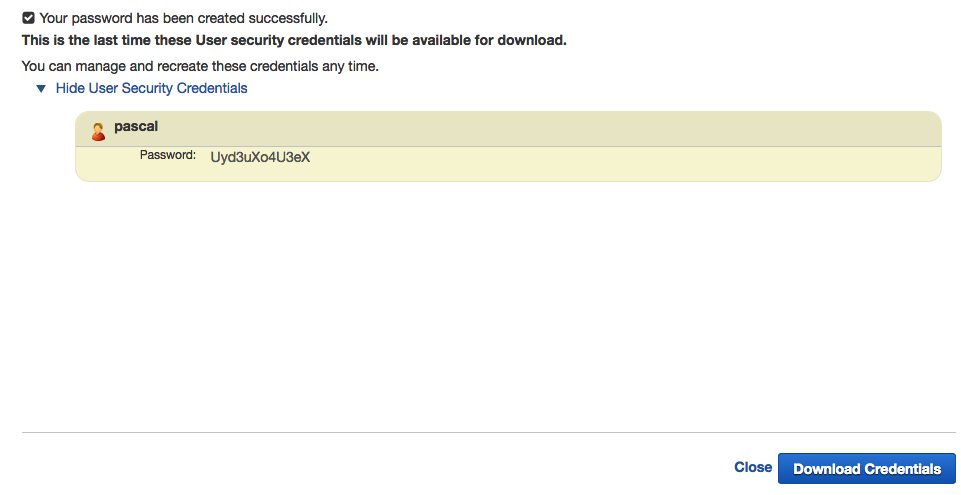
After generating the password we get a familiair screen again in which we can show and download the generated password which we then can supply to our user so he/she can login into the Management Console:
Now we have a user (not being the root user) that can login into the Management Console and is able to use SDK and API to access AWS resources. The last thing to do is that we have to give him permissions to our AWS resources. However instead of granting permissions to individual users it is best practice to create groups with certain permissions and assign the individual user to a group to grant permissions. So let’s proceed with the fourth bullet and continue with ‘Manage Groups’:

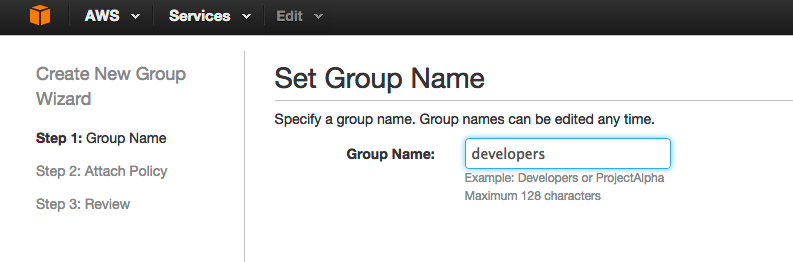
Create a new group and give it a name, like ‘developers’:
Next we can assign policies to it. There are a lot of policies to choose from as you can see. I simply use the ‘PowerUser Template’ here:

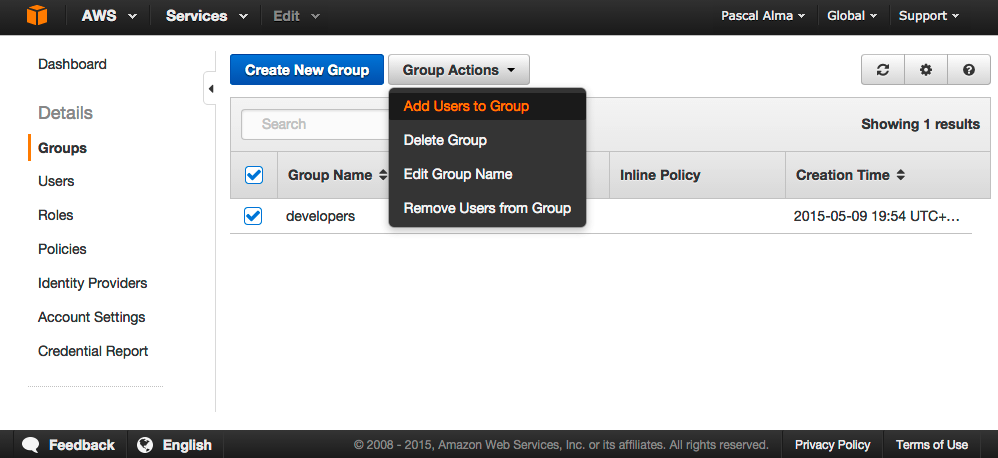
After reviewing and accepting the settings the group is created. Now select the group and select the group action ‘Add users to Group’:
We choose the user we just created so it belongs to the group. Now we have completed 4 of the 5 steps. The last step is about the Password Policy that is used. Just open the page and select the requirements that the password of your users should match:
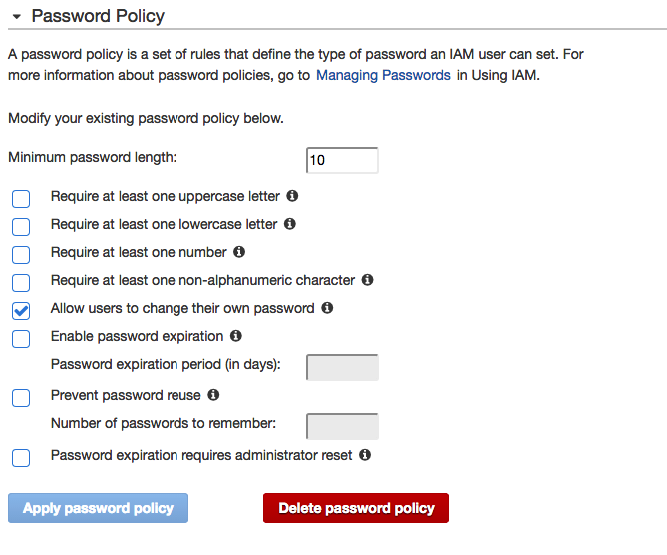
I simply choose for a minimum length of 10. After this is set up we can see in the dashboard that all steps of our Security Status are turned green:
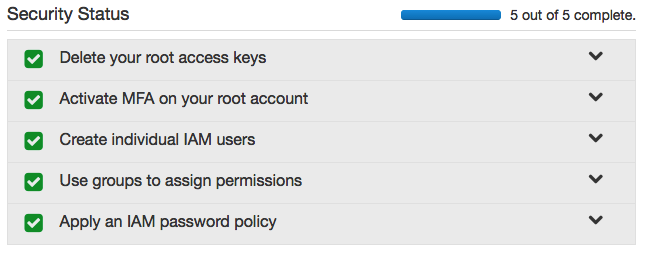
Of course there is a lot more to say about the security in combination with AWS but this should give you a headstart.
| Reference: | Getting started with AWS IAM from our JCG partner Pascal Alma at the The Pragmatic Integrator blog. |

using IAM users for authentication to your website or application is not supported. You should check out a recently released feature Cognito User Pools, which is designed for just this purpose.