Switch on and off an LED and let run a motor at one speed and direction is easy, but what if I want to e.g. control the brightness of an LED or control motor-speed?
A kind of analog signal is needed:
This is done with Pulse-width modulation (PWM). PWM is a “modulation technique that conforms the width of the pulse, formally the pulse duration, based on modulator signal information.” (Wikipedia).
In a nutshell:
The average value of voltage is depending on the frequency the load is switched on and off.
Basically there are two ways to create PWM:
Hardware PWM
- very fast (max. possible frequency / period)
- software independent, independent from program flow
- clean signal
BUT:
- not all pins might support HW PWM
Software PWM
- each I/O pin can be used for SW PWM
BUT:
- software controlled timing has to be implemented
- implementation and timing have to respect CPU usage
- not a real clean signal
In other words: HW PWM is clearly prefered!
But unfortunately there is only one HW PWM pin (#18) available on the Rasperry Pis GPIO header (also its shared with the Audio system. That means that you can’t use PWM or Servo output and play audio through the 3.5mm jack at the same time).
If a RasPi project needs more than 1 PWM it has to use soft-pwm. However thank god all the hard work is almost done by using Gordon Henderson’s wiringPi-lib and its Java-API Pi4J.
Pi4J provides a class called “SoftPwm”. As it uses wiringPi functions, the GPIO subsytem has to be initialzed first. Therefore the programm has to executed as “sudo”!
Here is a simple example:
public class WiringPiSoftPWMExample {

    public static void main(String[] args) throws InterruptedException {

        // initialize wiringPi library
        Gpio.wiringPiSetup();

        // create soft-pwm pins (min=0 ; max=100)
        SoftPwm.softPwmCreate(0, 0, 100);

        IntegerProperty value1 = new SimpleIntegerProperty();
        value1.addListener((ObservableValue<? extends Number> observable, Number oldValue, Number newValue) -> {
            SoftPwm.softPwmWrite(0, newValue.intValue());
        });

        // continuous loop
        while (true) {
            // fade LED to fully ON
            for (int i = 0; i <= 100; i++) {
                value1.set(i);
                Thread.sleep(25);
            }

            // fade LED to fully OFF
            for (int i = 100; i >= 0; i--) {
                value1.set(i);
                Thread.sleep(25);
            }
        }
    }
}
Works! What’s next?
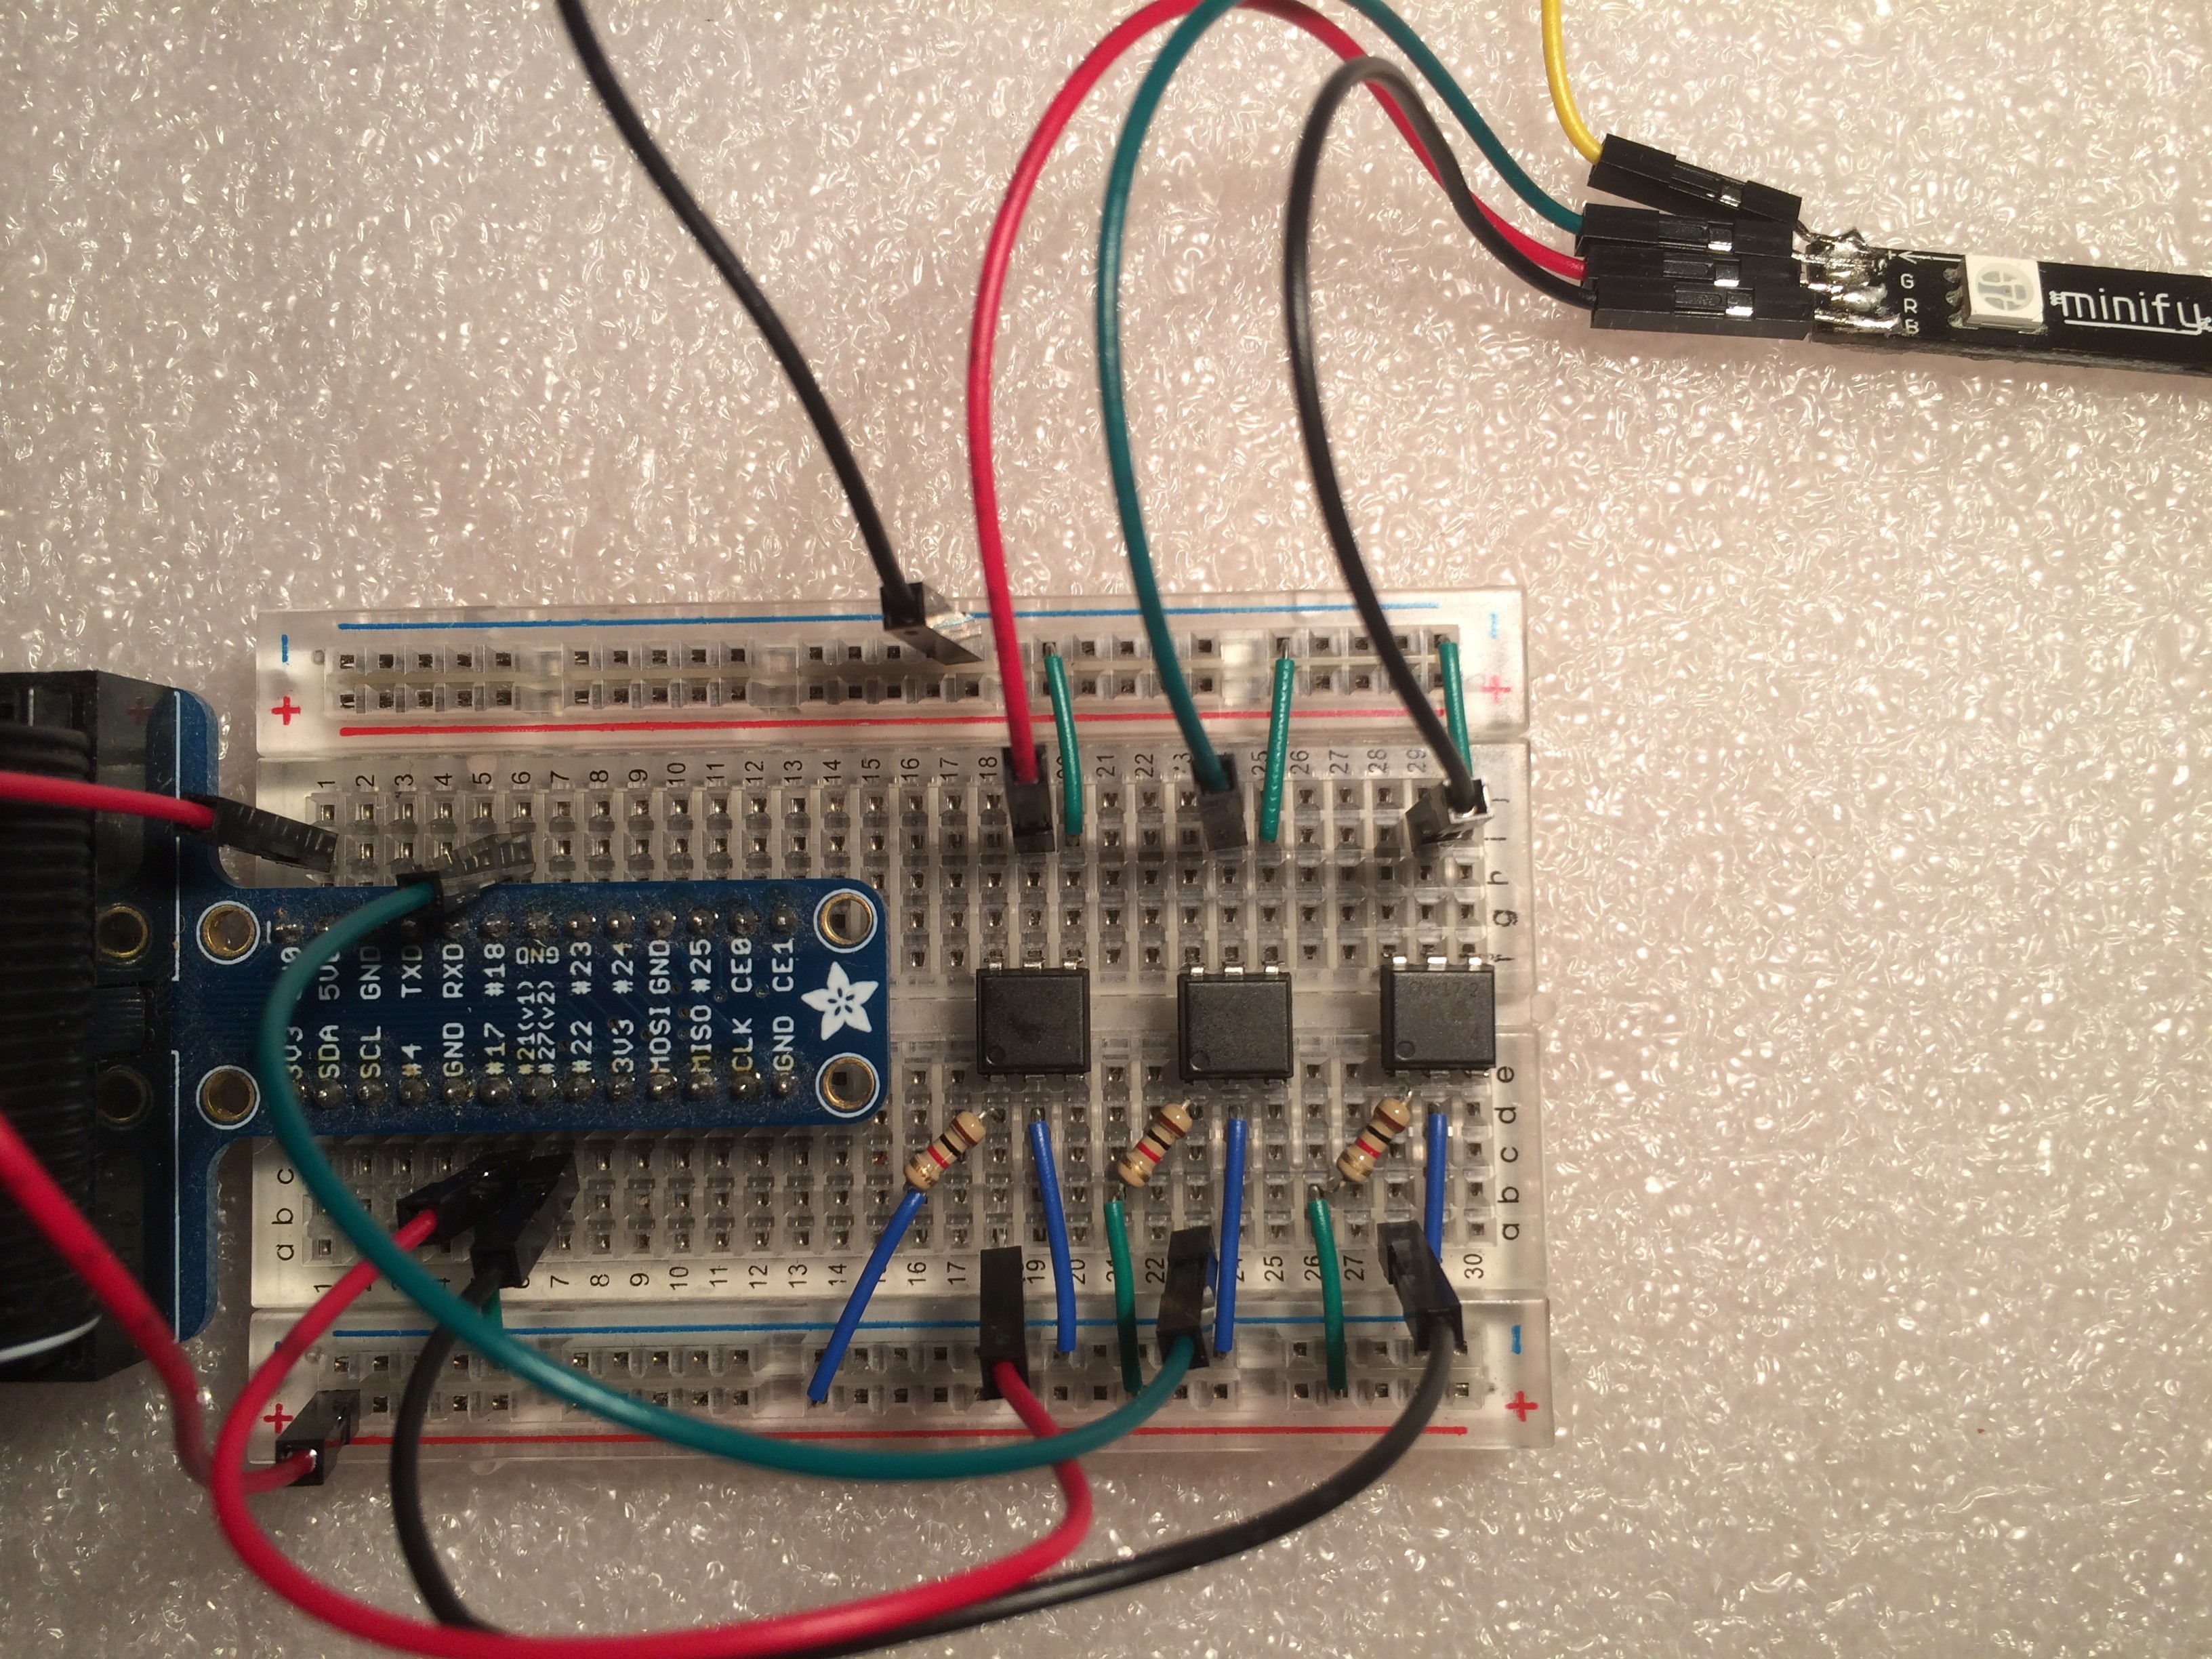
3 x optical coupler + RGB LED stripe triggered by JavaFX UI contolled SoftPwms:
| Reference: | Between 0 and 1 – PWM with Raspberry Pi from our JCG partner Jens Deters at the JavaFX Delight blog. |
